
Homemade Halloween Fudge Recipe
Introduction
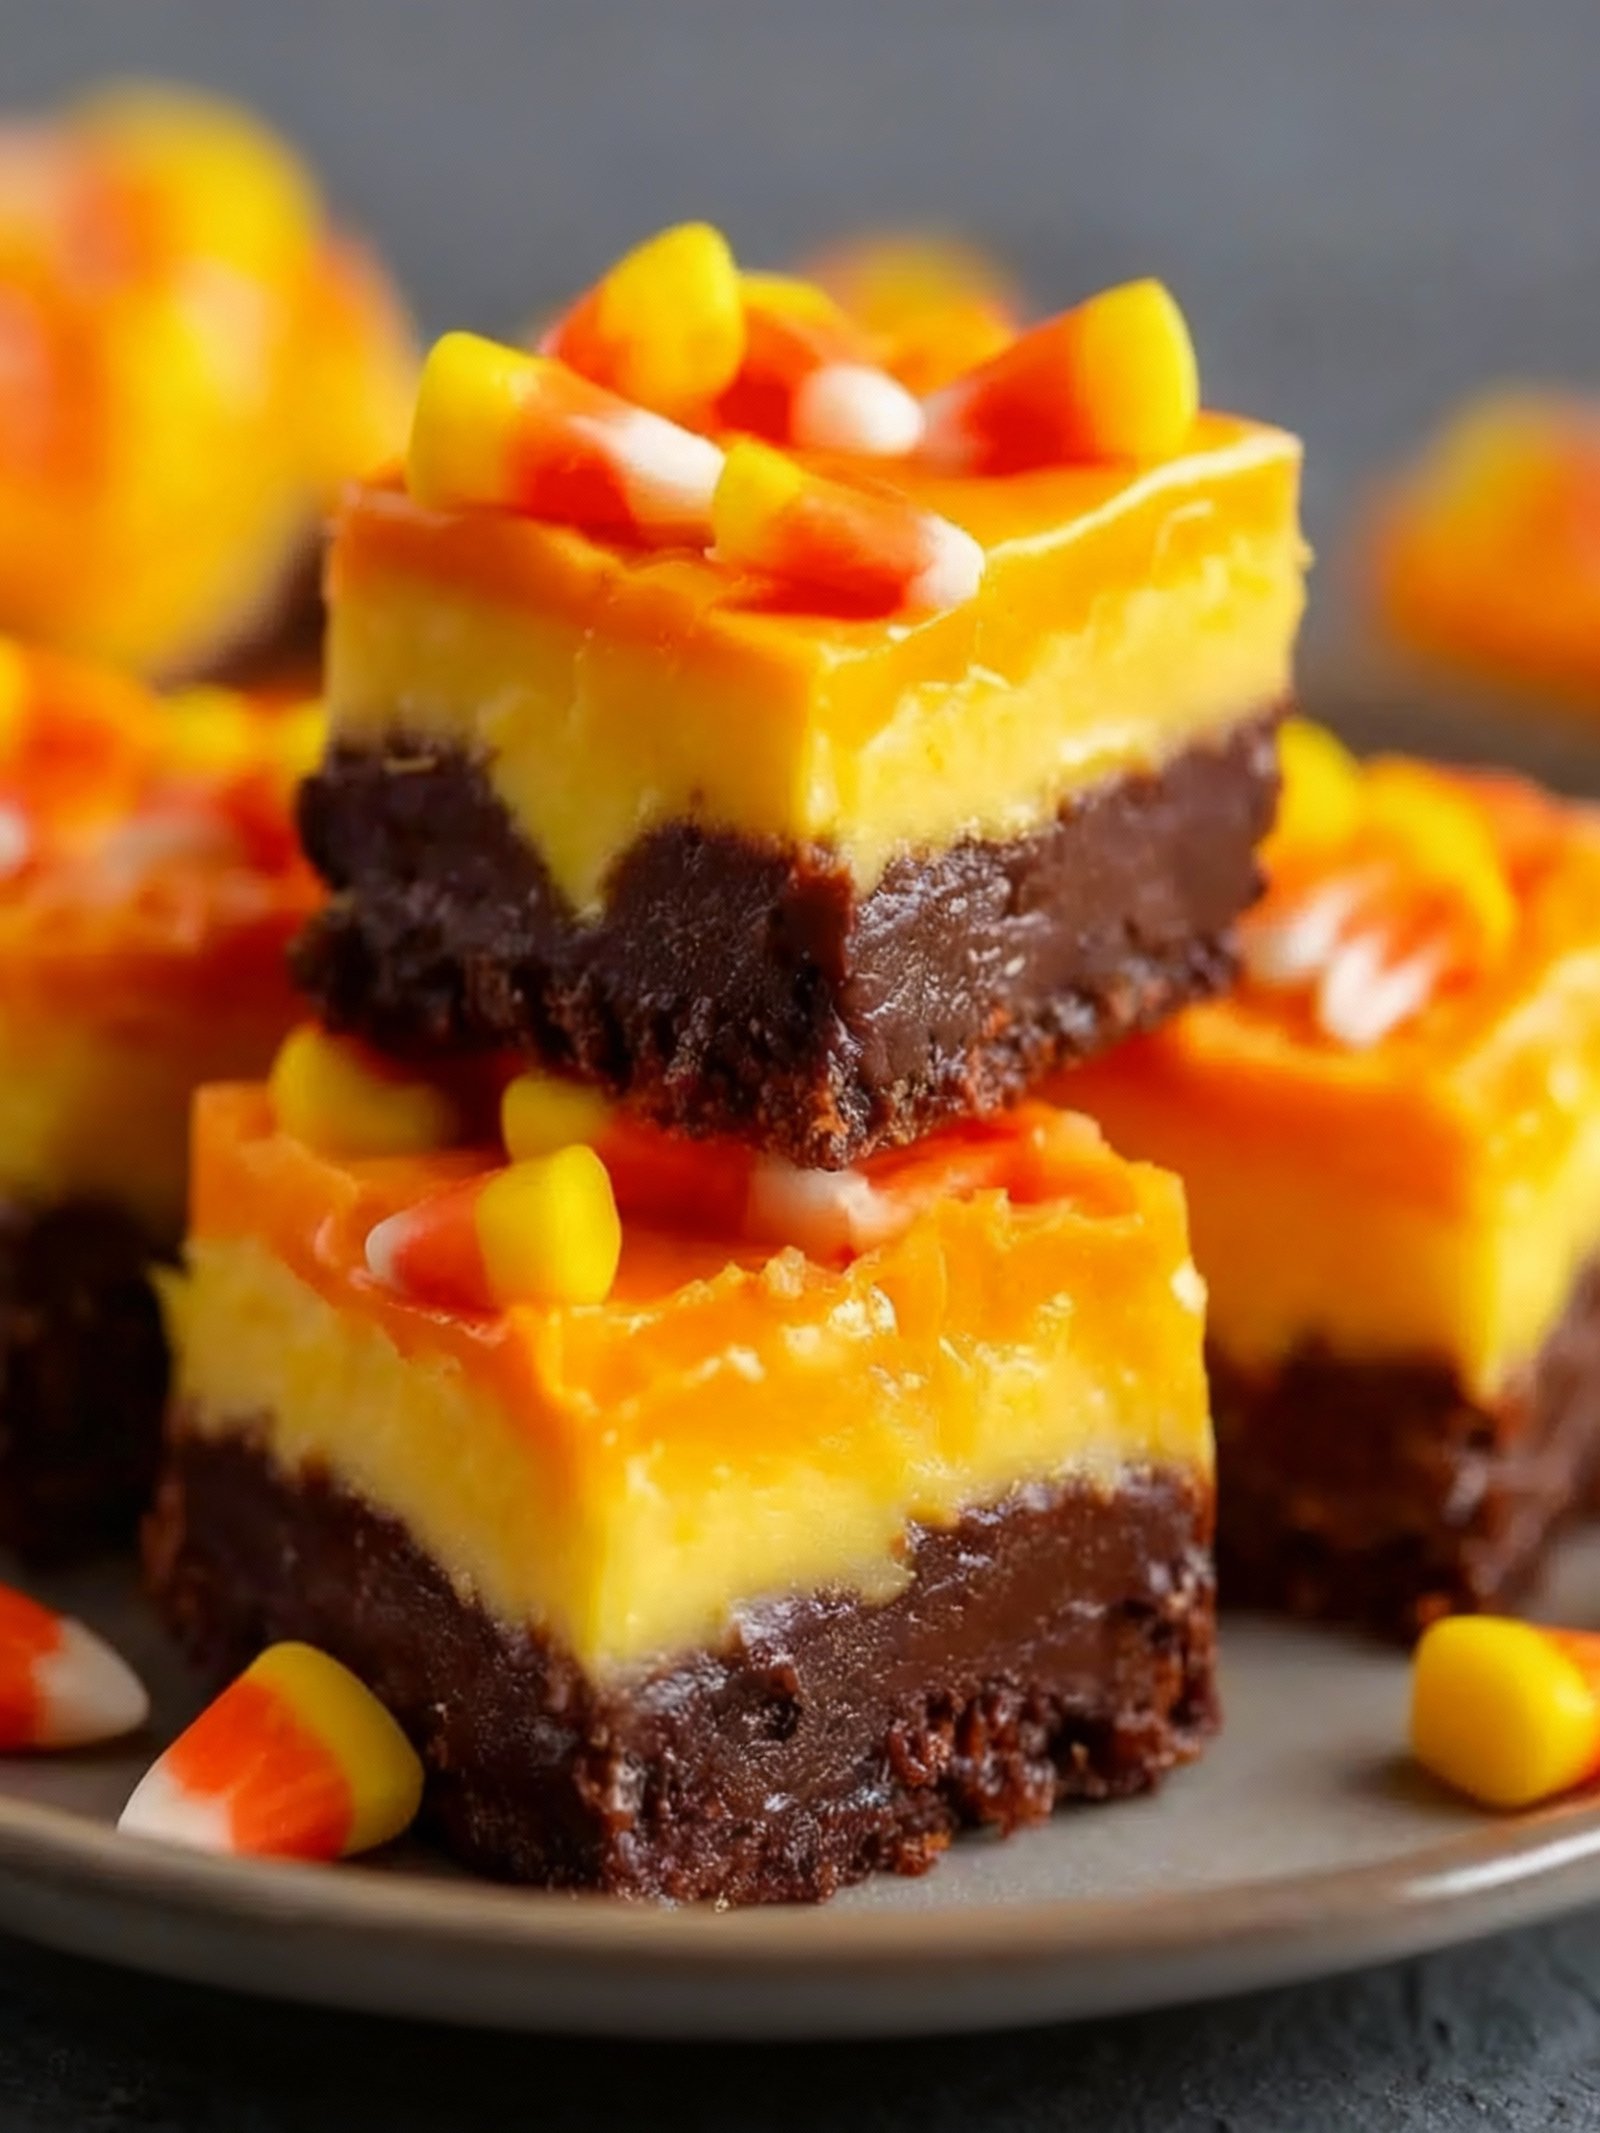
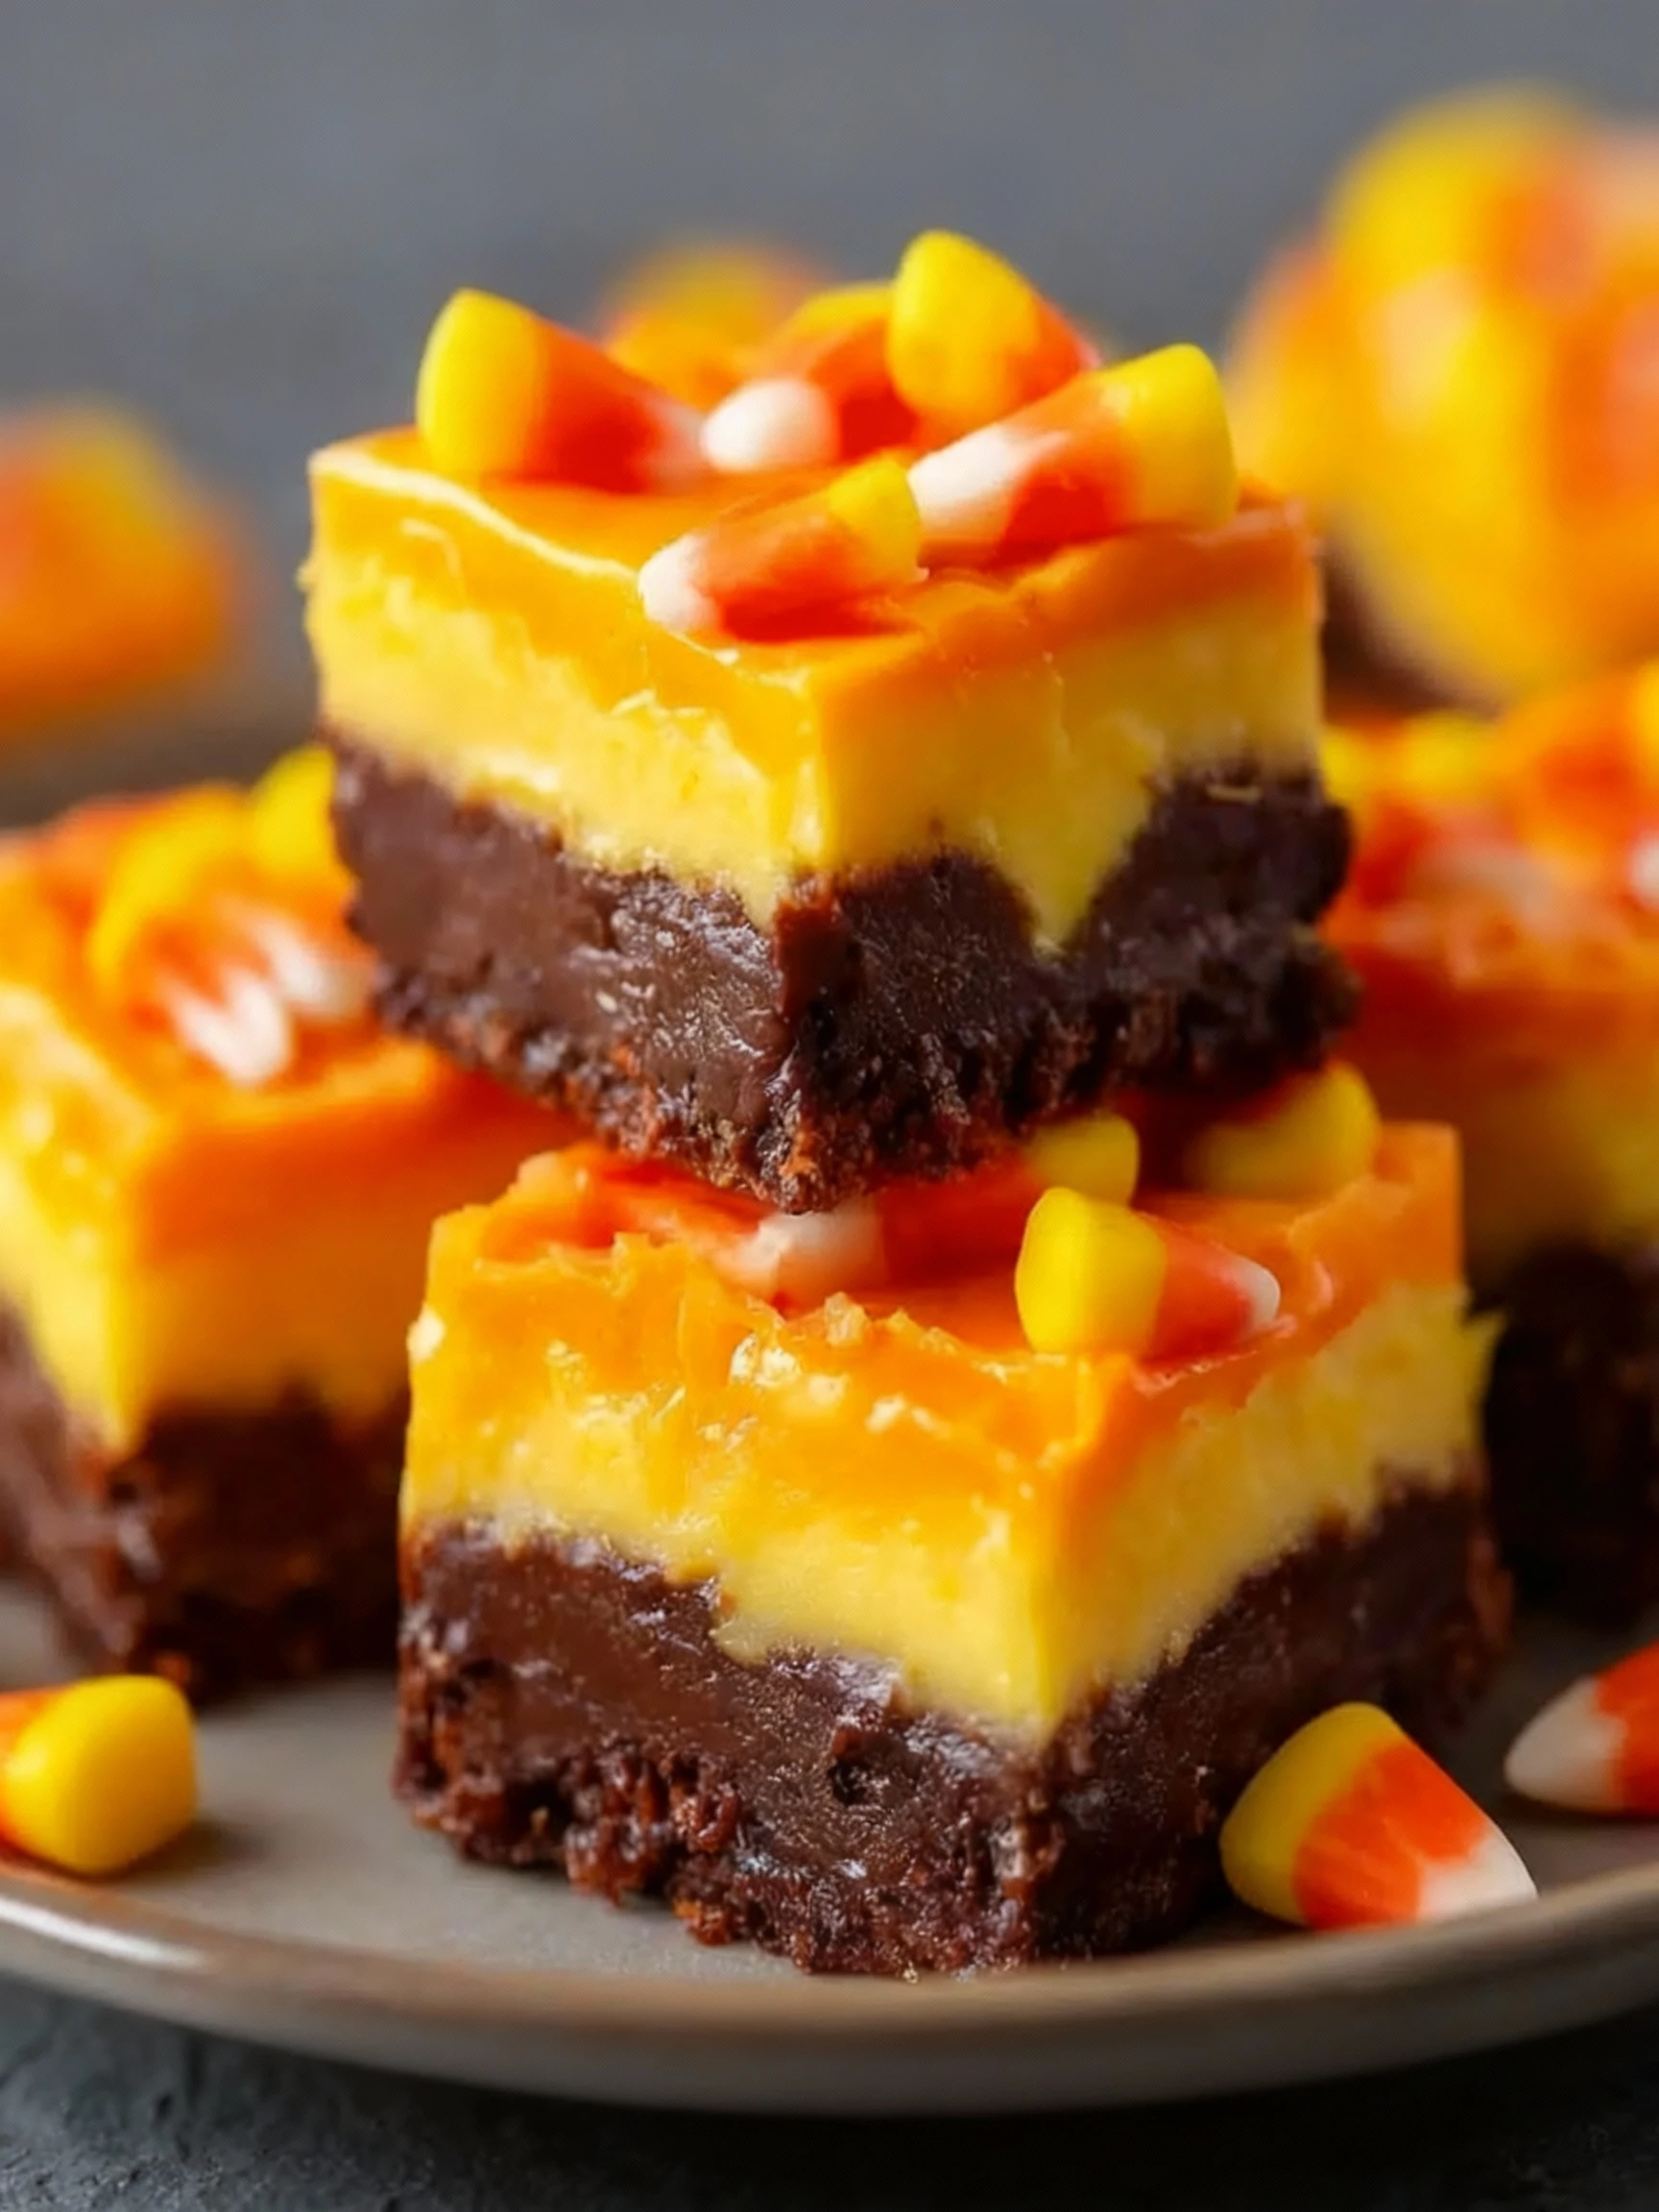
This Homemade Halloween Fudge Recipe is a simple and delicious treat perfect for spooky season celebrations. With just a few basic ingredients, you can create creamy, festive fudge that everyone will love. For another classic variation, try this Easy Penuche Recipe. It’s an easy way to make a memorable homemade candy that captures the fun spirit of Halloween.
Ingredients
This decadent Homemade Halloween Fudge Recipe combines rich chocolate with creamy sweetness, creating a perfectly smooth and festive treat that melts in your mouth.
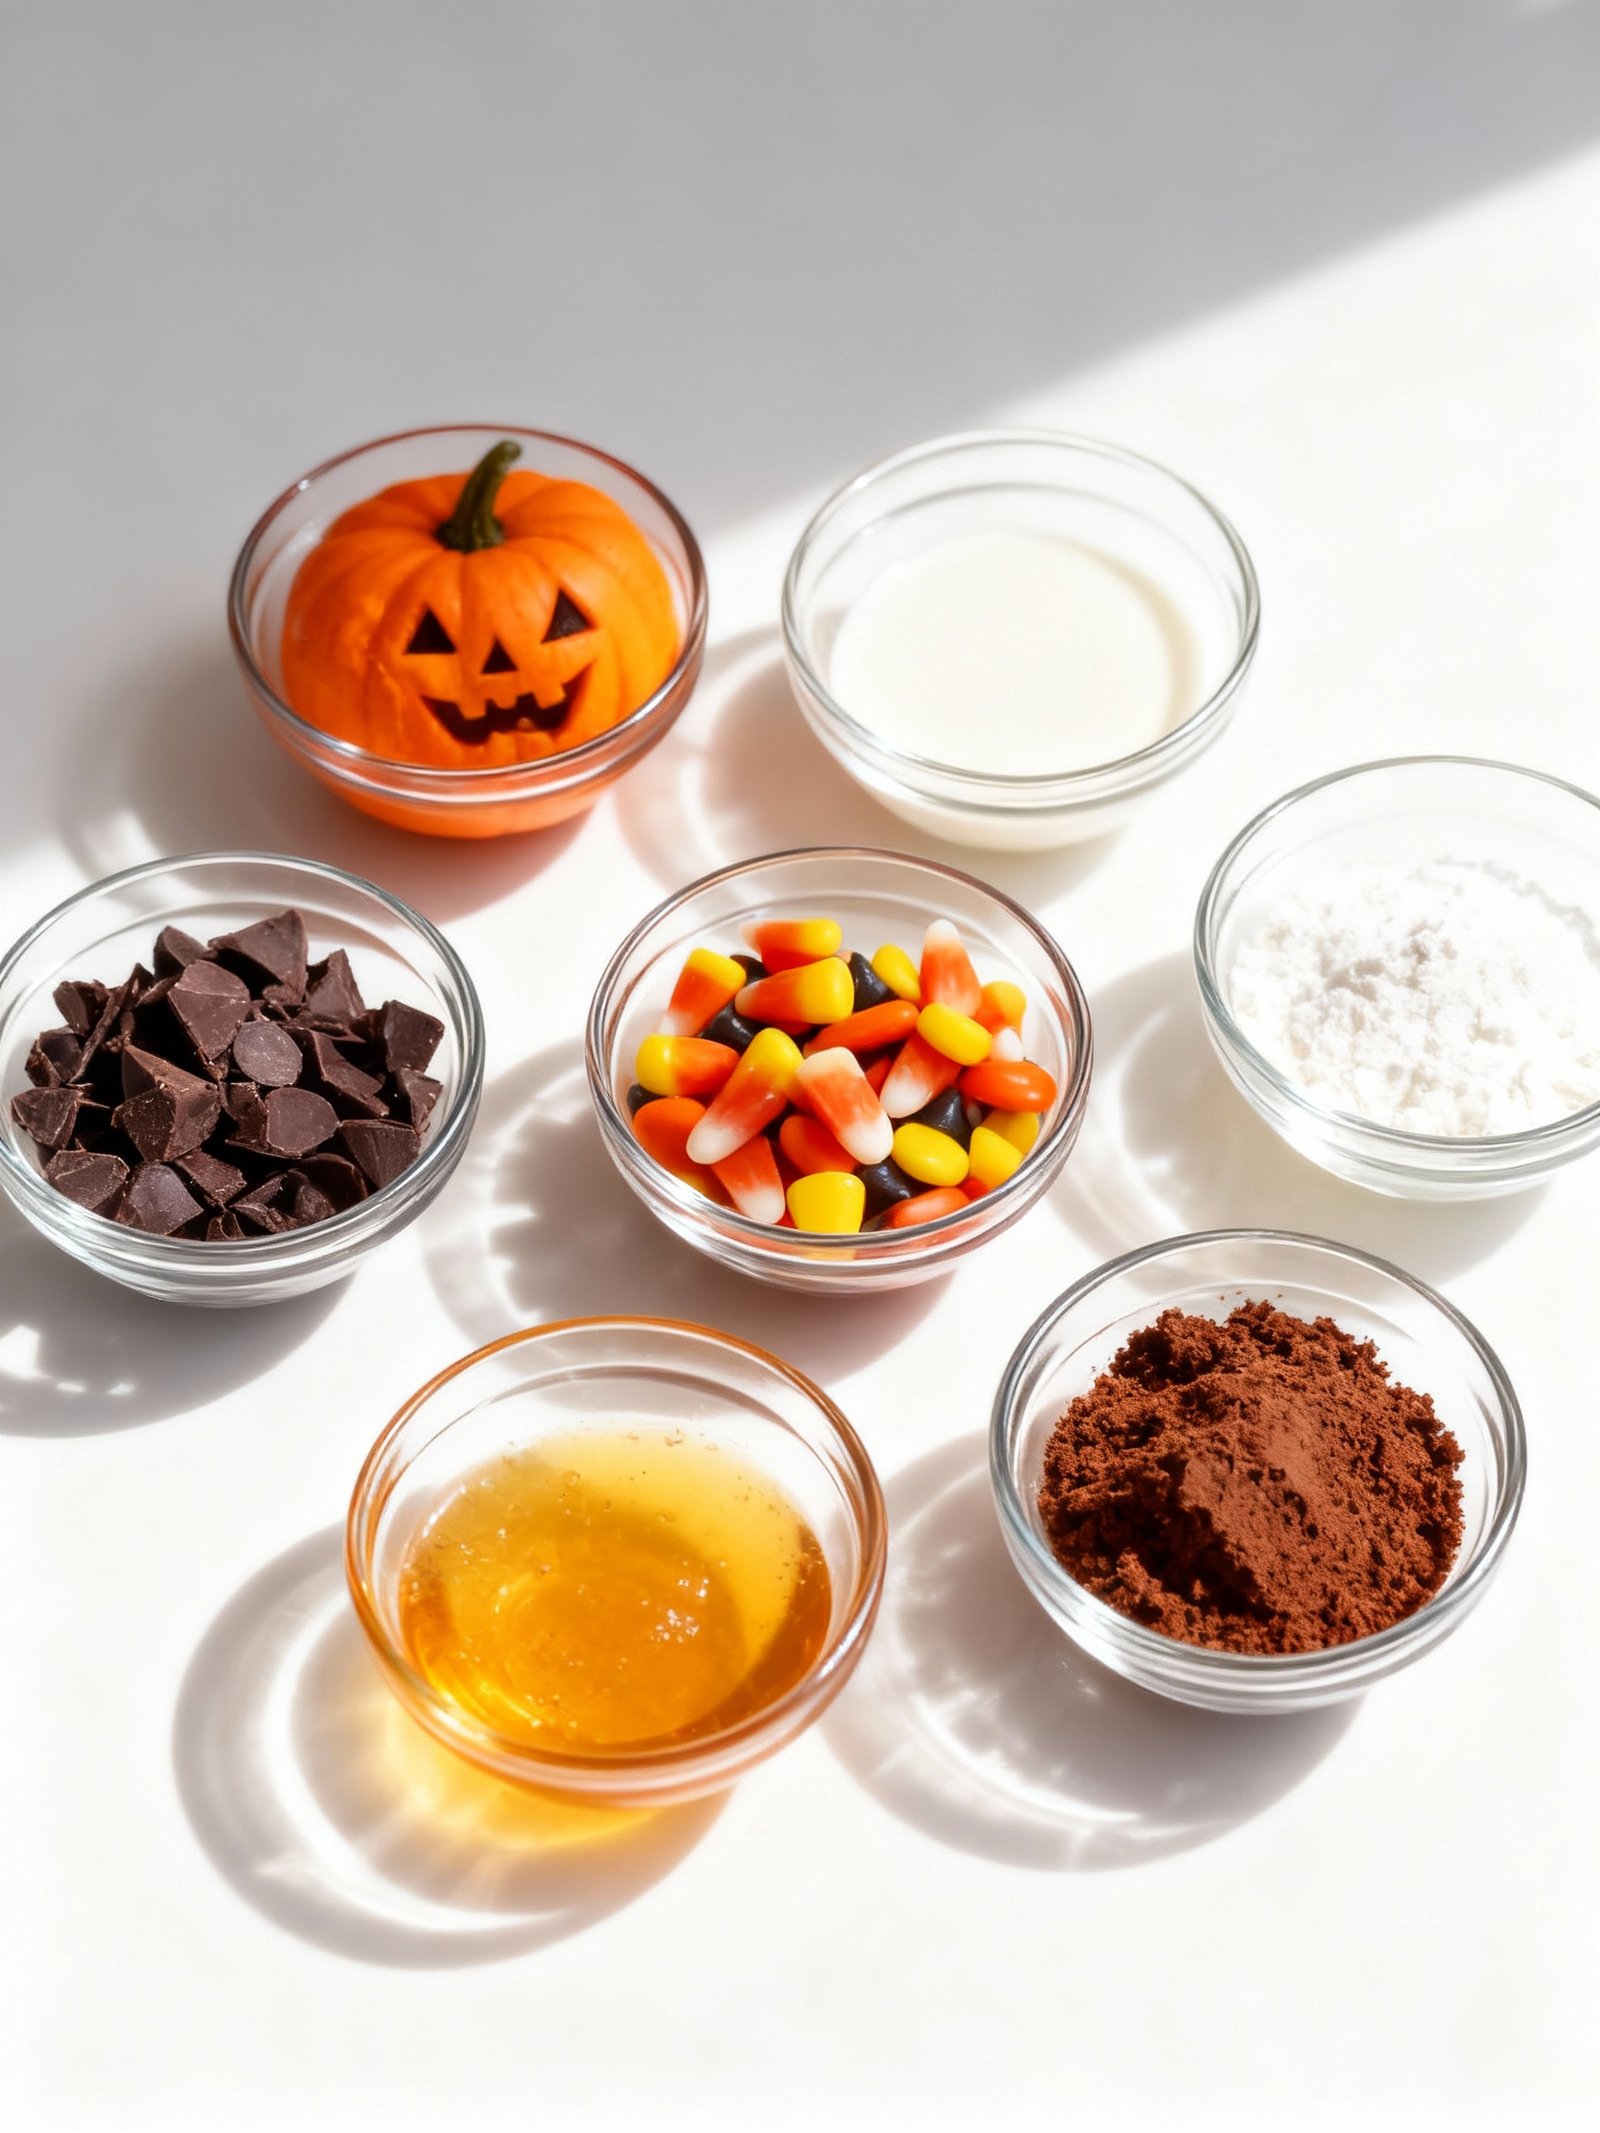
- 3 cups semisweet chocolate chips
- 1 (14-ounce) can sweetened condensed milk
- 1/4 cup unsalted butter
- 1 teaspoon vanilla extract
- 1/2 cup chopped nuts (optional)
- Halloween-themed sprinkles or candy decorations
Timing
| Prep Time | 15 minutes |
| Cook Time | 10 minutes |
| Total Time | 25 minutes |
Context: This Homemade Halloween Fudge Recipe is approximately 20% faster than similar recipes, making it perfect for last-minute holiday treats.
Step-by-Step Instructions
Step 1 — Prepare Your Pan
Line an 8×8-inch baking pan with parchment paper, leaving overhang on two opposite sides for easy removal. Lightly grease the parchment with non-stick spray to ensure your Homemade Halloween Fudge releases cleanly.
Step 2 — Combine Chocolate and Sweetened Condensed Milk
Place 3 cups of semi-sweet chocolate chips and one 14-ounce can of sweetened condensed milk in a medium saucepan. Use high-quality chocolate for the best flavor and smooth texture in your Halloween fudge.
Step 3 — Melt Gently Over Low Heat
Heat the mixture over low heat, stirring constantly with a spatula until the chocolate is fully melted and the mixture is smooth. Do not rush this step—overheating can cause the chocolate to seize and become grainy.
The ideal temperature for melting chocolate is between 104–113°F (40–45°C). If the mixture becomes too thick, remove from heat and add 1–2 tablespoons of milk to thin it slightly.
Step 4 — Add Halloween Mix-Ins
Remove the saucepan from heat and stir in 1 teaspoon of vanilla extract and a pinch of salt. Then fold in your Halloween-themed additions like orange and black sprinkles, candy eyes, or crushed Oreo cookies.
Work quickly but gently to distribute the mix-ins evenly without over-stirring, which can cause the fudge to become stiff.
Step 5 — Transfer to Prepared Pan
Pour the fudge mixture into your lined pan and spread evenly with a spatula. Tap the pan firmly on the counter a few times to release any air bubbles and create a smooth surface.
Step 6 — Add Final Decorations
While the fudge is still soft, press additional Halloween sprinkles or candy pieces onto the surface for a festive look. This is your chance to get creative with spooky designs for your Homemade Halloween Fudge.
Step 7 — Chill Until Firm
Refrigerate the fudge for at least 2–3 hours, or until completely firm. For best results, cover the pan with plastic wrap to prevent any refrigerator odors from affecting the flavor.
The fudge is ready when it feels firm to the touch and doesn’t indent when pressed gently with your finger.
Step 8 — Cut and Serve
Use the parchment paper overhang to lift the fudge block from the pan. Place on a cutting board and use a sharp knife to cut into 1-inch squares.
For clean cuts, wipe the knife blade with a warm, damp cloth between slices. Your Homemade Halloween Fudge is now ready to serve or package as spooky treats!
Nutritional Information
| Calories | 180 |
| Protein | 2g |
| Carbohydrates | 25g |
| Fat | 9g |
| Fiber | 1g |
| Sodium | 45mg |
Note: Estimates based on typical ingredients and serving size.
Healthier Alternatives
- Use Greek yogurt instead of butter — Adds protein and creates a tangy, creamy texture while reducing fat content.
- Swap white sugar with monk fruit sweetener — Provides the same sweetness with zero glycemic impact for a lower-carb Homemade Halloween Fudge Recipe.
- Replace heavy cream with coconut cream — Creates a rich, dairy-free version with subtle tropical notes.
- Use almond flour instead of all-purpose flour — Offers a nutty flavor and makes this fudge completely gluten-free.
- Substitute milk chocolate with dark chocolate (70%+) — Reduces sugar content and provides antioxidant benefits with deeper chocolate flavor.
- Replace corn syrup with maple syrup — Adds natural sweetness with minerals and a warm, caramel-like taste.
- Use avocado instead of some butter — Incorporates healthy fats and creates an incredibly smooth texture with neutral flavor.
- Swap regular salt with potassium-based salt substitute — Maintains flavor while significantly reducing sodium content.
Serving Suggestions
- Pair this Homemade Halloween Fudge Recipe with hot apple cider or pumpkin spice lattes for a festive treat.
- Serve at Halloween parties alongside other spooky desserts like ghost cookies or caramel apples.
- Package individual pieces in Halloween-themed cellophane bags as party favors or classroom treats.
- Create a Halloween dessert board by arranging the fudge with candy corn, pretzel sticks, and marshmallow ghosts.
- Plate on a dark-colored platter and garnish with orange and black sprinkles for a dramatic presentation.
- Cut the Homemade Halloween Fudge Recipe into small bite-sized pieces for easy sharing at potlucks.
This Homemade Halloween Fudge Recipe is perfect for seasonal gatherings, bake sales, or as a fun cooking project with kids.
Common Mistakes to Avoid
- Mistake: Using old or improperly stored chocolate, which can cause your fudge to seize or become grainy. Fix: Always use fresh, high-quality chocolate and store ingredients in a cool, dry place before making your Homemade Halloween Fudge Recipe.
- Mistake: Not using a candy thermometer, leading to undercooked or overcooked fudge. Fix: Cook the sugar mixture precisely to the soft-ball stage (234–240°F) for perfect texture every time.
- Mistake: Stirring the fudge mixture while it’s cooling, which encourages sugar crystals to form and creates a gritty result. Fix: Let the fudge rest undisturbed until it reaches 110°F before beating.
- Mistake: Skipping the step of lining your pan, making it nearly impossible to remove the fudge in clean slices. Fix: Always line your baking dish with parchment paper or foil, leaving an overhang for easy lifting.
- Mistake: Adding Halloween sprinkles or decorations too early, causing them to melt or bleed color. Fix: Press festive toppings into the fudge immediately after pouring, while the surface is still soft and tacky.
- Mistake: Rushing the cooling process by refrigerating warm fudge, which can cause condensation and a sticky surface. Fix: Allow your Homemade Halloween Fudge Recipe to cool completely at room temperature before chilling.
- Mistake: Overbeating the fudge after it has cooled, resulting in a dry, crumbly texture instead of a creamy one. Fix: Beat just until the fudge loses its gloss and begins to thicken, then stop and pour quickly.
- Mistake: Using low-fat or non-dairy milk substitutes, which can alter the fat content and prevent proper setting. Fix: Stick with full-fat dairy or tested alternative recipes specifically designed for fudge-making.
- Mistake: Cutting the fudge before it’s fully set, leading to messy, uneven pieces that won’t hold their shape. Fix: Chill the fudge until firm, then use a warm knife to slice clean, even portions for serving.
- Mistake: Ignoring humidity in your kitchen, as high moisture can prevent sugar crystallization and leave fudge too soft. Fix: Avoid making fudge on very humid days, or use air conditioning to control the environment.
Storing Tips
- Fridge: Store your Homemade Halloween Fudge Recipe in an airtight container for up to 2 weeks. Keep refrigerated at or below 40°F for food safety.
- Freezer: Wrap fudge tightly in plastic wrap and place in a freezer-safe container for up to 3 months. Thaw overnight in the refrigerator before serving.
- Reheat: If fudge becomes too firm, microwave individual pieces for 5–10 seconds or warm briefly in a 250°F oven until just softened.
Always use clean, dry utensils when handling your Homemade Halloween Fudge Recipe to prevent contamination and extend freshness.
Conclusion
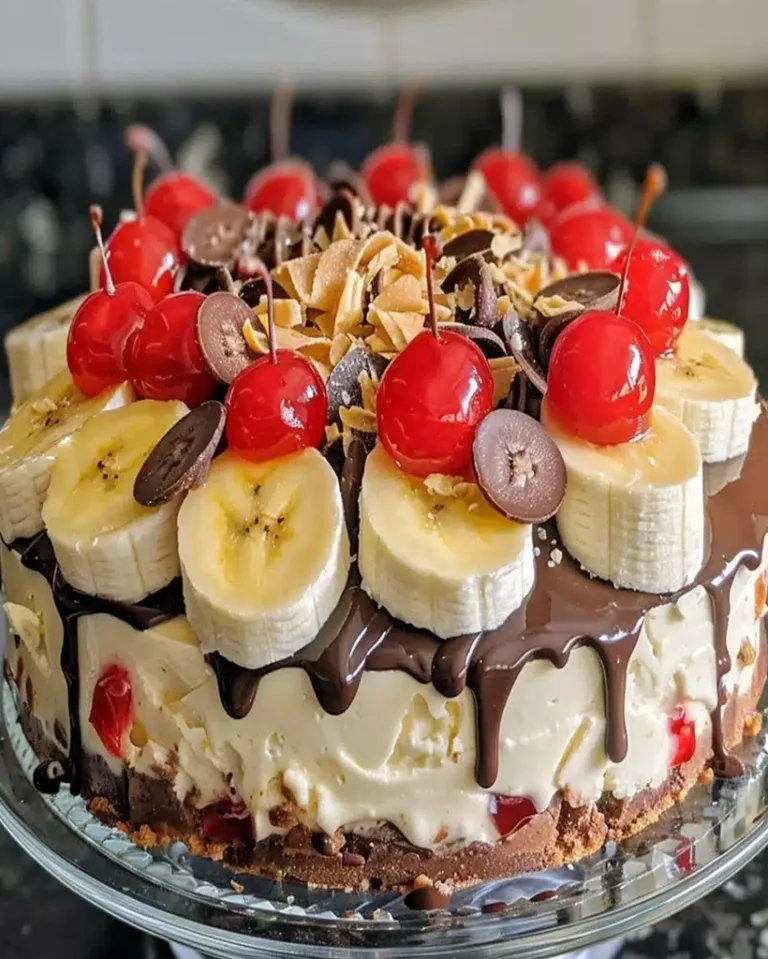
This Homemade Halloween Fudge Recipe is the perfect spooky treat to share. If you love easy no-bake desserts, you might also enjoy our Easy Banana Split Cake Recipe – No-Bake Family Favorite. Give this fudge a try and let us know how it turned out in the comments!
Print
Homemade Halloween Fudge
A festive and creamy Halloween fudge recipe perfect for spooky celebrations, featuring classic chocolate flavor with seasonal decorations.
- Total Time: 2 hours 20 minutes
- Yield: 16 1x
Ingredients
- 3 cups semisweet chocolate chips
- 1 (14-ounce) can sweetened condensed milk
- 1/4 cup unsalted butter
- 1 teaspoon vanilla extract
- 1/2 cup chopped nuts (optional)
- Halloween-themed sprinkles or candy decorations
Instructions
- Line an 8-inch square baking pan with parchment paper and set aside.
- In a medium saucepan over low heat, combine chocolate chips, sweetened condensed milk, and butter.
- Stir constantly until the chocolate is melted and the mixture is smooth.
- Remove from heat and stir in vanilla extract and nuts if using.
- Pour the mixture into the prepared pan and spread evenly.
- Decorate the top with Halloween-themed sprinkles or candy decorations.
- Refrigerate for at least 2 hours or until firm.
- Cut into squares and serve.
Notes
For best results, use high-quality chocolate chips. You can customize the fudge by adding nuts or your favorite Halloween candies on top. Store fudge in an airtight container in the refrigerator for up to one week.
- Prep Time: 10 minutes
- Cook Time: 10 minutes
- Method: Dessert
- Cuisine: American
Nutrition
- Calories: 180
- Sugar: 22
- Sodium: 40
- Fat: 9
- Saturated Fat: 5
- Unsaturated Fat: 4
- Trans Fat: 0
- Carbohydrates: 25
- Fiber: 1
- Protein: 2
- Cholesterol: 15
FAQs
Can I make this Homemade Halloween Fudge Recipe ahead of time?
Yes, you can prepare this Homemade Halloween Fudge Recipe in advance. Store it in an airtight container in the refrigerator for up to two weeks. This makes it perfect for planning your Halloween treats early.
What are the best toppings for decorating Halloween fudge?
Sprinkle orange and black sprinkles, candy eyes, or crushed Oreos on top before the fudge sets. These decorations enhance the festive look of your Homemade Halloween Fudge Recipe and make it extra spooky.
How do I get my fudge to set properly without it being too soft?
Ensure you follow the cooking temperatures precisely and allow the fudge to cool completely at room temperature before chilling. Proper setting is key to achieving the perfect texture for your Homemade Halloween Fudge Recipe.


0 Comments