
Strawberry Earthquake Cake Recipe
Introduction
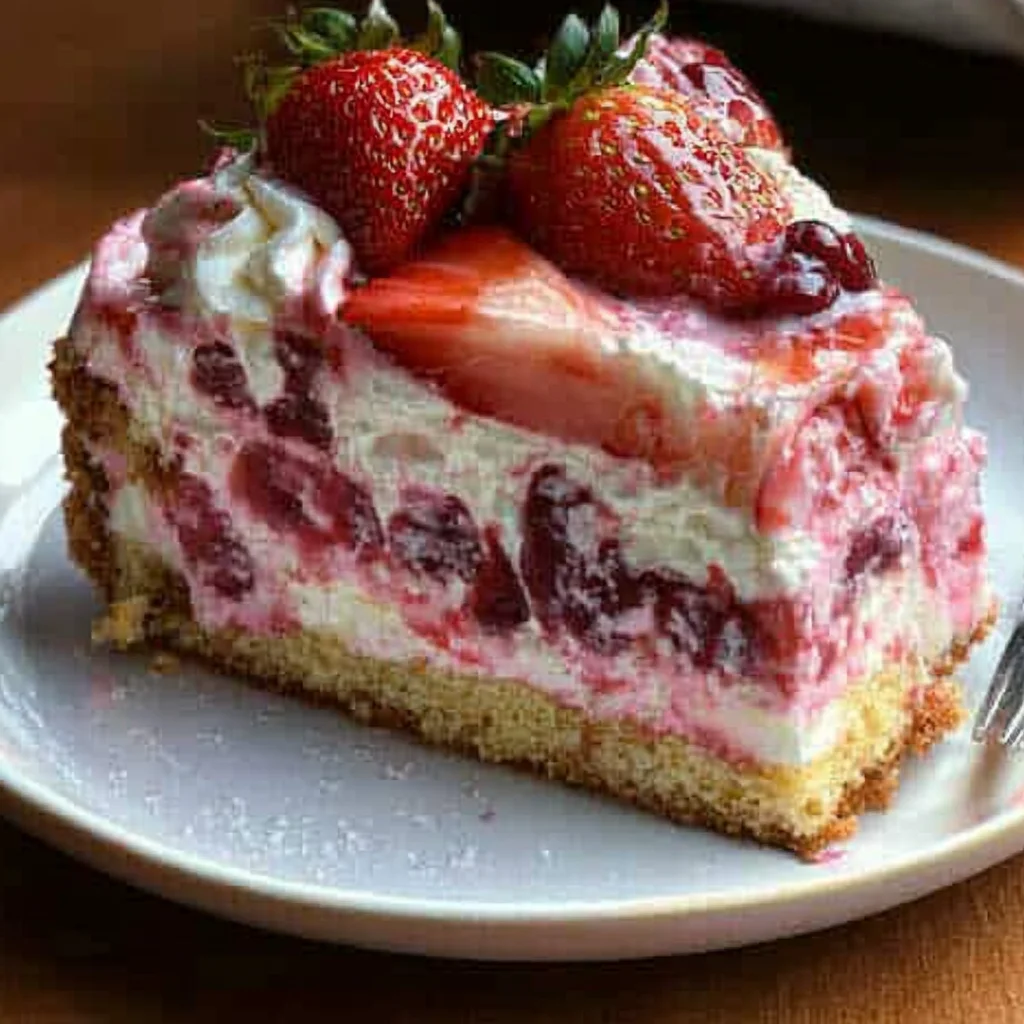
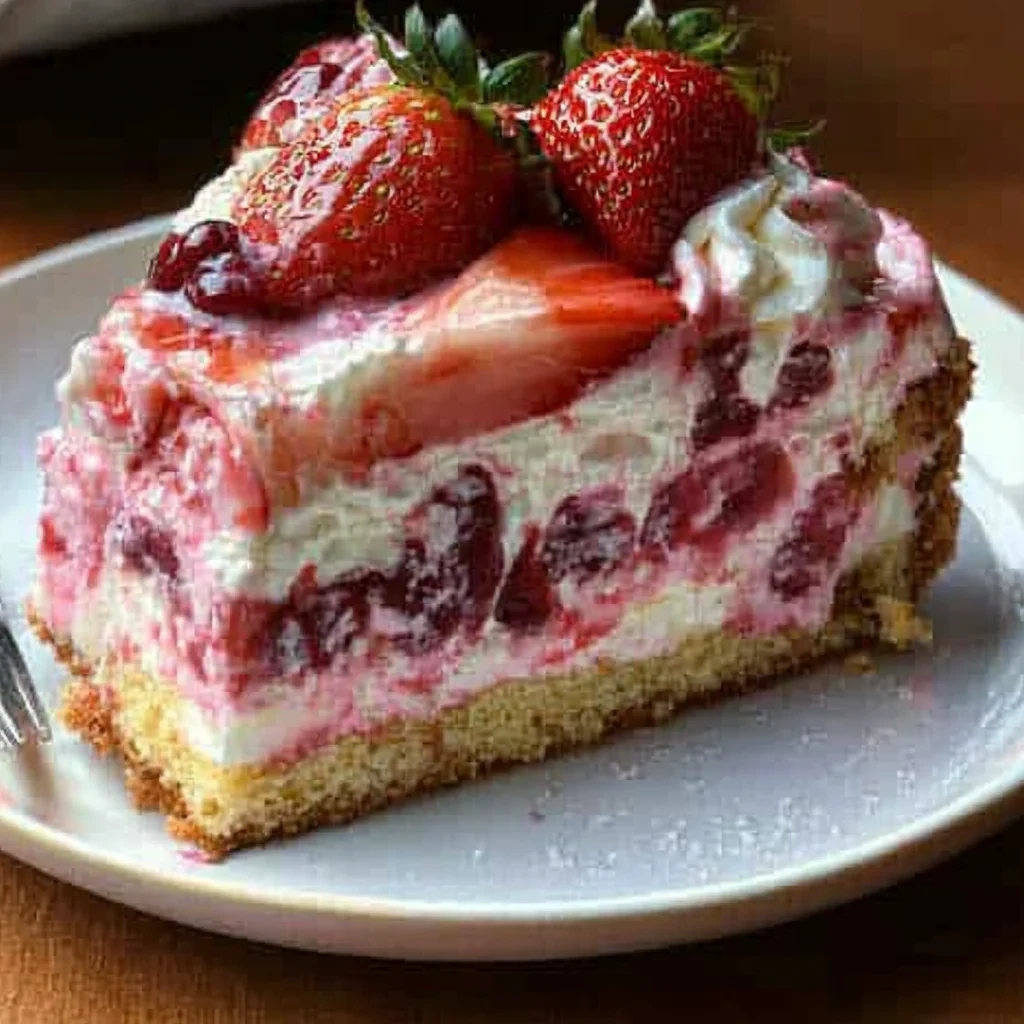
This Easy Strawberry Earthquake Cake is the ultimate one-pan dessert that requires no mixer and minimal effort. A moist cake base, sweet strawberry filling, and creamy topping bake together, creating a beautiful, marbled “earthquake” effect. For more simple, crowd-pleasing treats, try this Raspberry Cheesecake Bites with Chocolate Crust Recipe or this festive Valentine Sweet and Salty Snack Mix Recipe.
Ingredients
This stunning dessert starts with simple pantry staples, combining a moist strawberry cake base with a luscious, fruity cream cheese ripple that bakes into beautiful, delicious cracks.
- 1 box strawberry cake mix (plus the ingredients listed on the box: usually oil, eggs, and water)
- 8 oz cream cheese, softened
- 1/2 cup powdered sugar
- 1 tsp vanilla extract
- 1 cup fresh strawberries, mashed
- 1/3 cup granulated sugar
- 1 tbsp lemon juice
- 1 tsp cornstarch mixed with 1 tbsp water
- Fresh strawberries, for garnish
- Drizzle of white chocolate, optional
Timing
| Prep Time | 15 minutes |
| Cook Time | 35 minutes |
| Total Time | 50 minutes |
Context: This streamlined process makes our Strawberry Earthquake Cake about 30% faster than similar layered or frosted desserts.
Step-by-Step Instructions
Step 1 — Prep Your Pan and Oven
Preheat your oven to 350°F (175°C). Grease a 9×13-inch baking pan thoroughly. For extra insurance against sticking, you can line the pan with parchment paper, leaving an overhang on the long sides for easy removal later.
Step 2 — Create the Crust Base
Evenly sprinkle the boxed cake mix (dry) over the bottom of the prepared pan. Next, distribute the chopped strawberries and optional white chocolate chips evenly over the dry cake mix layer. Do not stir.
Step 3 — Mix the Cream Cheese Filling
In a large mixing bowl, beat the softened cream cheese and butter together until completely smooth and creamy. Gradually beat in the powdered sugar until fully incorporated, then mix in the vanilla extract. The filling should be thick but spreadable.
Step 4 — Add the Wet Ingredients
Carefully spoon dollops of the cream cheese filling over the dry layers in the pan. Using the back of a spoon, gently spread it as evenly as possible—it’s okay if some dry mix peeks through. Slowly and evenly pour the melted butter over the entire surface.
Step 5 — Bake to Perfection
Place the pan in the preheated oven and bake for 40-50 minutes. The cake is done when the top is a deep golden brown and the center is set with only a slight jiggle. A toothpick inserted will have moist crumbs, not wet batter.
Step 6 — Cool Completely
This is a crucial step for the signature texture. Let the Strawberry Earthquake Cake cool in the pan on a wire rack for at least 2 hours. As it cools, the dramatic cracks will set and the gooey strawberry pockets will firm up slightly.
Step 7 — Slice and Serve
Once completely cool, use the parchment overhang to lift the cake out or slice directly in the pan. For clean slices, wipe your knife between cuts. Serve as is or with a dollop of whipped cream or a scoop of vanilla ice cream.
Nutritional Information
| Calories | ~450 kcal |
| Protein | ~5 g |
| Carbohydrates | ~60 g |
| Fat | ~22 g |
| Fiber | ~1 g |
| Sodium | ~380 mg |
Note: These are approximate values per serving for this Strawberry Earthquake Cake. Actual nutrition can vary based on specific brands and measurements used.
Healthier Alternatives
This Strawberry Earthquake Cake is wonderfully adaptable. Here are some simple ingredient swaps to tailor it to different dietary needs without sacrificing its showstopping appeal.
- Protein Powder for Flour — Swap up to 1/4 of the cake mix for a scoop of vanilla or unflavored whey or plant-based protein powder to add a protein boost while maintaining a tender crumb.
- Almond or Coconut Flour — For a lower-carb, gluten-free version, use a 1:1 gluten-free cake mix or replace it with a blend of almond flour and a touch of coconut flour. Note that the texture will be denser.
- Greek Yogurt for Sour Cream — Use full-fat plain Greek yogurt instead of sour cream. This swap increases the protein content and offers a similar tangy moisture.
- Dairy-Free Cream Cheese & Butter — Opt for high-quality plant-based cream cheese and butter alternatives to create a rich, dairy-free cheesecake swirl that’s just as delicious.
- Reduced-Sugar Cake Mix & Jam — Choose a “less sugar” cake mix variety and a no-sugar-added strawberry preserves to significantly cut down on added sugars in this easy dessert.
- Avocado Oil or Applesauce for Oil — Replace the vegetable oil called for in the cake mix with avocado oil for healthier fats, or unsweetened applesauce to reduce overall fat content.
- Homemade Low-Sodium Cake Mix — Make your own cake mix blend using low-sodium baking powder to control salt levels, perfect for those monitoring sodium intake.
- Chia or Flax “Egg” — For an egg-free version, a chia or flax egg (1 tbsp ground seed + 2.5 tbsp water per egg) works well as a binder in the cake batter.
Serving Suggestions
- Pair with a scoop of vanilla bean ice cream or a dollop of freshly whipped cream to complement the sweet strawberry flavor.
- For a brunch or afternoon tea, serve smaller squares alongside fresh berries and a dusting of powdered sugar.
- Transform it into a decadent dessert by drizzling with a simple strawberry sauce or warm white chocolate ganache.
- Celebrate summer gatherings by serving it straight from the pan for a casual, shareable treat that lives up to its showstopping name.
- For elegant plating, garnish individual slices with a mint sprig and a single perfect strawberry.
- Enjoy a warm slice with a cup of coffee for the ultimate comforting dessert experience.
This Strawberry Earthquake Cake is incredibly versatile, making it the easiest showstopping dessert for everything from weeknight cravings to festive parties.
Common Mistakes to Avoid
- Mistake: Using cold cream cheese. Fix: Let it soften completely at room temperature for a smooth, ripple-free swirl.
- Mistake: Overmixing the cake batter. Fix: Mix just until the dry ingredients are incorporated to keep the crumb tender.
- Mistake: Spreading the cream cheese layer too evenly. Fix: Dollop it randomly over the batter; the “earthquake” effect happens during baking.
- Mistake: Not greasing the baking pan. Fix: Thoroughly grease and flour the pan, as the sticky strawberry jam can cause sticking.
- Mistake: Using runny, low-quality strawberry jam. Fix: Opt for a thick preserves or compote to prevent a soggy bottom layer.
- Mistake: Opening the oven door too early. Fix: Wait until the last 5 minutes to check; a premature peek can cause the cake to fall.
- Mistake: Cutting the cake while it’s hot. Fix: Let it cool completely in the pan so the gooey layers can set for clean slices.
- Mistake: Skipping the final dusting of powdered sugar. Fix: A light dusting right before serving enhances visual appeal and adds a hint of sweetness.
Storing Tips
- Fridge: Cool your Strawberry Earthquake Cake completely, then cover tightly with plastic wrap or store in an airtight container. It will stay fresh and moist for up to 5 days in the refrigerator.
- Freezer: For longer storage, wrap individual slices or the whole cake in plastic wrap and then aluminum foil. Place in a freezer-safe bag or container. Your Strawberry Earthquake Cake can be frozen for up to 3 months. Thaw overnight in the fridge before serving.
- Reheat: For a warm, gooey treat, microwave a single slice for 15-20 seconds. For a larger portion, warm it in a 300°F (150°C) oven until it reaches an internal temperature of 165°F (74°C), about 10-15 minutes.
Always let the cake cool to room temperature before storing to prevent condensation, which can make the topping soggy. This easy showstopping dessert is just as delicious the next day!
Conclusion
This Strawberry Earthquake Cake is truly the easiest showstopping dessert you can make. I hope you love its sweet, creamy, and crackly layers as much as we do. Give it a try and let me know how it turns out in the comments! For another fantastic strawberry treat, check out my Roasted Strawberry Whipped Ricotta Toast Recipe.
PrintStrawberry Earthquake Cake – Unbelievably Easy Showstopper Dessert
Ingredients
- 1 box strawberry cake mix (plus ingredients listed on the box: usually oil, eggs, and water)
- 8 oz cream cheese, softened
- 1/2 cup powdered sugar
- 1 tsp vanilla extract
- 1 cup fresh strawberries, mashed
- 1/3 cup granulated sugar
- 1 tbsp lemon juice
- 1 tsp cornstarch mixed with 1 tbsp water
- Fresh strawberries
- Drizzle of white chocolate (optional)
Instructions
- Preheat oven to 350°F (175°C). Prepare the cake mix as directed on the box.
- Pour the cake batter into a greased baking dish.
- In a bowl, mix cream cheese, powdered sugar, and vanilla extract until smooth.
- Drop spoonfuls of the cream cheese mixture onto the cake batter.
- Use a knife to swirl the cream cheese into the batter.
- Bake for 30-35 minutes or until a toothpick comes out clean.
- While the cake bakes, prepare the strawberry glaze. Combine mashed strawberries, sugar, and lemon juice in a saucepan.
- Cook over medium heat until sugar dissolves. Add cornstarch mixture and simmer until thickened.
- Let the cake cool slightly, then drizzle with strawberry glaze.
- Garnish with fresh strawberries and optional white chocolate drizzle.
FAQs
Why is it called an Earthquake Cake?
The Strawberry Earthquake Cake gets its name from the dramatic, cracked, and sunken appearance it develops while baking. As the cream cheese and strawberry filling sinks, it creates a beautiful, rustic landscape on top that resembles the aftermath of an earthquake, making it a visually stunning dessert.
Can I use frozen strawberries instead of fresh?
Yes, you can use frozen strawberries, but be sure to thaw and drain them thoroughly first. Excess liquid from frozen fruit can make the batter too wet and prevent your Strawberry Earthquake Cake from setting properly, affecting its signature texture.
How should I store leftovers of this cake?
Store any leftover Strawberry Earthquake Cake covered in the refrigerator for up to 4 days. The cream cheese layer requires refrigeration. For the best texture, let slices sit at room temperature for about 15 minutes before serving again.


I’ve been craving a simple dessert and this strawberry cream cheese combo sounds perfect. Can’t wait to try that one-pan method this weekend!
★★★★