Garden Art Focaccia Bread (The Two-Bake Method for Vivid Color)
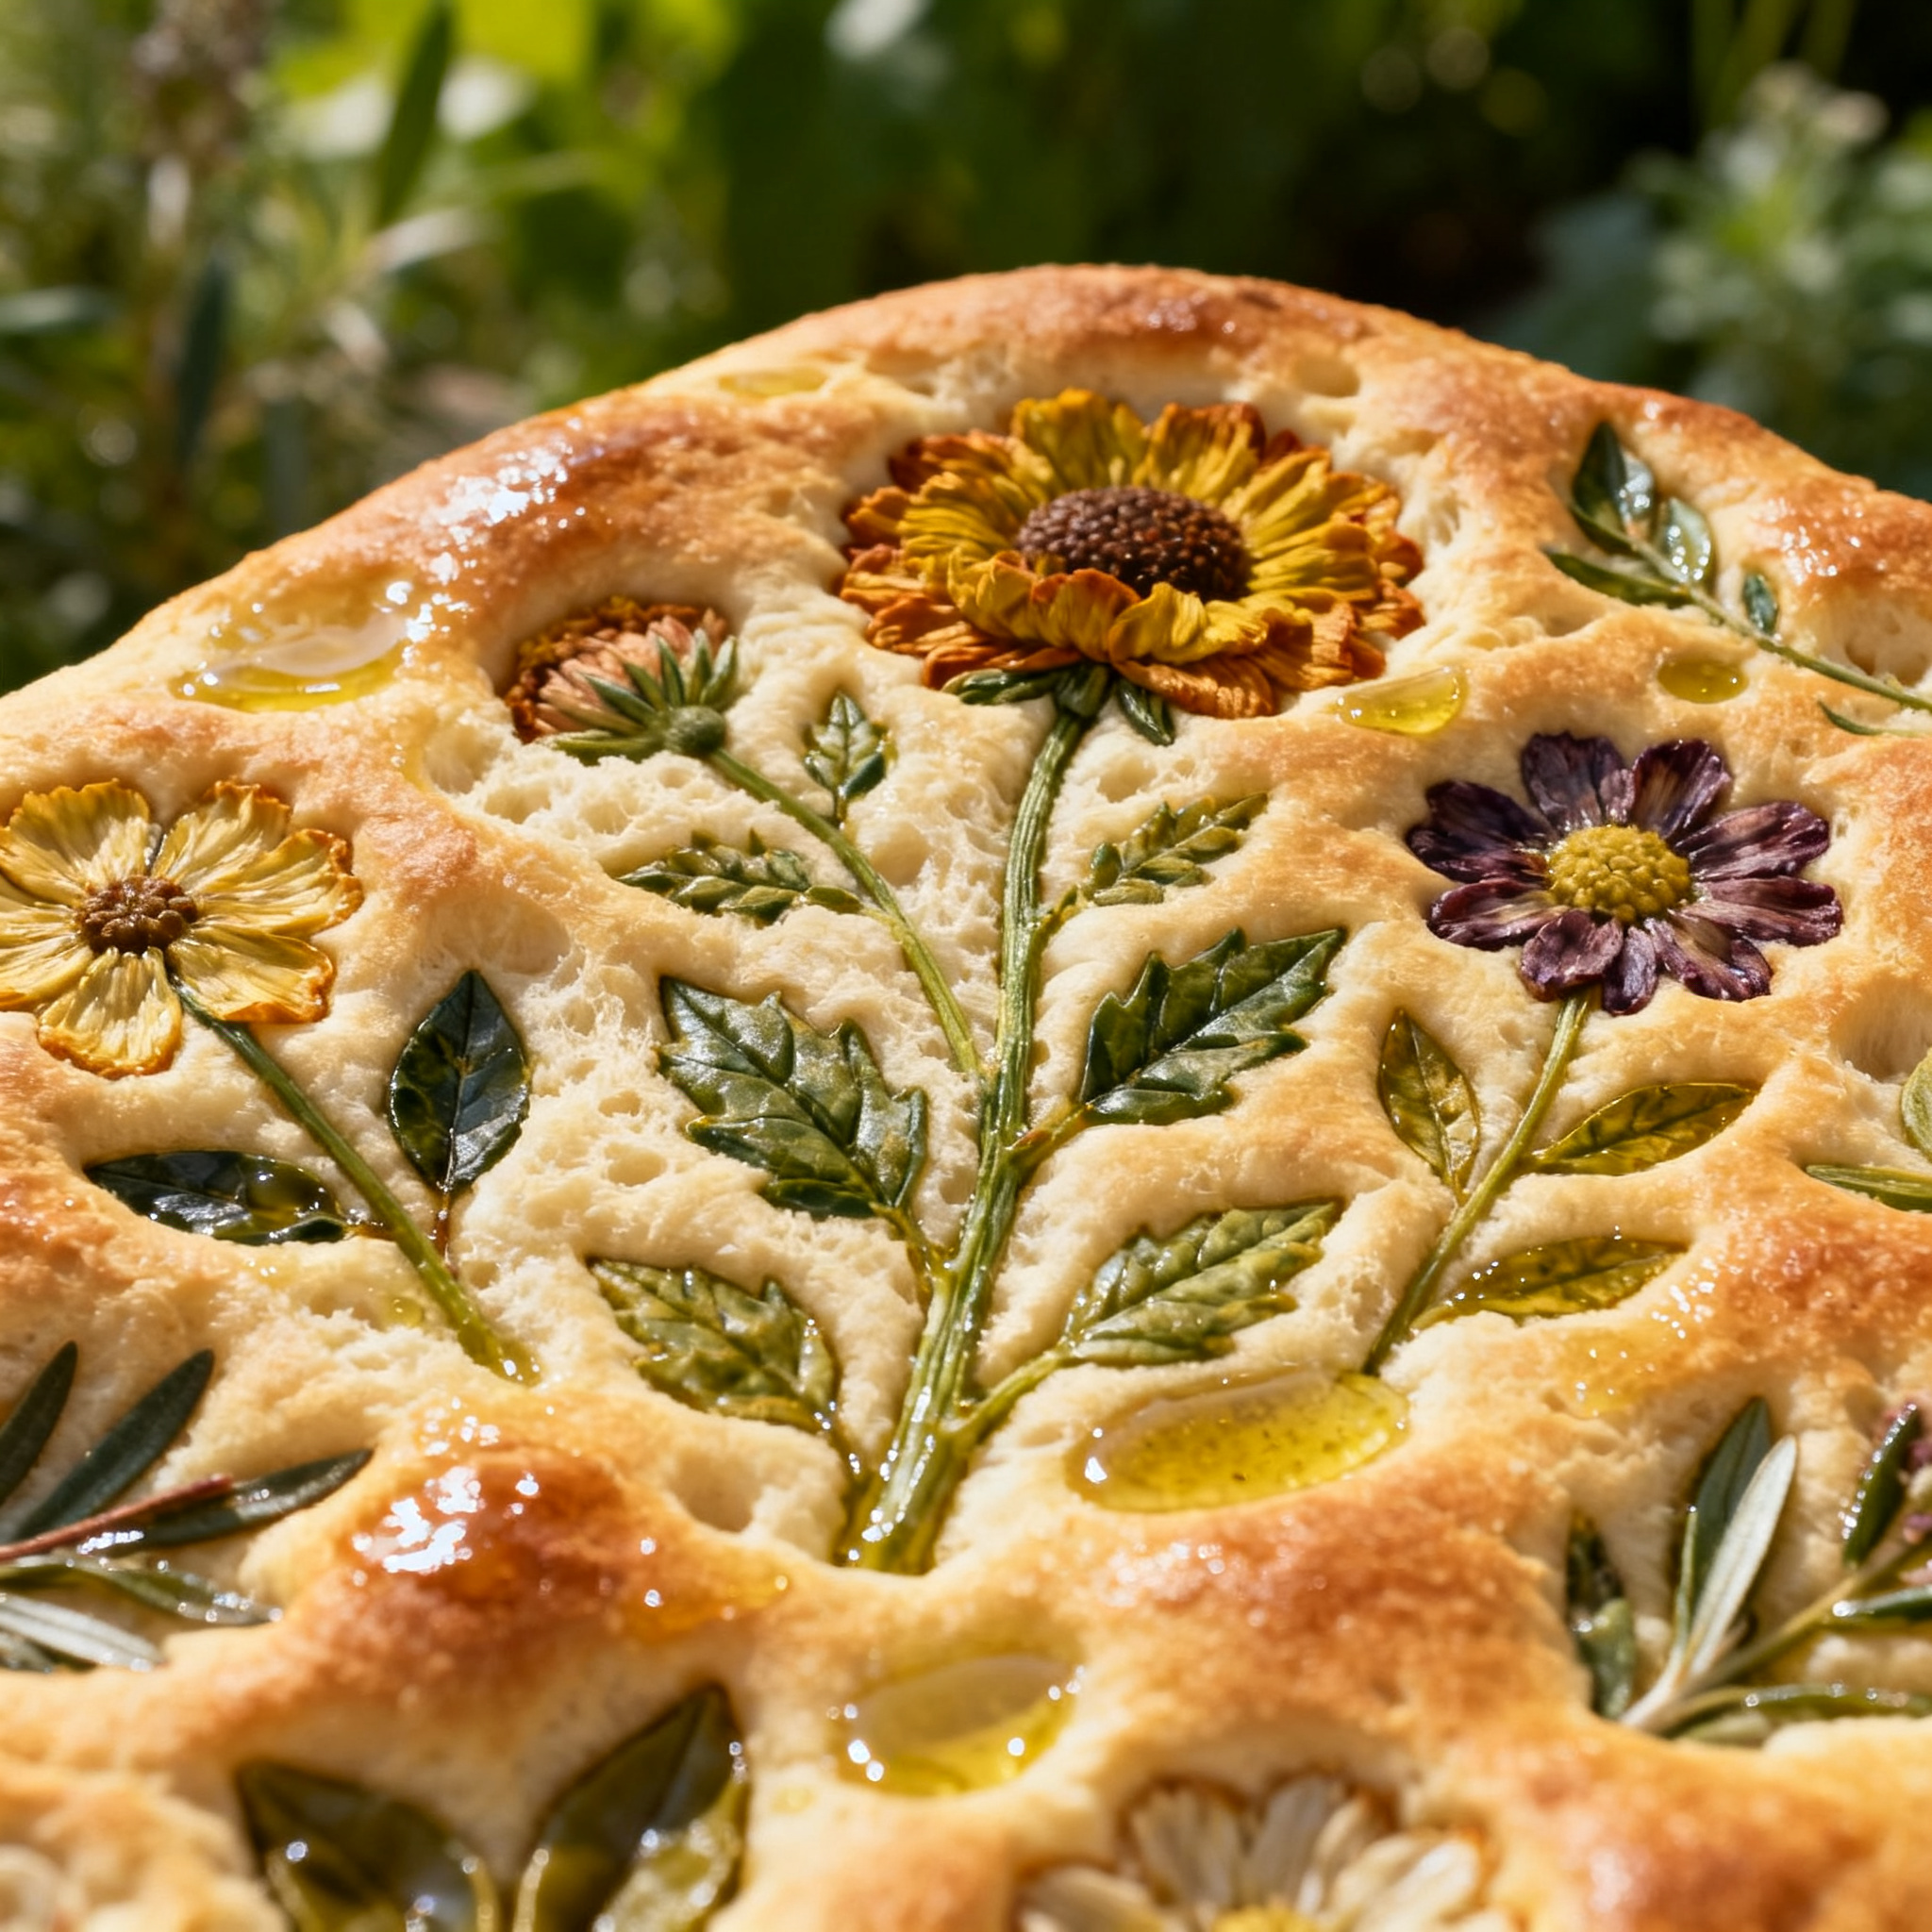
This is focaccia art done the way a bread baker would do it, not just a florist: dough gets a head start in the oven before a single vegetable touches it, so your garden design stays vivid and the crumb underneath never turns gummy. Thin-sliced tomatoes, onion rings, and herb sprigs get salted and blotted first, a five-minute step almost every focaccia art recipe skips. The payoff is a loaf that looks like a still-life painting and tastes as good as it looks, all the way to the center.
Simple, everyday ingredients and clear, step-by-step instructions — every recipe made in Dorothy’s kitchen before it reaches yours. Jump to the full recipe card below.
Garden Art Focaccia Bread (The Two-Bake Method for Vivid Color)
A high-hydration focaccia par-baked first, then decorated with salted, blotted vegetables for vivid focaccia art that never turns soggy.
- Total Time: 3 hours (includes rise time)
- Yield: 8 1x
Ingredients
- 4 cups (500g) bread flour
- 1 3/4 cups (420ml) warm water
- 2 1/4 tsp instant yeast
- 2 tsp fine sea salt
- 1 tbsp honey
- 1/4 cup extra-virgin olive oil, plus more for the pan and drizzling
- 1 cup cherry tomatoes, sliced paper-thin
- 1/2 red onion, sliced into thin rings
- 1 small bell pepper, cut into thin strips
- 4–5 scallions, halved lengthwise for stems
- Fresh herbs: chives, dill, basil, parsley, thyme sprigs
- A few black olives, thinly sliced
- Flaky sea salt, for finishing
Instructions
- In a large bowl, whisk together flour, instant yeast, and salt. Add warm water, honey, and olive oil, and mix with a spatula until a shaggy, wet dough forms. Cover and let rest 10 minutes, then do 3-4 stretch-and-folds over the next hour.
- Cover and let the dough bulk ferment until doubled, about 1.5-2 hours at room temperature, or overnight in the fridge for deeper flavor.
- While the dough rises, thinly slice all your vegetables. Lay them on paper towels, sprinkle lightly with salt, and let sit 15 minutes to draw out moisture, then blot dry with more paper towels. This step is what keeps your focaccia art vivid and prevents a soggy crumb.
- Generously oil a 9×13-inch sheet pan. Transfer the dough to the pan, stretching it gently to the edges. Cover and let rise 45 minutes, until puffy.
- Preheat oven to 425°F (220°C). Dimple the dough all over with oiled fingertips, then par-bake plain, with no toppings, for 10-12 minutes, until just set and pale gold, not browned.
- Remove the pan and brush the surface generously with olive oil. Working while the dough is still warm, arrange your blotted vegetables and herbs into a garden design, pressing gently so everything holds.
- Return to the oven and bake another 12-15 minutes, until the crust is deep golden and the vegetables are caramelized at the edges.
- Cool 10 minutes on a rack, then drizzle with more olive oil and finish with flaky sea salt before slicing.
Notes
Don’t skip the salt-and-blot step on your vegetables — it’s the difference between vivid focaccia art and a gray, soggy design. Dough can bulk ferment overnight in the fridge for better flavor and easier handling. Avoid high-moisture vegetables like cucumber even if salted; stick to tomatoes, thin onion, peppers, and sturdy herbs. Leftovers keep at room temperature, wrapped, for 2 days, or freeze slices for up to 2 months.
- Prep Time: 35 minutes
- Cook Time: 25 minutes
- Method: Baking
- Cuisine: Italian
Here’s the problem nobody talks about with focaccia art: you press beautiful raw vegetables into wet dough, bake the whole thing at once, and by the time the crumb is fully cooked, your tomatoes have wept their juice straight into the dough and your onion rings have gone gray and limp. The fix is a two-bake method borrowed from pizza and flatbread technique — par-bake the plain dough for about ten minutes until it’s just set and pale, THEN brush it with oil and lay in your garden design, and finish baking. The dough already has structure by the time the vegetables go on, so they sit on top and caramelize instead of steaming into the crumb.
The other move that separates good focaccia art from a soggy science project is salting your vegetables before they ever touch the dough. Slice your tomatoes, onions, and peppers paper-thin, lay them on paper towels, sprinkle with salt, and let them sit for fifteen minutes — you’ll watch a shocking amount of water bead out. Blot them dry and their color stays saturated instead of washing out gray in the oven, and you won’t get that ring of wet, underbaked dough directly beneath your prettiest design elements. This is the single most common mistake I see: people arrange gorgeous vegetable gardens on raw dough straight from the fridge, and the result always disappoints under the crust.
Why this works comes down to timing gluten and moisture against heat. A fully risen dough has open, delicate gas pockets; hit it with raw, watery vegetables and full heat at once, and steam gets trapped exactly where you don’t want it, right under the design. Par-baking lets the crust set and the crumb start firming up before it has to fight against vegetable moisture, and pre-salting removes most of that moisture before it’s ever a problem. You end up with the crackly, olive-oil-slicked crust focaccia is known for, plus vegetables that actually roast and caramelize at their edges instead of just sitting there raw-looking.
Swap in whatever vegetables hold their shape and color under heat — thin zucchini ribbons, radish slices, and rosemary sprigs all work beautifully, while anything watery like cucumber should be avoided entirely, salted or not. If you want a deeper flavor base, brush the par-baked dough with a spoonful of pesto or roasted garlic oil before you start your design, it works as both glue and seasoning. And if your dough is under-hydrated and stiff, your dimples will spring back and refuse to hold the vegetables in place — this recipe uses a wet, slack dough on purpose so the design presses in and stays put.
Frequently Asked Questions
Why does my focaccia art always turn out soggy in the middle?
This happens when raw, watery vegetables are pressed into dough and baked in a single pass — the vegetables release moisture right as the crumb is trying to set. Par-baking the plain dough first, then adding your design and finishing the bake, solves this because the crumb has already started to firm up before it meets any vegetable moisture.
How do I keep the vegetable colors from fading when I bake them?
Salt your sliced vegetables and let them sit 15 minutes before blotting dry. This pulls out excess water that would otherwise dilute and gray out their color in the oven, so your focaccia art stays vivid instead of washing out.
Can I make focaccia art ahead of time?
Yes — the dough can bulk ferment overnight in the fridge, which also deepens the flavor. Slice and salt your vegetables the day of baking, since pre-cut produce loses moisture and crispness if it sits too long.
What vegetables work best for focaccia art?
Thin-sliced tomatoes, red onion, bell pepper, olives, and sturdy herbs like rosemary, thyme, chives, and dill all hold their shape and color well. Avoid high-moisture vegetables like cucumber or zucchini rounds unless salted and blotted thoroughly, since they're prone to steaming rather than roasting.
Do I need a stencil to make focaccia art designs?
No stencil needed — thinly sliced vegetables and herb sprigs are pliable enough to arrange freehand directly into the oiled, par-baked dough. Think of it like painting: lay larger pieces first for the background, then add smaller herb details on top.
Get our 10 best recipes — free
Join the Hurry Up Meals newsletter and we’ll email you our 10 most-loved recipes as a free PDF.
Free PDF + new recipes every week. Unsubscribe anytime.