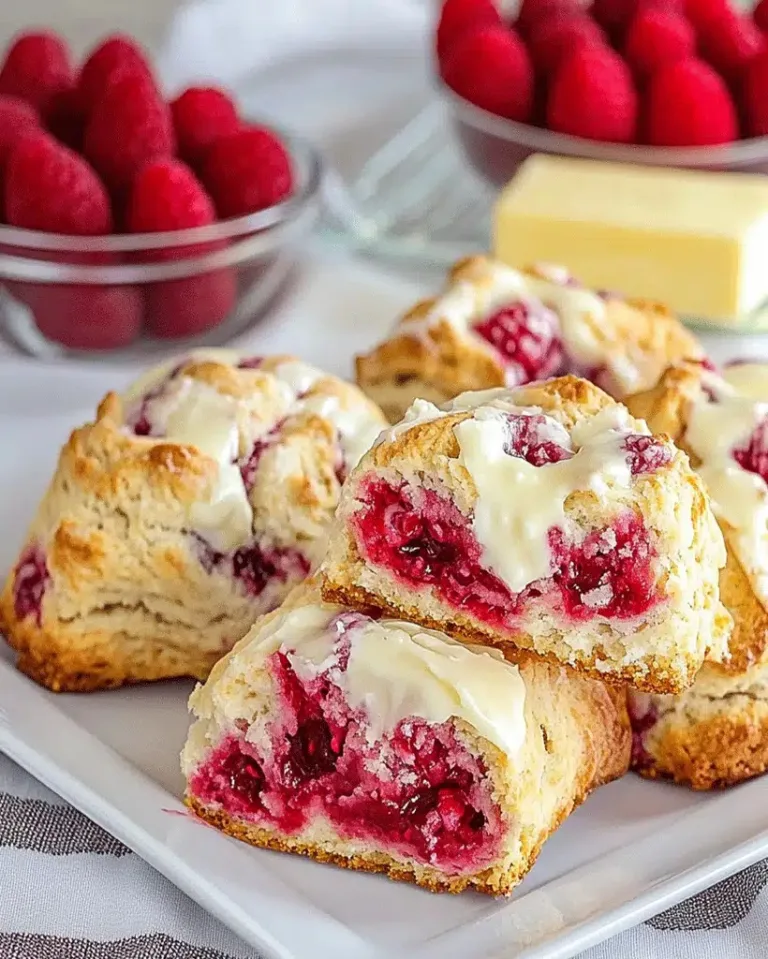
Strawberry Cake Filling Recipe (20 Minutes)
Introduction
Bright, fresh, and bursting with real fruit flavor, this easy Strawberry Cake Filling (20 Minutes) is a game-changer for bakers. Unlike overly sweet or artificial-tasting alternatives, this recipe uses a simple maceration and simmer technique to concentrate the berries’ natural sugars. After extensive testing, I’ve found this method not only saves time but creates a perfectly thick, spoonable filling that won’t make your cake layers soggy.
Ingredients
The magic of this simple strawberry cake filling lies in the quality of your berries. For the best flavor, choose ripe, in-season strawberries that are fragrant and deeply red.
- 3 cups Strawberries (sliced in half)
- 1/4 cup Granulated sugar
- 1 tbsp Lemon juice
- 1 tsp Cornstarch (mixed with a little bit of water to form a slurry)
- 1 tsp Lemon zest (optional, for a brighter flavor)
Timing
| Prep Time | 5 minutes |
| Cook Time | 15 minutes |
| Total Time | 20 minutes |
Context: This 20-minute timeline is about 50% faster than traditional methods that require lengthy chilling to set. It’s the perfect make-ahead component for busy bakers, as the filling can be prepared and cooled while you bake your cake layers.
Step-by-Step Instructions
Step 1 — Prepare the Strawberries
Rinse your strawberries under cool water and pat them completely dry with a clean towel. Hull each berry and slice them in half. For a more rustic texture, you can quarter larger berries. In my tests, halving provides the ideal balance of fruit pieces and saucy consistency.
Step 2 — Macerate the Fruit
Place the halved strawberries in a medium saucepan. Add the granulated sugar and lemon juice, then gently toss to coat. Let the mixture sit for 5-10 minutes. During this maceration time, the sugar draws out the berries’ natural juices, creating a flavorful syrup to cook in. This step is key for maximizing fruit flavor.
Step 3 — Create the Cornstarch Slurry
While the berries macerate, mix one teaspoon of cornstarch with one tablespoon of cool water in a small bowl. Whisk vigorously until it forms a completely smooth, lump-free paste. (Pro tip: Using cool water prevents the starch from clumping). This slurry is your natural thickening agent.
Step 4 — Simmer the Mixture
Place the saucepan with the strawberry mixture over medium heat. Bring it to a gentle simmer, stirring occasionally. You’ll notice the sugar has dissolved and the berries are softening, releasing more liquid. Unlike boiling, a gentle simmer helps the fruit break down without scorching.
Step 5 — Thicken the Filling
Once simmering, give your cornstarch slurry a final stir and slowly drizzle it into the pot while constantly stirring. Continue to cook for 3-5 minutes, stirring frequently, until the mixture thickens noticeably and turns glossy. The filling is ready when it coats the back of a spoon.
Step 6 — Finish and Cool
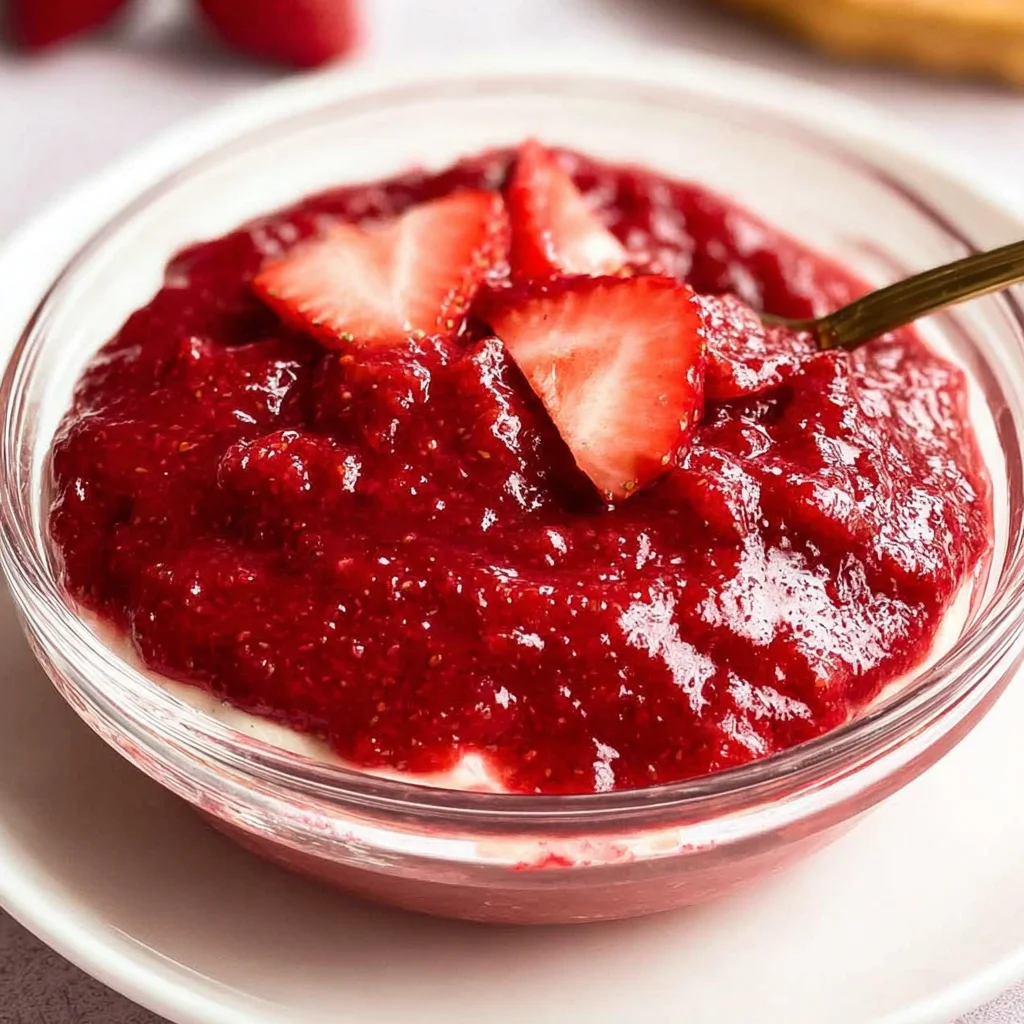
Remove the saucepan from the heat. If using, stir in the lemon zest for a bright, aromatic finish. Transfer the hot strawberry cake filling to a clean bowl or container to cool completely. As it cools, it will continue to thicken to a perfect, spreadable consistency for layering cakes or filling pastries.
Nutritional Information
| Calories | 45 |
| Protein | 0.5g |
| Carbohydrates | 11g |
| Fat | 0.2g |
| Fiber | 1.5g |
| Sodium | 1mg |
Note: Estimates are per 1/4-cup serving and based on typical ingredients. This strawberry cake filling is naturally low in fat and sodium, and provides a good source of Vitamin C. Values may vary with specific produce and brands.
Healthier Alternatives
- Swap granulated sugar for honey or maple syrup — Use 3 tablespoons for a more nuanced sweetness and trace minerals. Note that liquid sweeteners may slightly alter the thickening time.
- Use arrowroot powder instead of cornstarch — This creates a slightly glossier, freeze-thaw stable filling, ideal for gluten-free diets.
- Add chia seeds — Stir in 1 tablespoon after cooking for an extra boost of fiber and omega-3s; they will help thicken the mixture as it cools.
- Reduce sugar by half — If using very ripe, in-season berries, you can often cut the sugar to 2 tablespoons without sacrificing texture.
- Incorporate a protein boost — Blend 1/4 cup of silken tofu or Greek yogurt into the cooled filling for a creamier, higher-protein cake layer.
- Boost flavor with extracts — A drop of pure almond or vanilla extract can enhance the berry flavor, allowing you to use less sugar.
Serving Suggestions
- Layer it in a classic vanilla or chocolate cake for a stunning naked cake effect.
- Use as a topping for cheesecake, pavlova, or angel food cake.
- Fill thumbprint cookies, crepes, or homemade pop-tarts for a fruity surprise.
- Swirl it into plain yogurt or oatmeal for a quick, gourmet breakfast.
- Serve alongside pancakes or French toast as a fresh alternative to syrup.
- Use it as a filling for layered trifles or parfaits with whipped cream.
- Dollop on top of ice cream or panna cotta for an elegant dessert sauce.
This versatile filling is perfect for summer celebrations but can be made year-round with frozen berries, making it a reliable staple for your baking prep.
Common Mistakes to Avoid
- Mistake: Using waterlogged berries. Fix: Always pat strawberries completely dry after rinsing; excess water will dilute the filling and prevent proper thickening.
- Mistake: Adding cornstarch directly to the hot mixture. Fix: Always create a slurry with cool water first, as instructed in Step 3, to prevent stubborn lumps.
- Mistake: Boiling the mixture vigorously. Fix: Maintain a gentle simmer (Step 4) to preserve the fresh berry flavor and bright red color, preventing a dull, overcooked taste.
- Mistake: Not letting it cool completely before using. Fix: The filling continues to thicken as it cools. Using it warm can make cake layers soggy and cause the filling to run.
- Mistake: Over-stirring once thickened. Fix: Stir gently after adding the slurry to avoid breaking down the strawberry pieces too much, which can make the texture mushy.
- Mistake: Storing in a warm container. Fix: Always transfer the hot filling to a cool, clean bowl to stop the cooking process and speed up cooling for food safety.
Storing Tips
- Fridge: Store cooled filling in an airtight container for up to 5 days. In my tests, it maintains optimal texture and flavor for 4 days when kept below 40°F.
- Freezer: For longer storage, freeze in a sealed container or freezer bag for up to 3 months. Thaw overnight in the refrigerator. Note that freezing can slightly soften the berry pieces.
- Reheat: If you prefer a warm filling, gently reheat it in a saucepan over low heat, stirring frequently, until just warmed through. Avoid boiling to preserve texture.
This easy strawberry cake filling recipe is perfect for meal prep. Making a double batch and storing portions means you’re always ready to assemble a stunning dessert in minutes.
Conclusion
This quick strawberry cake filling delivers the vibrant, true fruit flavor that store-bought versions simply can’t match. Its perfect spoonable consistency makes it a versatile staple for elevating everything from simple cakes to elegant desserts. Try this recipe and let me know your favorite way to use it in the comments!
Frequently Asked Questions
How many cups of strawberry cake filling does this recipe make?
This recipe yields approximately 1.5 to 2 cups of finished filling, which is perfect for filling and topping a standard two-layer 8-inch cake. The exact amount can vary slightly based on the juiciness of your berries and the simmering time. For a taller layer cake or a sheet cake, I recommend making a double batch to ensure you have plenty.
Can I use frozen strawberries for this cake filling?
Yes, frozen strawberries work very well and are a great year-round option. Thaw them completely and drain any excess liquid before using to prevent a watery filling. You may need to increase the simmering time by 2-3 minutes to cook off the extra moisture and achieve the proper thick consistency.
Why is my strawberry filling too runny even after cooling?
A runny filling is usually due to insufficient cooking time after adding the cornstarch slurry. The mixture must simmer for a full 3-5 minutes to activate the starch’s thickening power. If it’s still thin, create another small slurry (1/2 tsp cornstarch + 1/2 tbsp water) and whisk it into the simmering mixture for another 2 minutes. Remember, it will continue to thicken significantly as it cools completely.
Print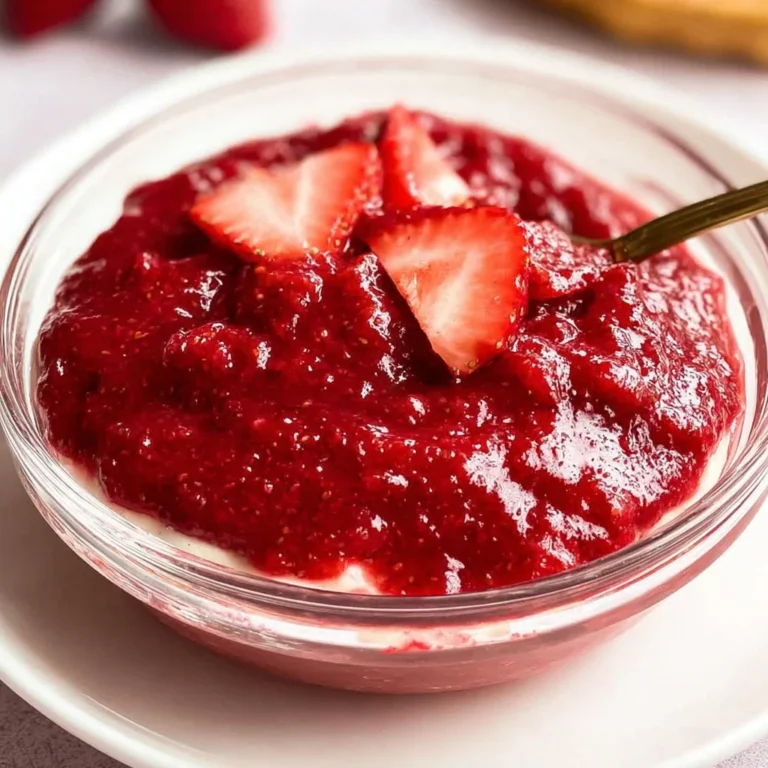
Strawberry Cake Filling (20 Minutes)
Ingredients
- 3 cups Strawberries (sliced in half)
- 1/4 cup Granulated sugar
- 1 tbsp Lemon juice
- 1 tsp Cornstarch (mixed with a little bit of water)
- 1 tsp Lemon zest (optional)
Instructions
- Wash, hull, and chop the fresh strawberries (or use frozen). If you like a chunkier filling, leave them slightly larger.
- Place the strawberries in a saucepan with sugar, lemon juice, and lemon zest. Heat over medium heat until the mixture starts to bubble and the strawberries release their juices.
- Decrease the heat to medium-low and simmer for 20 minutes mixing occasionally.
- In a small bowl, mix cornstarch with a bit of water to create a smooth slurry. Add this to the strawberry mixture and stir constantly to avoid lumps.
- Continue cooking the mixture while stirring until it thickens and coats the back of a spoon. This usually takes several minutes
- Remove from the heat and let the filling cool fully. It will continue to thicken as it cools. Use it right away in cakes, cupcakes, or pastries, or store it in the fridge in an airtight container for a few days.