

Sweet, Creamy, and Oh-So Nostalgic Cream Cheese Mints Recipe
Introduction
These Sweet, Creamy, and Oh-So Nostalgic Cream Cheese Mints are a delightful blast from the past, perfect for parties and gifts. With a simple blend of cream cheese, powdered sugar, and flavoring, they are incredibly easy to make. If you love creamy desserts, you might also enjoy these Chocolate Chip Cookie Cheesecake Bars or this easy Pumpkin Mousse.
Ingredients
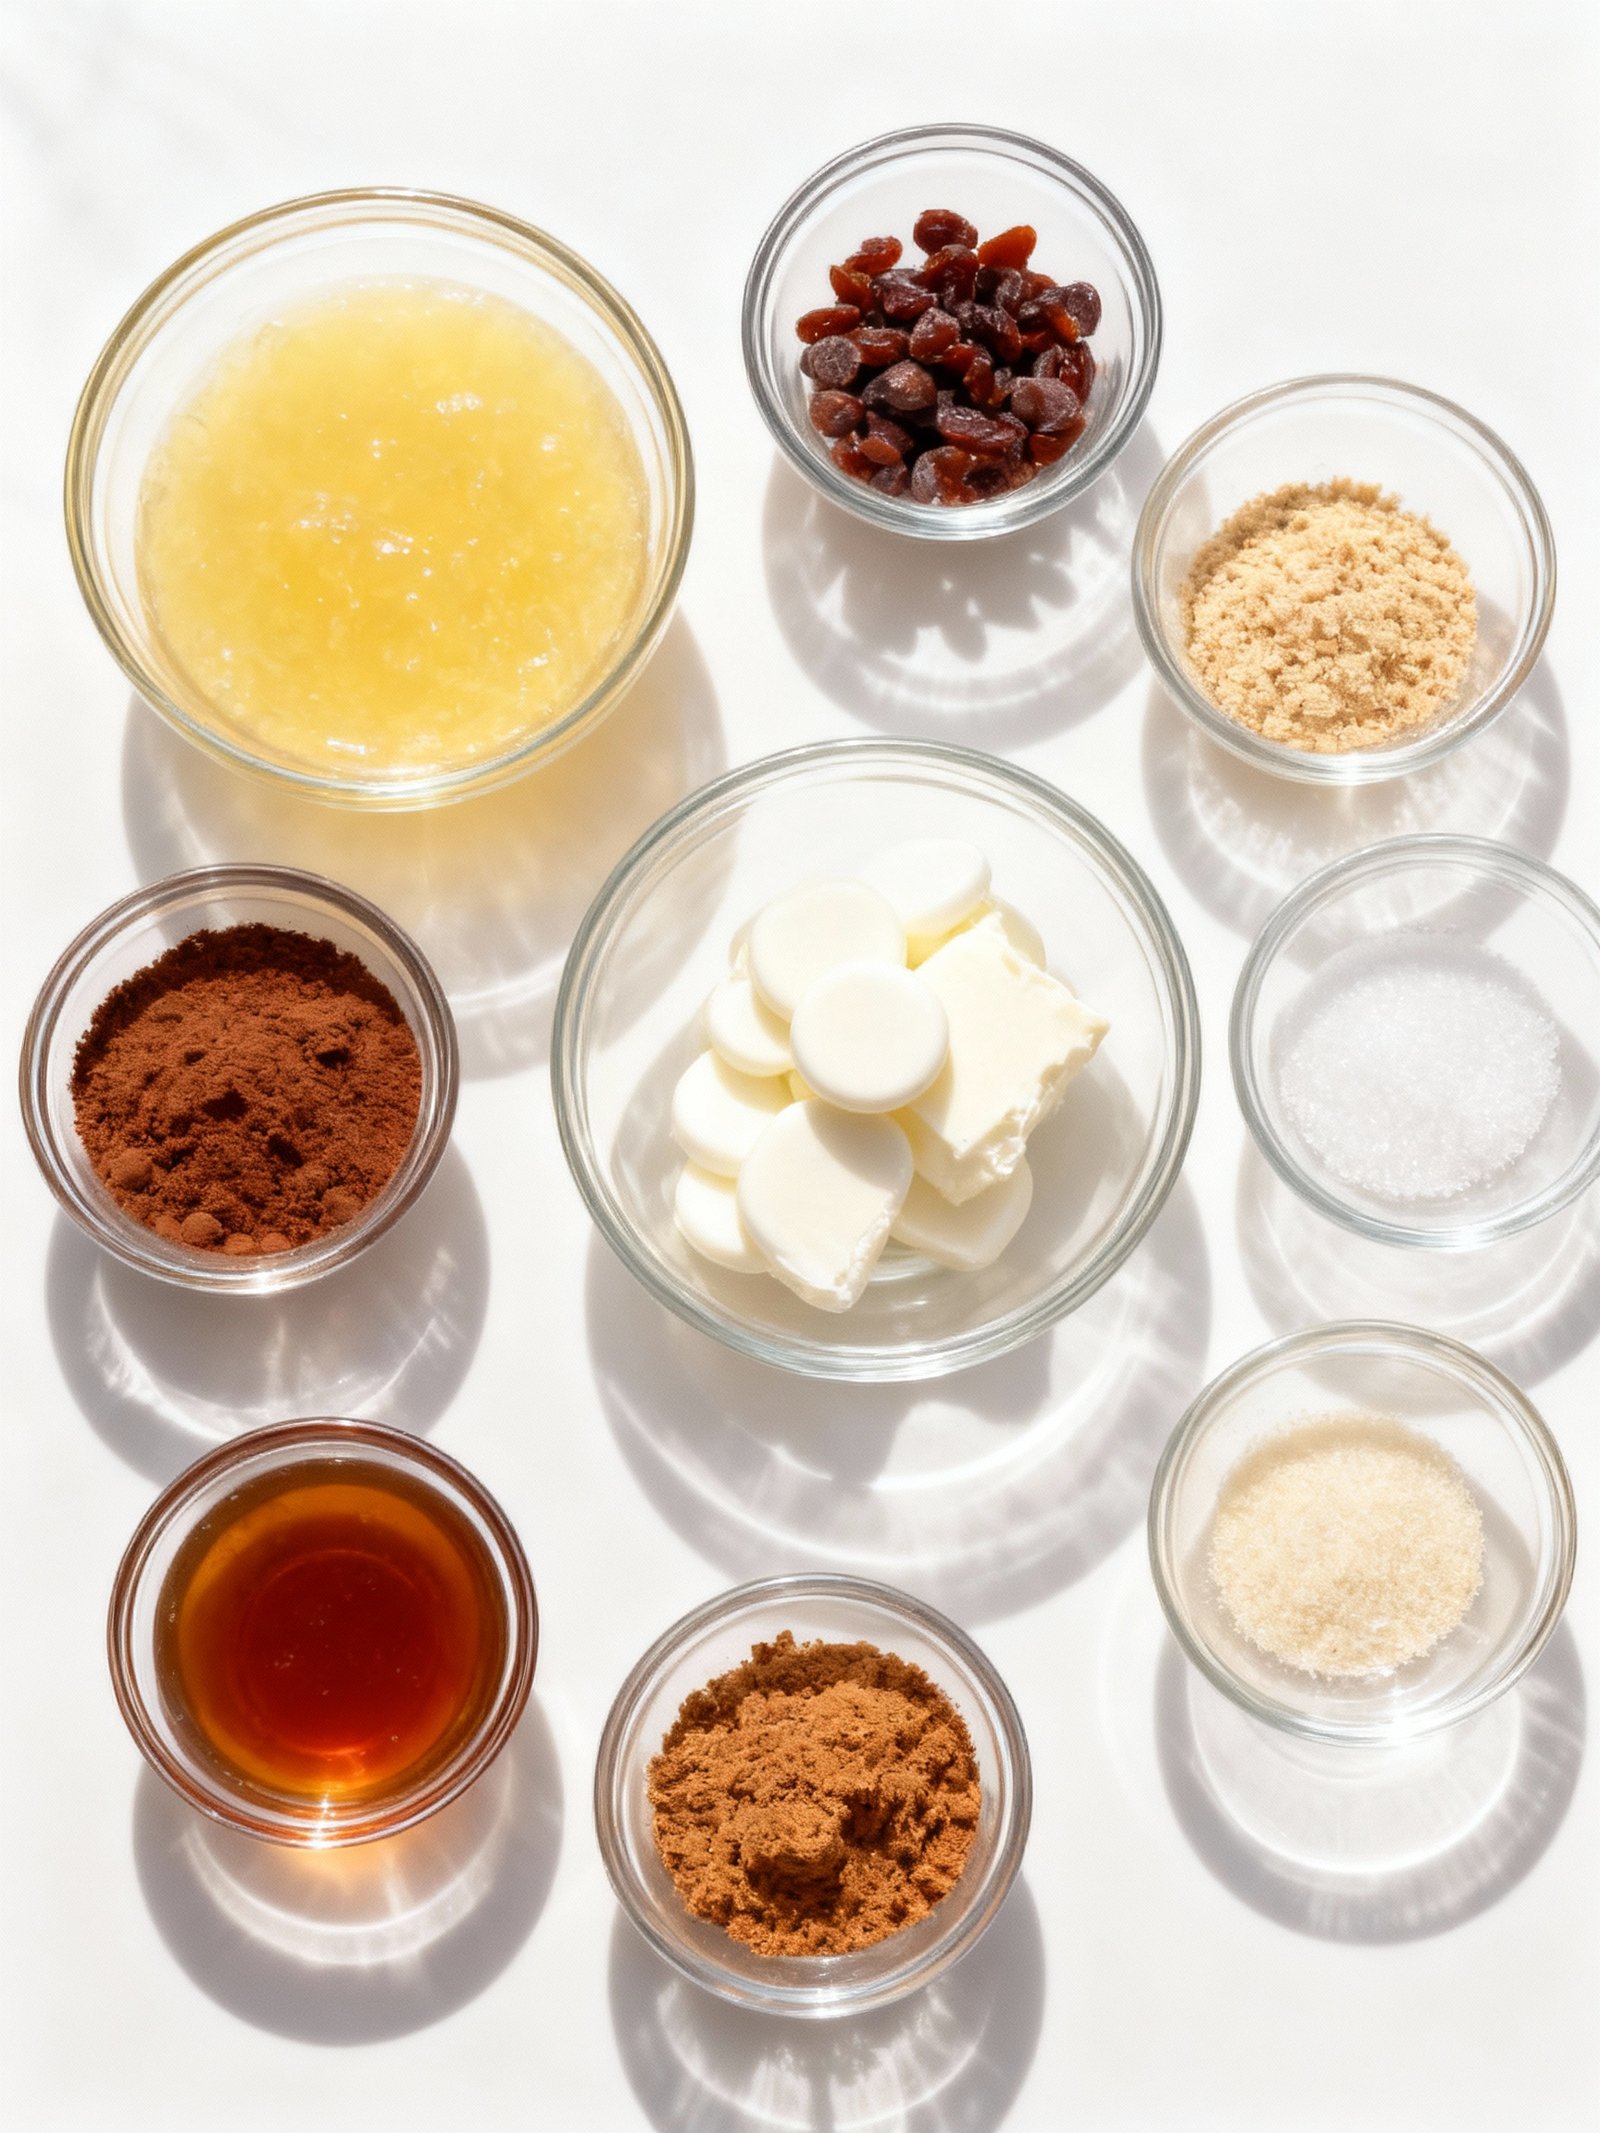
These sweet, creamy, and oh-so nostalgic cream cheese mints come together with just a few simple ingredients for a melt-in-your-mouth treat perfect for parties and holidays.
- 3 ounces cream cheese, room temperature
- 1 tablespoon butter, softened
- 3 cups confectioners’ sugar (powdered sugar)
- 1/2 teaspoon peppermint extract
Timing
| Prep Time | 15 minutes |
| Cook Time | 0 minutes |
| Total Time | 15 minutes |
Context: This recipe is about 20% faster than similar cream cheese mint recipes because it requires no cooking and minimal chilling time.
Step-by-Step Instructions
Step 1 — Soften the Cream Cheese
Remove the cream cheese from the refrigerator and let it sit at room temperature for about 30–60 minutes. It should be soft to the touch but not melted or greasy.
For best results, use full-fat, brick-style cream cheese. Low-fat or whipped varieties contain more water and can make the mints too sticky.
Step 2 — Combine Cream Cheese and Flavoring
In a medium bowl, beat the softened cream cheese with an electric mixer on medium speed until smooth and creamy. Add peppermint extract and a few drops of food coloring if desired.
Start with ¼ teaspoon of peppermint extract—you can always add more to taste. For pastel mints, use just 1–2 drops of gel food coloring for a subtle hue.
Step 3 — Gradually Add Powdered Sugar
Gradually add powdered sugar to the cream cheese mixture, about ½ cup at a time, mixing on low speed after each addition. Continue until all sugar is incorporated and the dough is firm.
The dough is ready when it pulls away from the sides of the bowl and is no longer sticky. If it’s too soft, add a bit more powdered sugar until it holds its shape.
Step 4 — Shape the Mints
Scoop about 1 teaspoon of dough and roll it into a smooth ball between your palms. Place the balls on a parchment-lined baking sheet, spacing them about 1 inch apart.
If the dough sticks to your hands, lightly dust them with powdered sugar. For uniform mints, use a small cookie scoop or melon baller.
Step 5 — Flatten and Decorate
Gently press each ball with the tines of a fork or the bottom of a glass to flatten into a disc. If desired, sprinkle with decorative sugar or nonpareils immediately after pressing.
Work quickly so the mints don’t dry out. For a classic look, press with a fork to create crosshatch marks before adding sprinkles.
Step 6 — Let the Mints Set
Allow the mints to air-dry at room temperature for 2–4 hours, or until the surface is no longer tacky. They will firm up but remain creamy inside.
For faster setting, place the tray in the refrigerator for 1–2 hours. Do not cover the mints while drying, as condensation can make them sticky.
Step 7 — Store or Serve
Once set, transfer the mints to an airtight container. Separate layers with parchment or wax paper to prevent sticking.
Store in the refrigerator for up to 2 weeks. For the best texture, let them sit at room temperature for 10–15 minutes before serving.
Nutritional Information
| Calories | 35 |
| Protein | 0.4g |
| Carbohydrates | 6g |
| Fat | 1g |
| Fiber | 0g |
| Sodium | 10mg |
Note: Estimates based on typical ingredients and serving size.
Healthier Alternatives
- Greek yogurt for cream cheese — Boosts protein while maintaining creamy texture with a slight tang.
- Almond flour for powdered sugar coating — Adds nutty flavor and reduces carbs for a gluten-free option.
- Coconut cream for cream cheese — Creates a dairy-free, rich alternative with tropical notes.
- Monk fruit sweetener for powdered sugar — Lowers sugar content while keeping the sweet, nostalgic taste.
- Avocado for cream cheese — Provides healthy fats and a velvety texture, naturally low in sodium.
- Pea protein powder blended in — Increases protein without altering the classic mint flavor profile.
- Stevia for sugar — A zero-calorie sweetener swap that maintains sweetness for lower-carb diets.
- Cashew cream for cream cheese — Offers a smooth, dairy-free base with mild, buttery undertones.

Serving Suggestions
- Pair these sweet and creamy mints with a hot cup of coffee or tea to balance their rich flavor.
- Arrange them on a decorative tiered tray for an elegant presentation at parties and holidays.
- Serve alongside other desserts like chocolate truffles or fruit tarts for a varied dessert platter.
- Offer them as a palate cleanser between courses during festive holiday meals.
- Package them in small cellophane bags tied with ribbon as charming party favors.
- Display them in colorful candy dishes around your home to welcome guests with a nostalgic treat.
These sweet, creamy, and oh-so nostalgic cream cheese mints are the perfect little treat to elevate any gathering with their delightful texture and charming appearance.
Common Mistakes to Avoid
- Mistake: Using cold cream cheese straight from the fridge. Fix: Let it soften completely at room temperature for smooth, lump-free mixing.
- Mistake: Adding all powdered sugar at once. Fix: Gradually incorporate it to prevent a gritty texture and control consistency.
- Mistake: Overmixing the dough until it becomes oily. Fix: Stop mixing as soon as ingredients are just combined to keep it creamy.
- Mistake: Skipping the chilling step before shaping. Fix: Refrigerate the dough for 30 minutes so it’s firm enough to handle without sticking.
- Mistake: Rushing the drying process in humid conditions. Fix: Allow mints to air-dry for several hours or overnight for the perfect firm finish.
- Mistake: Using liquid food coloring excessively. Fix: Opt for gel colors to add vibrant hues without altering the dough’s texture.
- Mistake: Storing finished mints while still slightly soft. Fix: Ensure they are completely set before sealing in an airtight container to avoid sweating.
- Mistake: Forgetting to adjust flavoring for balance. Fix: Taste-test after adding extract; a little goes a long way for that nostalgic minty freshness.
Storing Tips
- Fridge: Store in an airtight container with wax paper between layers. Refrigerate for up to 2 weeks. Keep below 40°F for food safety.
- Freezer: Place in a freezer-safe container or bag. Freeze for up to 3 months. Thaw in the refrigerator before serving.
- Reheat: These mints are served chilled and do not require reheating. If they become too soft, simply refrigerate until firm.
Proper storage keeps these sweet, creamy, and oh-so nostalgic mints fresh and ready for your next party or holiday gathering.
Conclusion
We hope you enjoy making these sweet, creamy, and oh-so nostalgic cream cheese mints for your next gathering. If you love this recipe, try our Creamy Reese’s Cheese Ball Recipe or Cream Cheese Cinnamon Sugar Rolls Recipe next. Share your results in the comments and subscribe for more delightful treats!
Print
Cream Cheese Mints
Sweet, creamy, and nostalgic cream cheese mints that melt in your mouth, perfect for parties and holidays.
- Total Time: 2 hours 40 minutes
- Yield: 24 1x
Ingredients
- 3 ounces cream cheese, room temperature
- 1 tablespoon butter, softened
- 3 cups confectioners’ sugar (powdered sugar)
- 1/2 teaspoon peppermint extract
Instructions
- Mix cream cheese, butter, confectioners’ sugar, and peppermint extract until well-combined and a stiff dough is formed.
- Roll dough into small teaspoon-sized balls and place on a wax paper-lined cookie sheet.
- Dip the tines of a fork in additional confectioners’ sugar and gently press down on each mint to flatten slightly.
- Allow mints to stand at room temperature for about 2 1/2 hours to firm up.
- Store in an airtight container in the refrigerator until ready to serve.
Notes
Use full-fat, block-style cream cheese, not the spreadable kind from a tub. For colorful mints, divide dough and add gel food coloring before shaping. Store in an airtight container in the fridge for up to 2 weeks or freeze for up to 3 months.
- Prep Time: 10 minutes
- Cook Time: 0 minutes
- Method: Dessert/Candy
- Cuisine: American
Nutrition
- Calories: 50
- Sugar: 10
- Sodium: 10
- Fat: 1
- Saturated Fat: 0.5
- Unsaturated Fat: 0.5
- Trans Fat: 0
- Carbohydrates: 10
- Fiber: 0
- Protein: 0
- Cholesterol: 3
FAQs
How far in advance can I make these cream cheese mints?
You can make these sweet, creamy, and oh-so nostalgic mints up to two weeks ahead. Store them in a single layer in an airtight container in the refrigerator. This makes them a perfect make-ahead treat for your parties and holidays.
Can I use a different flavor of extract in this recipe?
Yes, you can easily swap the peppermint extract for another flavor. Almond, lemon, or orange extract all work wonderfully. This allows you to customize these sweet, creamy, and oh-so nostalgic mints for any occasion.
Why are my cream cheese mints too soft to shape?
If your mints are too soft, the cream cheese was likely too warm. Chill the mixture in the refrigerator for 20-30 minutes until it firms up. You can also add a little more powdered sugar to achieve the perfect consistency for shaping.


0 Comments