Cherries in the Snow Dessert Easy Recipe
Introduction
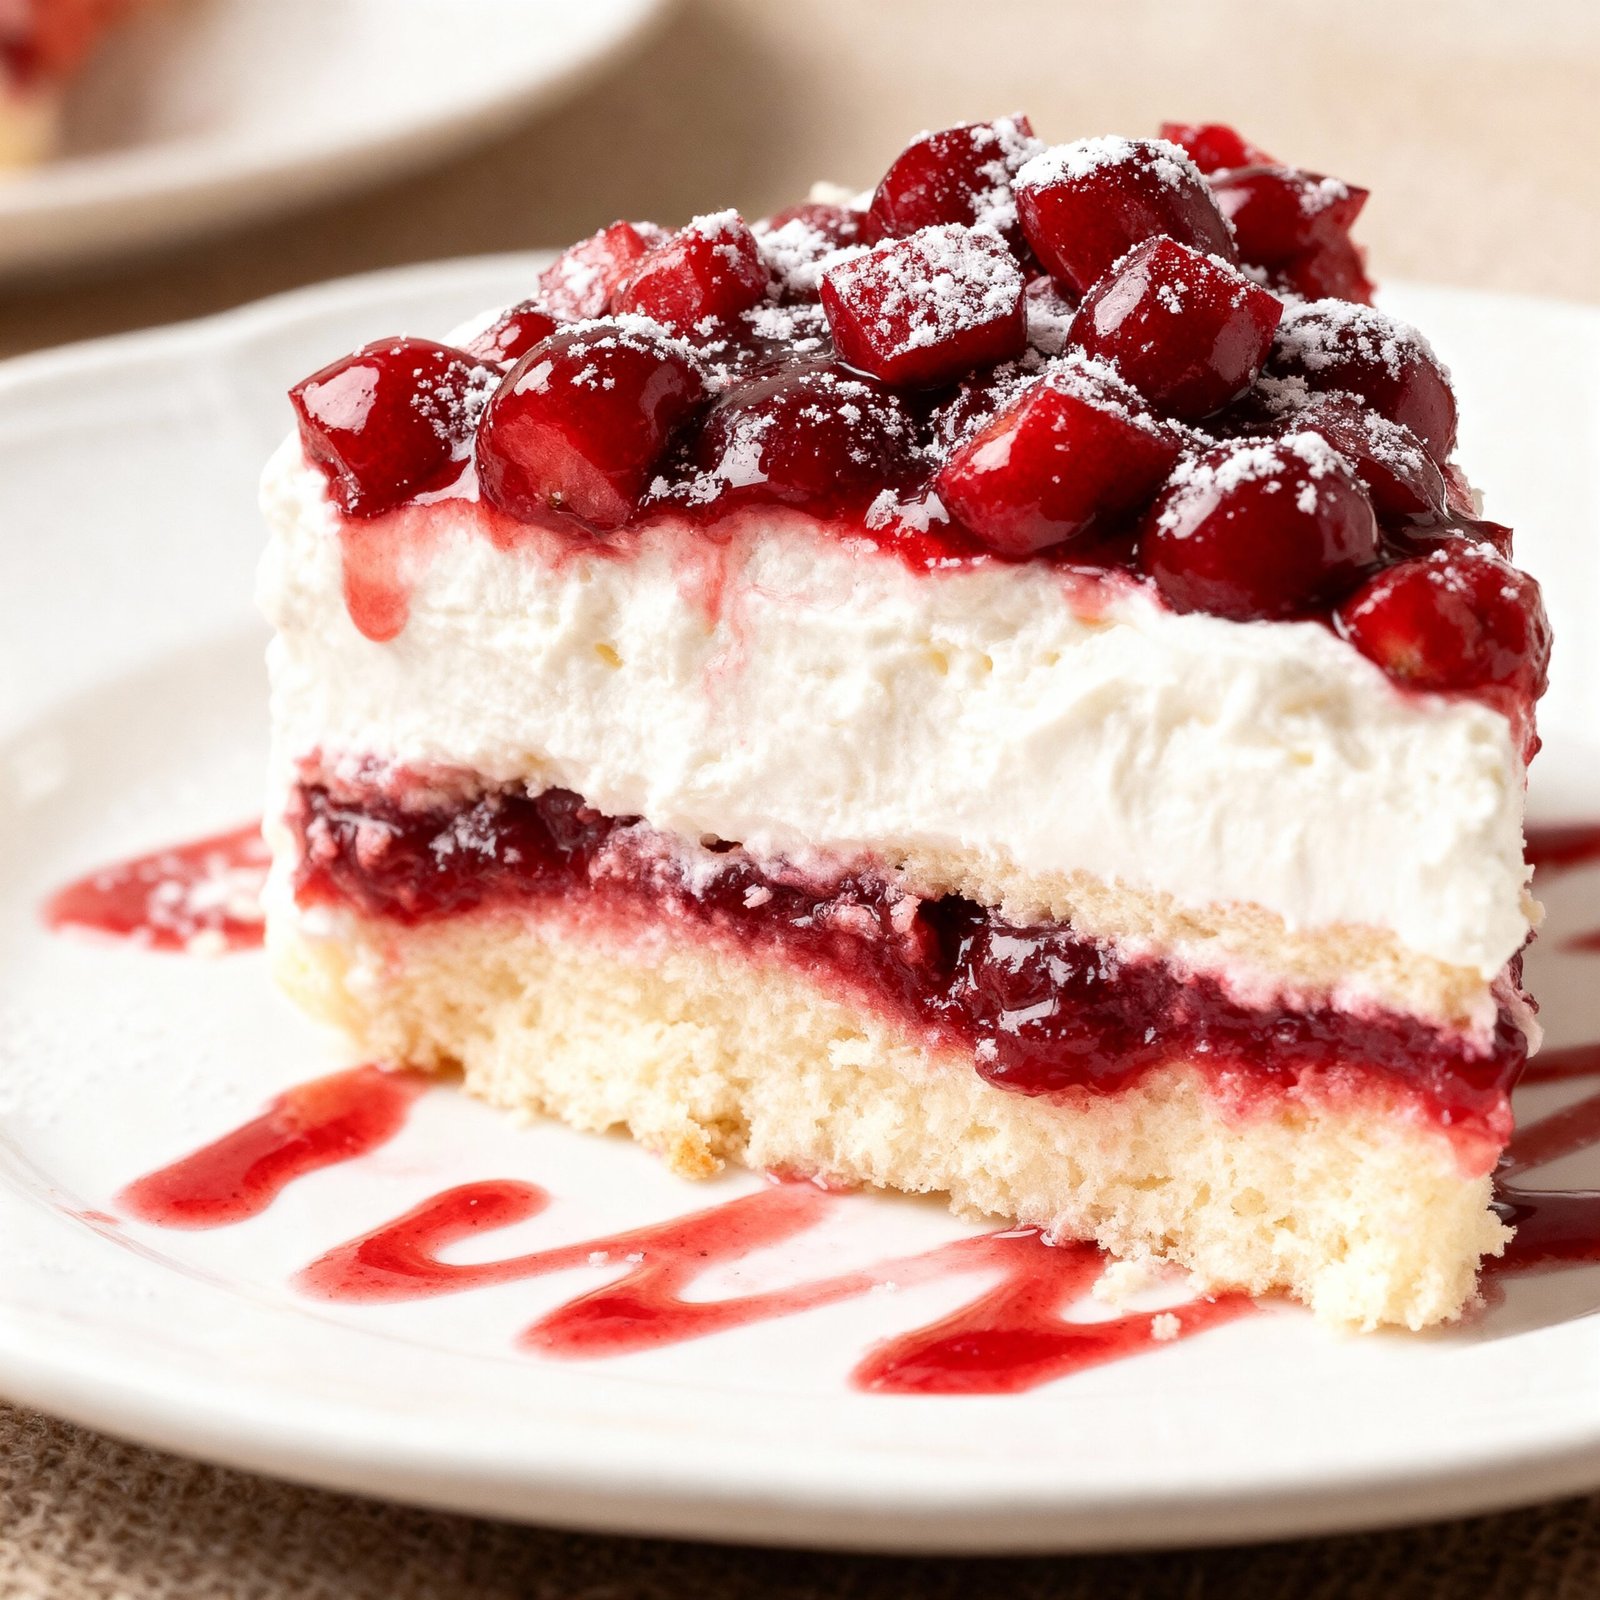
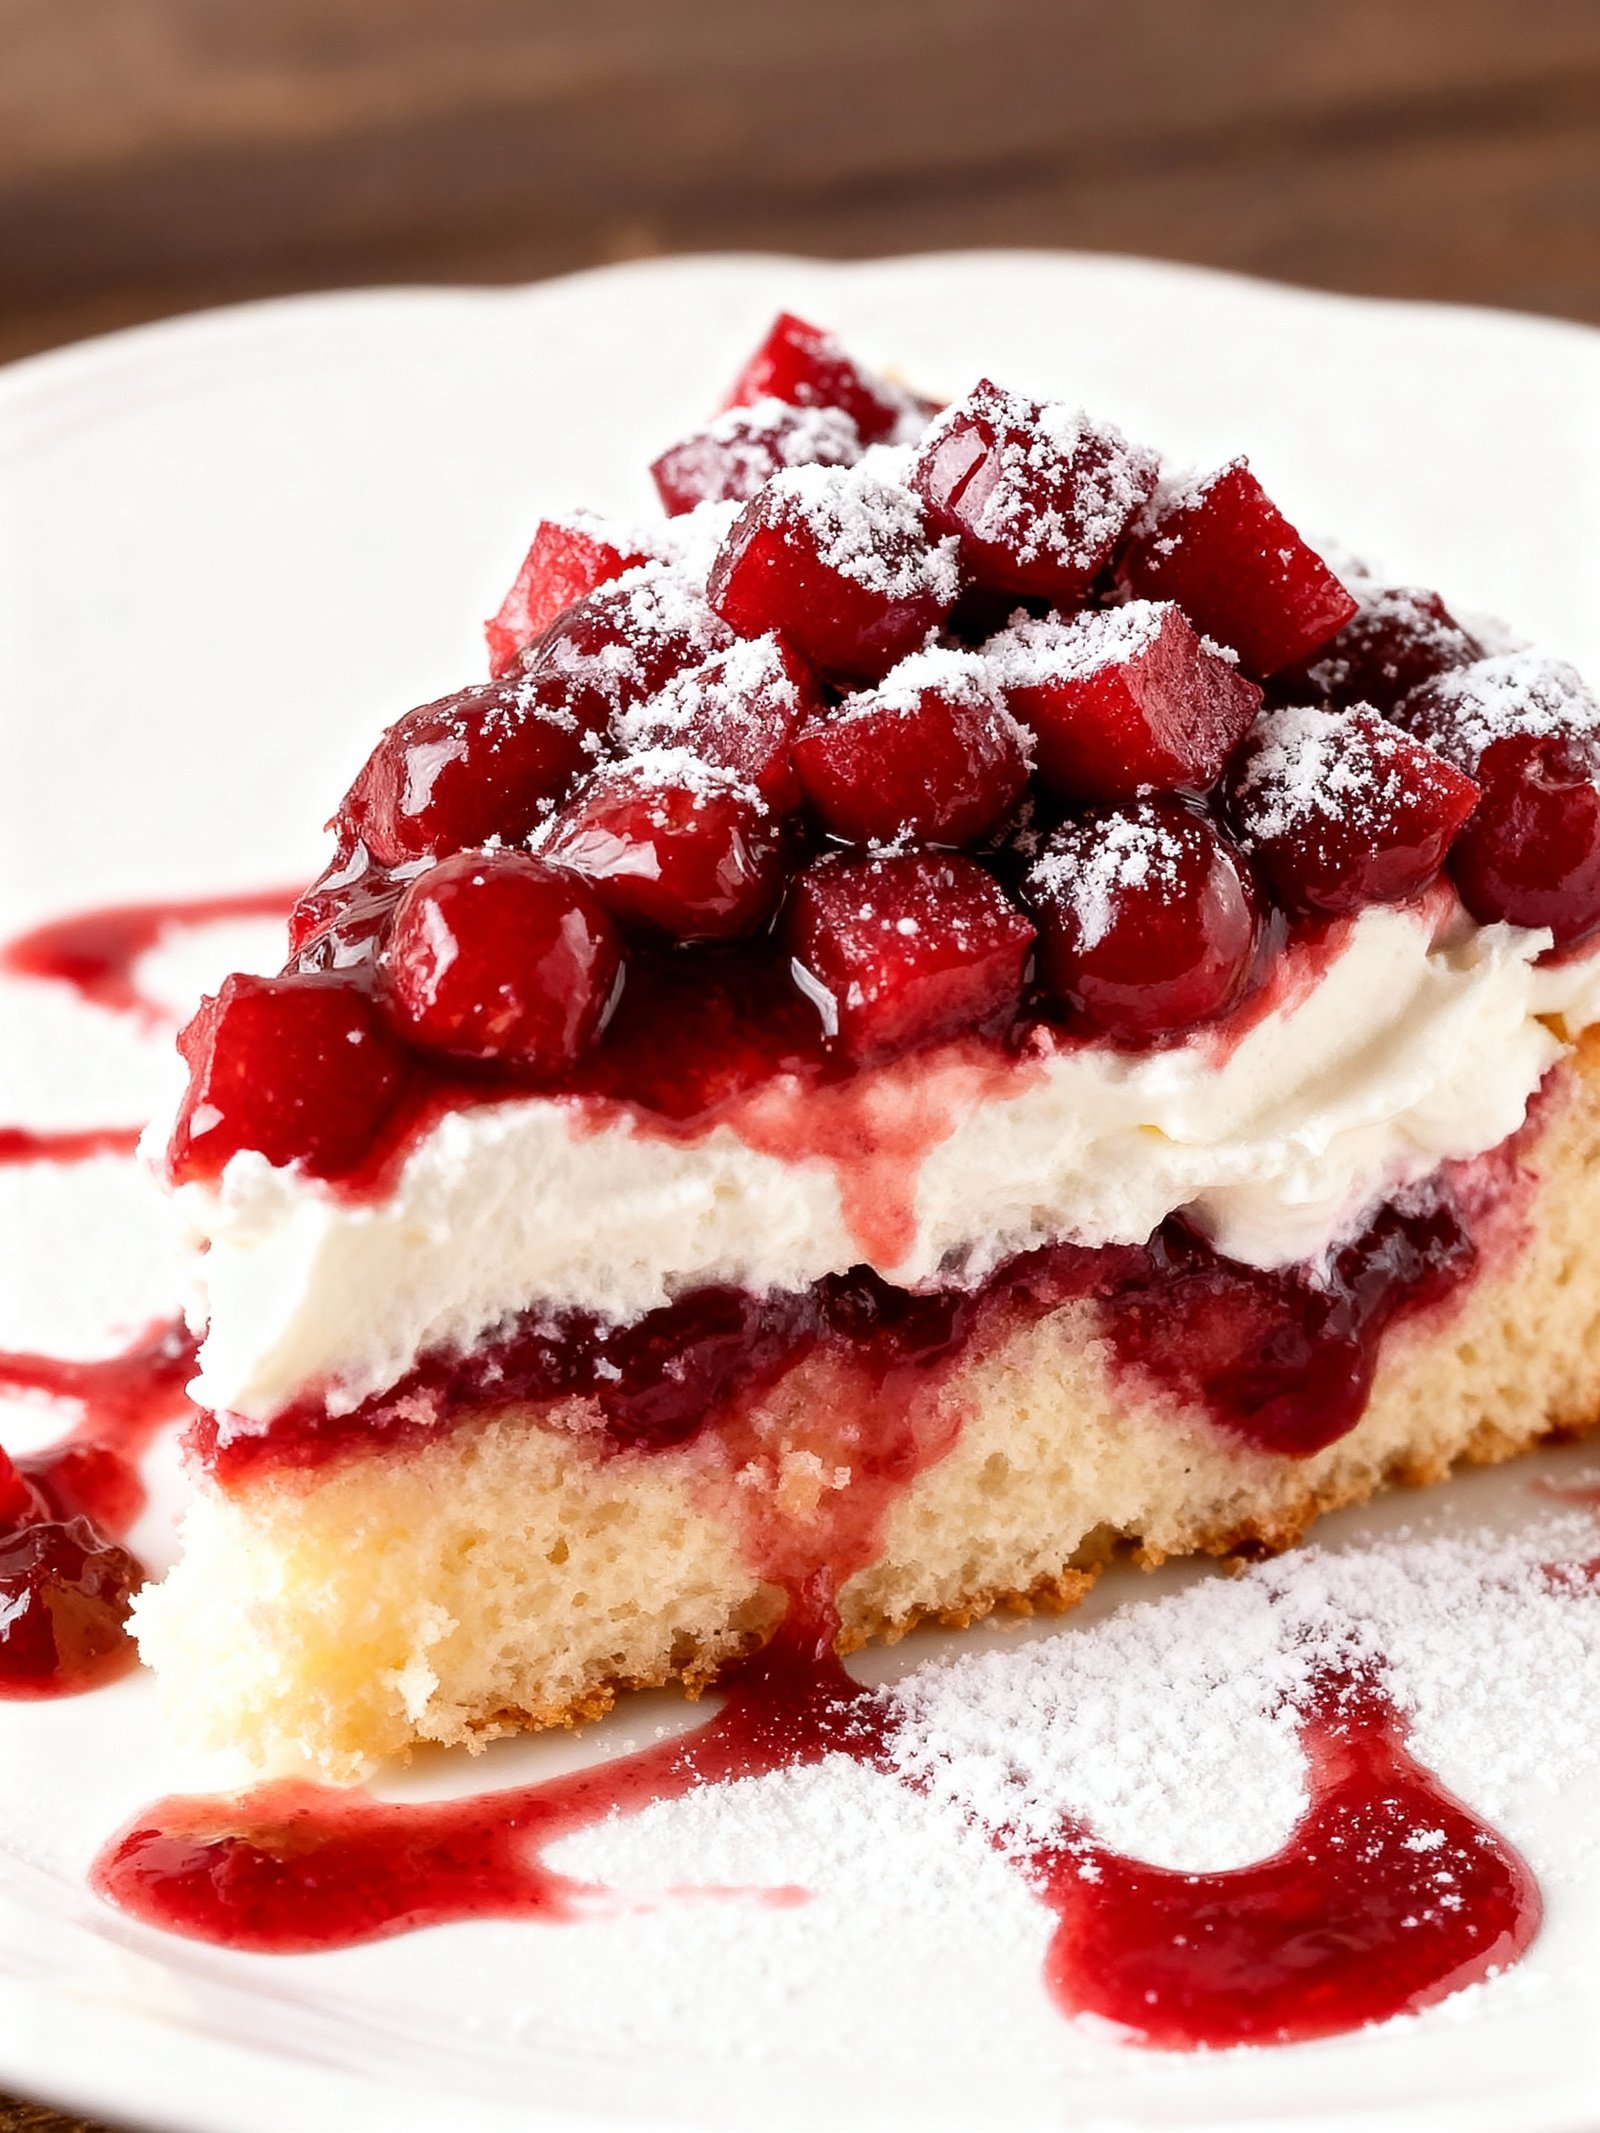
This Easy Cherries in the Snow Dessert Recipe requires just 5 minutes of prep for a classic, no-bake treat. With layers of creamy filling, cherry pie topping, and a buttery crust, it’s perfect for potlucks and holidays. If you love simple chilled desserts, you might also enjoy this Best Banana Split Dessert Recipe or these nostalgic Martha Washington Candies.
Ingredients
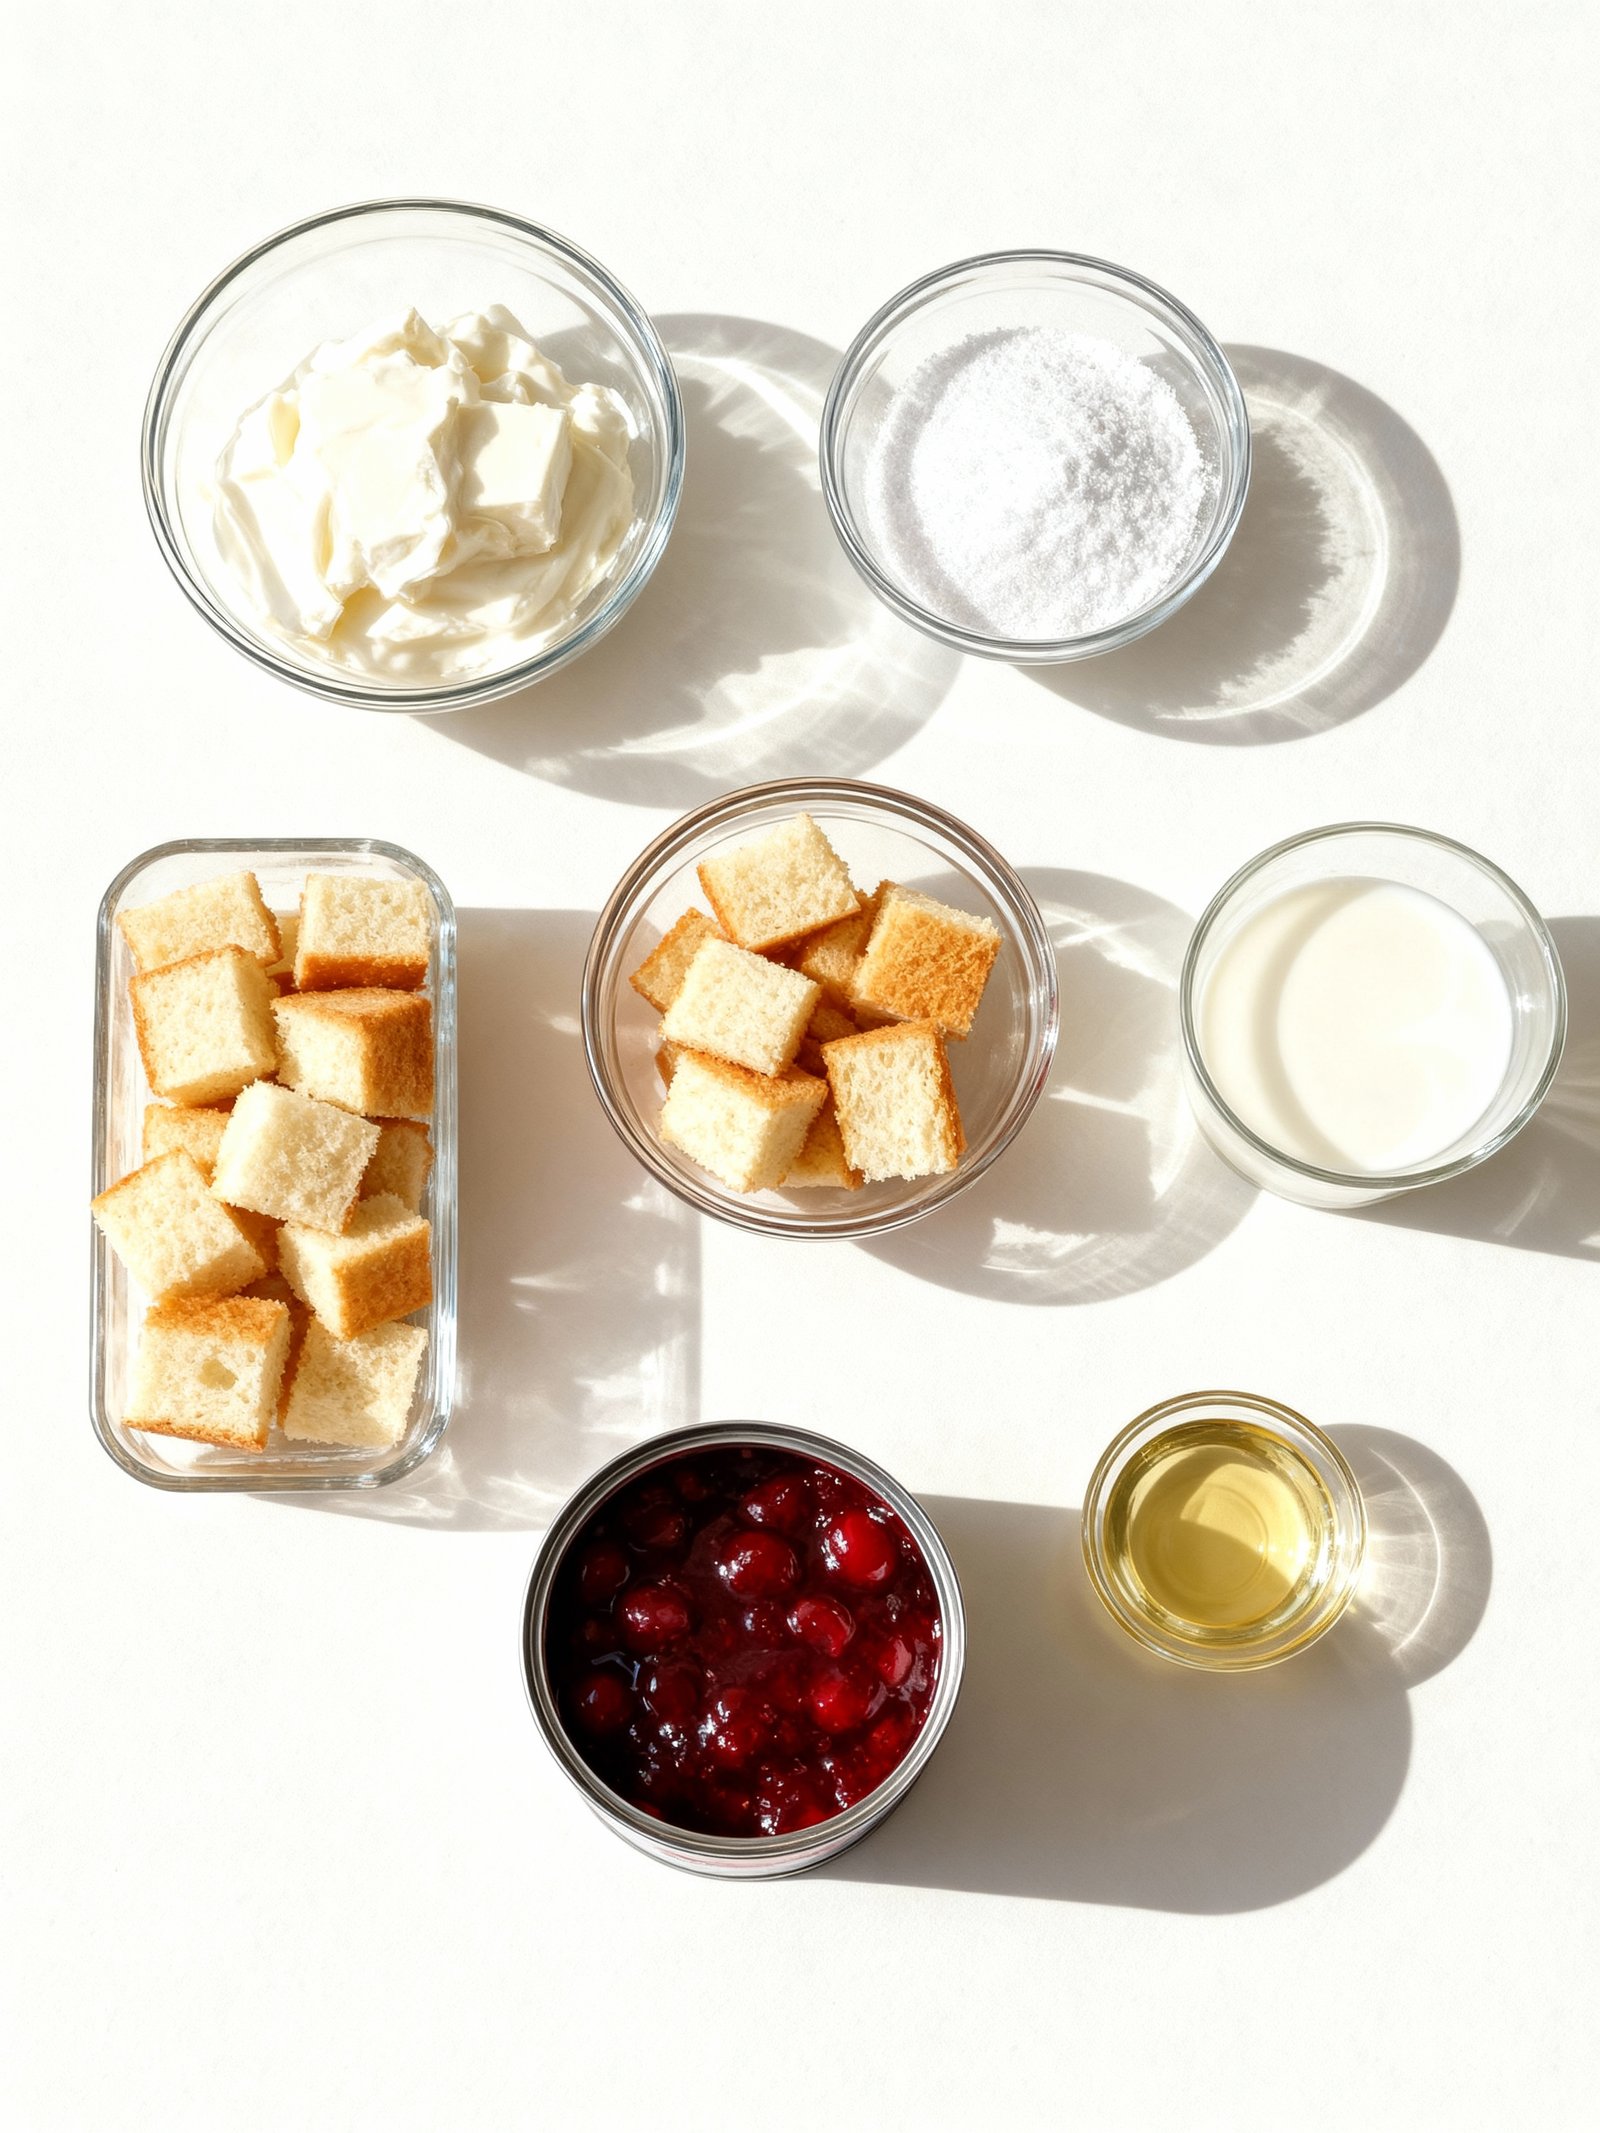
This classic no-bake dessert combines fluffy clouds of sweet cream cheese filling with tart cherry pie filling and soft angel food cake for a delightfully light and refreshing treat.
- 8 ounces cream cheese, softened
- 1/2 cup powdered sugar
- 1/2 cup milk (2% or whole milk)
- 12-16 ounces Cool Whip whipped topping, thawed
- 1 9-inch angel food cake, cut into 1-inch cubes
- 2 cans (21 ounces each) cherry pie filling
- 1 teaspoon almond extract (optional)
- 1 teaspoon vanilla extract (optional)
Timing
| Prep Time | 20 minutes |
| Cook Time | 10 minutes |
| Total Time | 30 minutes |
Context: This Cherries in the Snow Dessert recipe is about 20% faster than similar recipes.
Step-by-Step Instructions
Step 1 — Prepare the Crust
Combine 1½ cups graham cracker crumbs with ⅓ cup melted butter and ¼ cup sugar. Press firmly into a 9×13-inch baking dish using the bottom of a measuring cup. Chill for 15 minutes to set.
Step 2 — Make the Cream Cheese Layer
Beat 8 ounces softened cream cheese with ½ cup powdered sugar until smooth. Fold in 1 cup thawed whipped topping until no streaks remain. Spread evenly over the chilled crust.
Tip: Ensure cream cheese is at room temperature to prevent lumps in your Cherries in the Snow Dessert.
Step 3 — Prepare the Pudding Layer
Whisk one 3.4-ounce package instant vanilla pudding mix with 1½ cups cold milk for 2 minutes until thickened. Gently spread over the cream cheese layer.
Tip: Use whole milk for the creamiest texture in your Cherries in the Snow Dessert.
Step 4 — Add the Whipped Topping
Spread 2 cups thawed whipped topping over the pudding layer, creating a smooth “snow” surface. Refrigerate while preparing the cherry topping.
Step 5 — Prepare the Cherry Topping
Drain one 21-ounce can cherry pie filling, reserving 2 tablespoons juice. In a saucepan, combine cherries, reserved juice, 1 tablespoon lemon juice, and ¼ teaspoon almond extract.
Tip: Add a pinch of cinnamon for extra warmth in your cherry topping.
Step 6 — Thicken the Cherry Mixture
Heat cherry mixture over medium heat until bubbly. Mix 1 tablespoon cornstarch with 2 tablespoons cold water, then stir into cherries. Cook 1-2 minutes until thickened.
Tip: The cherry topping should coat the back of a spoon when properly thickened.
Step 7 — Cool the Topping
Remove cherry topping from heat and let cool to room temperature, about 20-30 minutes. Stir occasionally to prevent a skin from forming.
Step 8 — Assemble the Dessert
Spoon cooled cherry topping evenly over the whipped topping layer. Use a spatula to create decorative swirls if desired.
Step 9 — Chill and Serve
Cover and refrigerate your Cherries in the Snow Dessert for at least 4 hours, or overnight for best results. The layers will set perfectly for clean slicing.
Tip: Use a sharp knife dipped in hot water for neat slices when serving.
Nutritional Information
| Calories | 285 |
| Protein | 4g |
| Carbohydrates | 38g |
| Fat | 14g |
| Fiber | 1g |
| Sodium | 180mg |
Note: Estimates based on typical ingredients and serving size.
Healthier Alternatives
- Greek yogurt for cream cheese — Adds protein while maintaining creamy texture with a tangy flavor.
- Stevia or monk fruit for sugar — Cuts carbs significantly while keeping the dessert sweet.
- Coconut cream for whipped cream — Creates a rich dairy-free version with subtle tropical notes.
- Almond flour crust for graham crackers — Provides a gluten-free, nutty base with lower carbs.
- Unsweetened cherry preserves — Reduces sugar content while intensifying the natural cherry flavor.
- Vanilla protein powder in the filling — Boosts protein without altering the classic snow-like appearance.
- Lite coconut milk in the topping — Lowers fat content while maintaining the fluffy snow texture.
- Homemade low-sodium cherry sauce — Allows control over salt levels, enhancing fresh cherry taste.
Serving Suggestions
- Pair with a crisp sparkling wine or a light dessert wine to complement the sweet cherries and creamy texture of this Cherries in the Snow Dessert.
- Serve alongside a strong black coffee or espresso to balance the dessert’s sweetness and richness.
- Accompany with vanilla bean ice cream or a scoop of lemon sorbet for a refreshing contrast.
- Offer after a light summer meal like grilled chicken salad or as the grand finale to a holiday feast.
- Perfect for potlucks, bridal showers, and festive gatherings where a make-ahead dessert is ideal.
- Garnish with fresh mint leaves and a light dusting of powdered sugar for an elegant presentation.
- Layer in individual parfait glasses or a clear trifle bowl to showcase the beautiful snow-like layers and vibrant cherries.
This Cherries in the Snow Dessert is wonderfully versatile—it works beautifully as both a casual family treat and a stunning centerpiece for special occasions.
Common Mistakes to Avoid
- Mistake: Using canned cherry pie filling, which can be overly sweet and mask the delicate flavor. Fix: Opt for high-quality, tart cherries or make a quick homemade compote for a fresher, more balanced taste.
- Mistake: Overmixing the cream cheese layer, causing it to become thin and runny instead of thick and fluffy. Fix: Ensure your cream cheese is at room temperature and mix just until smooth and combined.
- Mistake: Not whipping the heavy cream to stiff peaks, leading to a dessert that doesn’t hold its shape. Fix: Chill your bowl and beaters beforehand and whip until the cream forms firm peaks that hold their shape.
- Mistake: Skipping the chilling time, resulting in a soupy, unset dessert that’s difficult to slice. Fix: Always refrigerate your Cherries in the Snow Dessert for at least 4-6 hours, or preferably overnight, to allow it to firm up.
- Mistake: Using a graham cracker crust that is too thick or soggy, overpowering the delicate layers. Fix: Press the crust mixture firmly and evenly into the pan and consider a quick pre-bake for a sturdier base.
- Mistake: Adding the cherry layer while the cream cheese mixture is still warm, causing the colors to bleed. Fix: Make sure the bottom layer is completely chilled and set before carefully spreading the cherries on top.
- Mistake: Sweetening the cream cheese layer too much, which clashes with the sweet cherries. Fix: Taste the cream cheese mixture as you go and balance the sugar with a touch of lemon juice or vanilla for depth.
- Mistake: Draining the cherries inadequately, introducing excess liquid that can waterlog the dessert. Fix: Thoroughly drain canned or thawed frozen cherries and even pat them dry with a paper towel if needed.
Storing Tips
- Fridge: Store your Cherries in the Snow Dessert in an airtight container for up to 3 days. Keep it refrigerated at or below 40°F (4°C) for food safety.
- Freezer: For longer storage, freeze in a freezer-safe airtight container for up to 1 month. Thaw overnight in the refrigerator before serving.
- Reheat: This dessert is best served chilled. If you prefer it slightly softened, let it sit at room temperature for 10–15 minutes; avoid microwaving to preserve texture.
Always use clean utensils when serving to maintain freshness and prevent spoilage of your Cherries in the Snow Dessert.
Conclusion
This easy Cherries in the Snow Dessert is the perfect no-bake treat for any occasion. If you love this simple cherry dessert, you might also enjoy our Cherry Cheesecake Fluff Recipe Easy No Bake. Give this recipe a try and let us know what you think in the comments!
Print
Cherries in the Snow Dessert
A no-bake, layered dessert combining creamy sweetened cream cheese filling, cubed angel food cake, and cherry pie filling, creating a light and fruity treat.
- Total Time: 30 minutes (including chilling)
- Yield: 8-12 1x
Ingredients
- 8 ounces cream cheese, softened
- 1/2 cup powdered sugar
- 1/2 cup milk (2% or whole milk)
- 12–16 ounces Cool Whip whipped topping, thawed
- 1 9-inch angel food cake, cut into 1-inch cubes
- 2 cans (21 ounces each) cherry pie filling
- 1 teaspoon almond extract (optional)
- 1 teaspoon vanilla extract (optional)
Instructions
- In a large bowl, use a hand or electric mixer to beat the cream cheese until smooth.
- Add powdered sugar and milk gradually, beating until the mixture is creamy and fluffy.
- Gently fold in the whipped topping and almond or vanilla extract if using, until no streaks remain.
- Fold in the cubed angel food cake pieces to combine well.
- Spread the mixture evenly into a 9×13 inch baking dish.
- Pour the cherry pie filling evenly over the top.
- Cover and refrigerate for at least 30 minutes before serving to set.
Notes
For best texture, use full-fat cream cheese and chilled whipped topping. Almond extract adds a subtle flavor that complements the cherries. This dessert can be prepared a day ahead and refrigerated.
- Prep Time: 15 minutes
- Cook Time: 0 minutes
- Method: Dessert
- Cuisine: American
Nutrition
- Calories: 320
- Sugar: 34g
- Sodium: 210mg
- Fat: 14g
- Saturated Fat: 7g
- Unsaturated Fat: 6g
- Trans Fat: 0g
- Carbohydrates: 45g
- Fiber: 1g
- Protein: 4g
- Cholesterol: 35mg
FAQs
Can I make Cherries in the Snow Dessert ahead of time?
Yes, you can prepare this Cherries in the Snow Dessert in advance. It needs to chill for at least 4 hours to set properly, making it a great make-ahead option for parties.
What can I use if I don’t have fresh cherries?
You can substitute canned cherry pie filling for fresh cherries in this Cherries in the Snow Dessert. This swap saves time and ensures a consistent, sweet cherry layer every time.
How long does Cherries in the Snow Dessert last in the refrigerator?
Store your Cherries in the Snow Dessert covered in the refrigerator. It will stay fresh and maintain its texture for up to 3 days.