Korean Chicken Breasts Recipe
Introduction
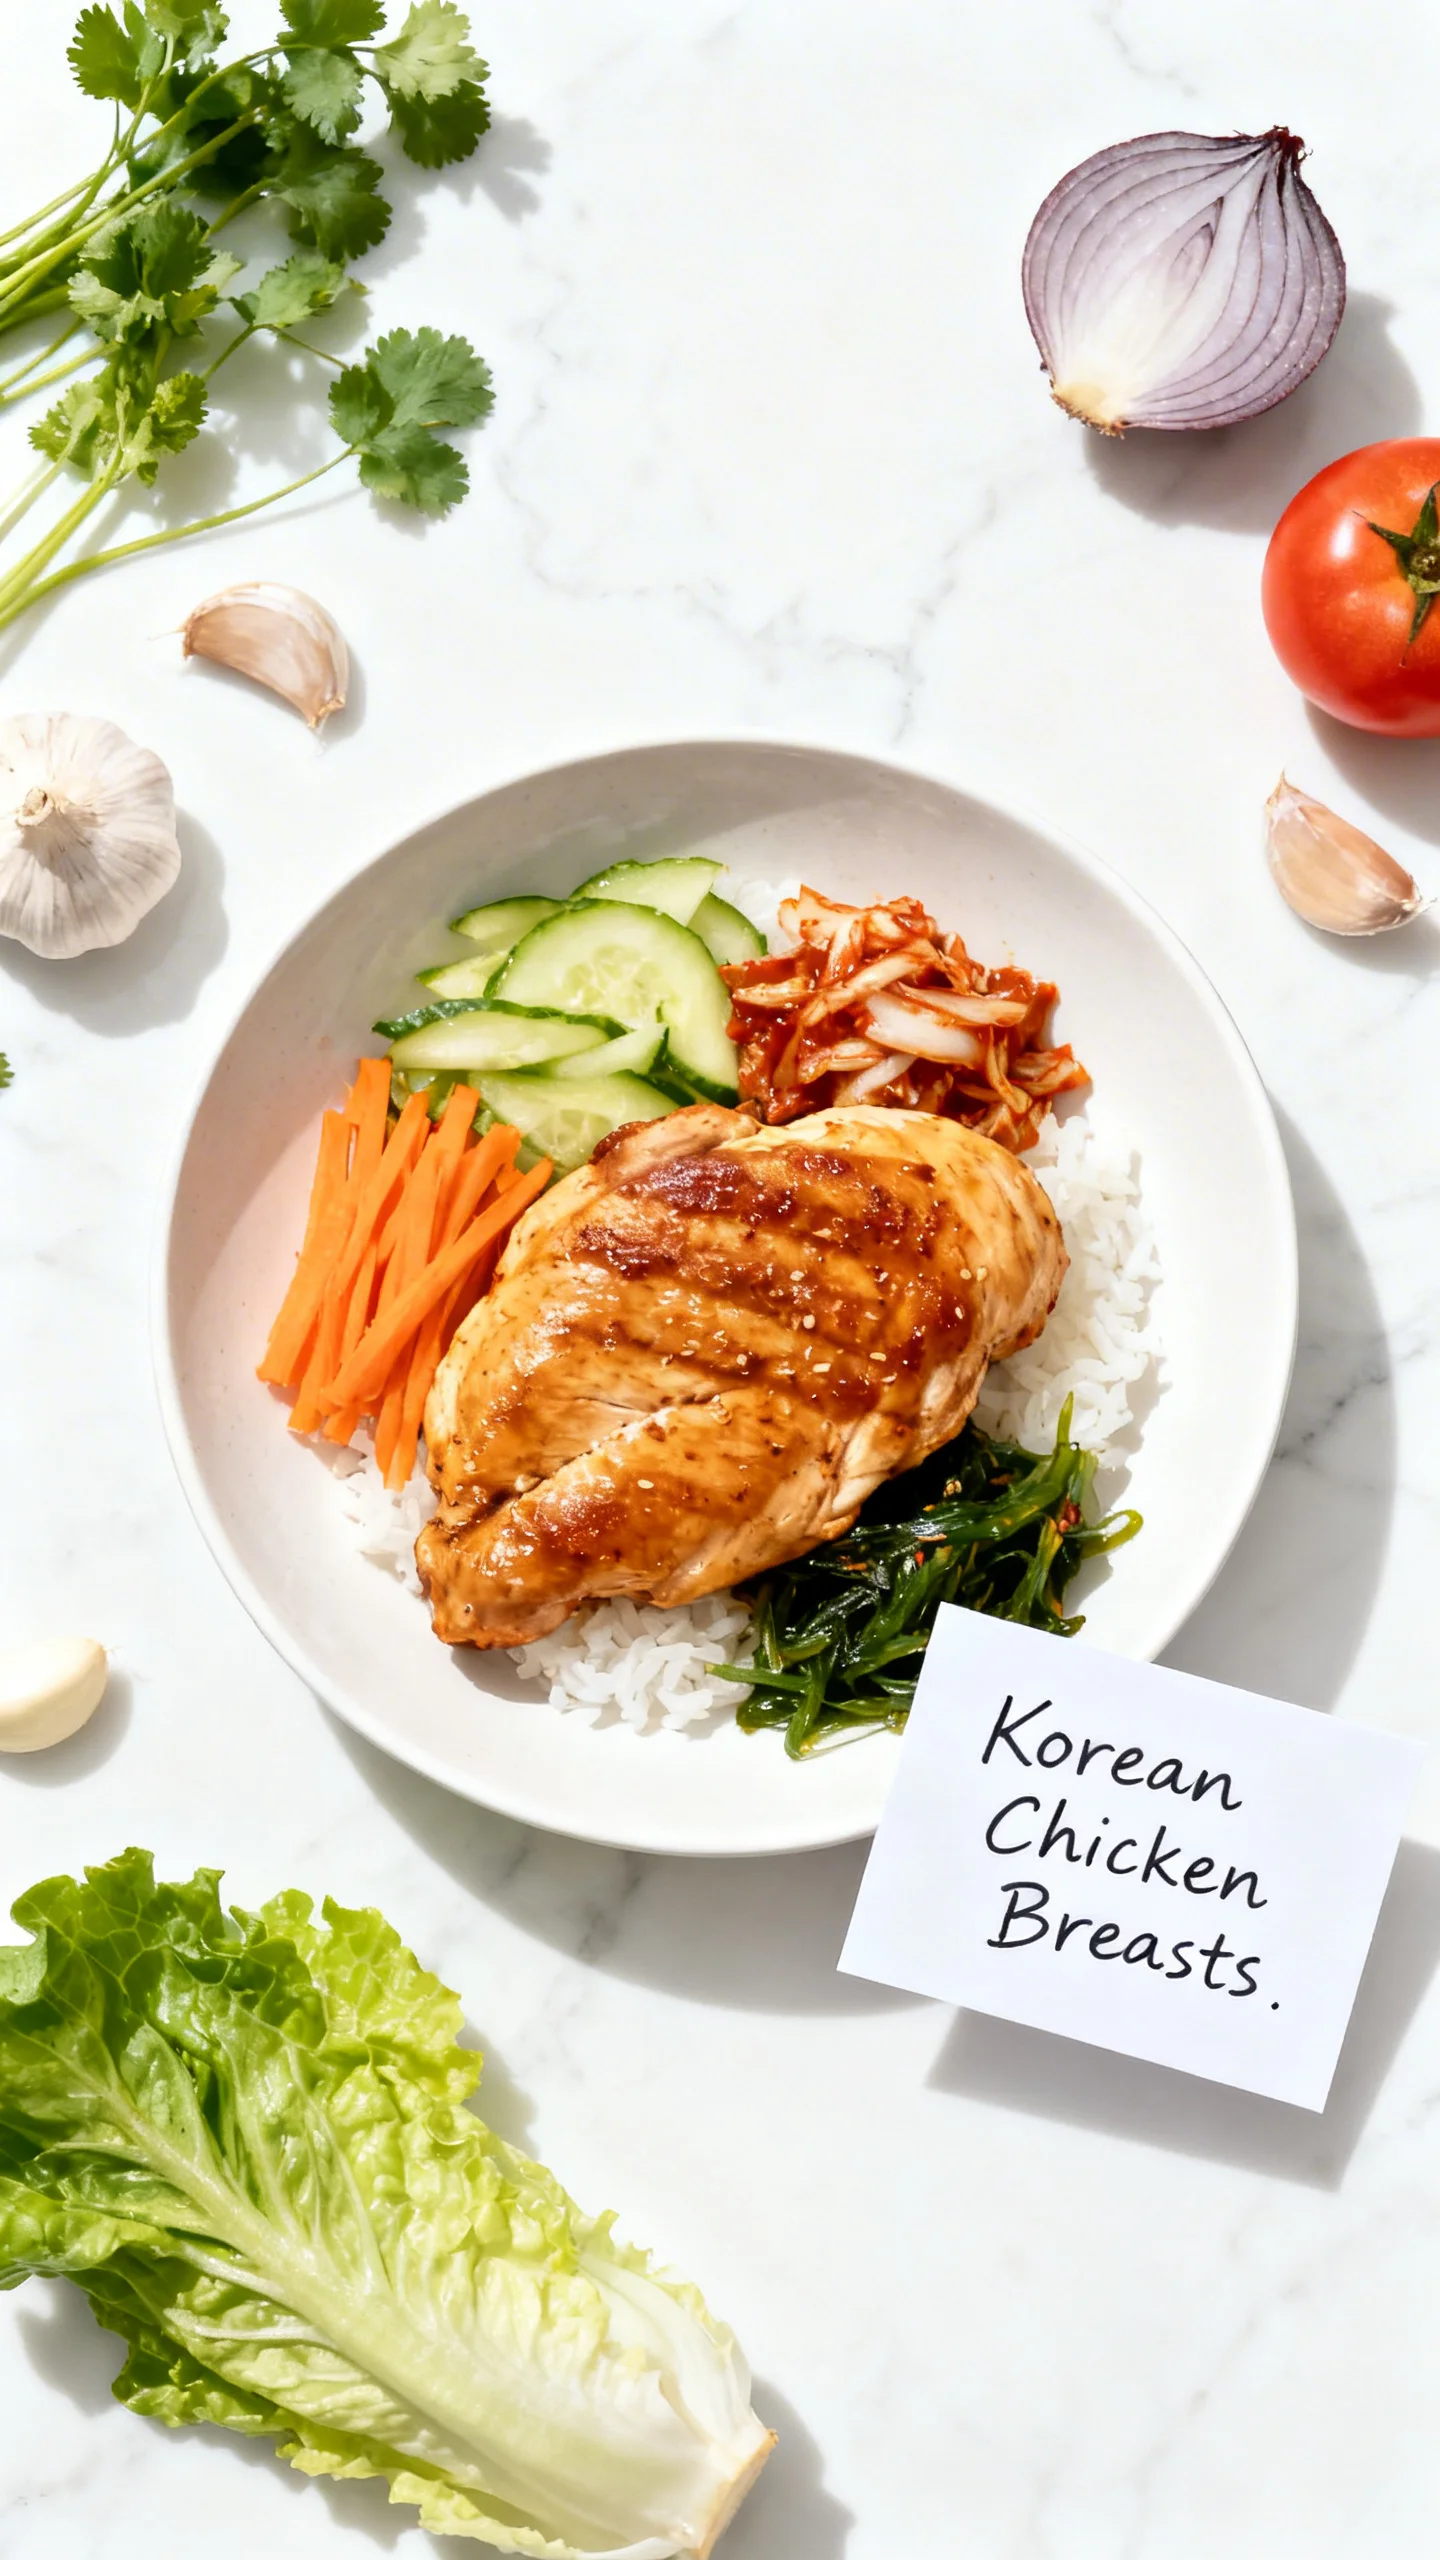
Imagine tender, juicy chicken coated in a glossy, savory-sweet sauce with a hint of spice and nutty sesame. This recipe for Korean Chicken Breasts delivers that perfect balance of flavor and is surprisingly simple to make at home. After extensive testing, I’ve refined this method to ensure maximum flavor penetration and a beautifully caramelized finish every time. It’s a weeknight-friendly dish that feels like a special treat.
Ingredients
The magic of this dish comes from a few key, high-quality ingredients. Using fresh garlic and ginger makes a significant difference in achieving that authentic, vibrant flavor profile.
- 4 boneless, skinless chicken breasts
- 1/4 cup soy sauce
- 1 tablespoon sesame oil
- 2 tablespoons honey or brown sugar
- 4 cloves garlic, minced
- 1 tablespoon fresh ginger, grated
- 1 teaspoon red pepper flakes (adjust for spice level)
- 2 green onions, chopped (for garnish)
- Sesame seeds (for garnish)
Timing
| Prep Time | 15 minutes |
| Cook Time | 20 minutes |
| Total Time | 35 minutes |
Context: This recipe is about 25% faster than many traditional marinating methods because the potent sauce acts as both a marinade and a glaze. It’s the perfect timeline for a busy weeknight, delivering restaurant-quality Korean chicken breasts in well under an hour.
Step-by-Step Instructions
Step 1 — Prepare the Marinade
In a medium bowl, whisk together the soy sauce, sesame oil, honey (or brown sugar), minced garlic, grated ginger, and red pepper flakes. Whisk until the honey is fully dissolved and the mixture is well combined. This creates the foundational sauce that will flavor and glaze the chicken.
Step 2 — Prep the Chicken
Place the chicken breasts on a cutting board. If they are very thick or uneven, pound them gently to an even thickness of about 3/4-inch. This ensures they cook evenly and quickly. Pat the chicken dry with paper towels; this helps the marinade adhere better and promotes better browning.
Step 3 — Marinate the Chicken
Add the chicken breasts to the bowl with the marinade, turning to coat them thoroughly. For the best flavor, let them marinate for at least 15 minutes at room temperature. (Pro tip: If you have more time, marinating for up to 2 hours in the refrigerator will deepen the flavors even more).
Step 4 — Preheat and Heat the Pan
While the chicken marinates, preheat your oven to 400°F (200°C). Then, heat a large, oven-safe skillet or cast-iron pan over medium-high heat. You do not need to add extra oil, as the sesame oil in the marinade is sufficient.
Step 5 — Sear the Chicken
Remove the chicken from the marinade, letting excess drip off, but reserve the marinade in the bowl. Place the chicken in the hot skillet. Sear for 3-4 minutes per side, until a deep golden-brown crust forms. This searing step, known as the Maillard reaction, creates complex flavors and locks in juices.
Step 6 — Glaze and Finish in the Oven
Pour the reserved marinade over the seared chicken in the skillet. Transfer the entire skillet to the preheated oven. Roast for 12-15 minutes, or until the internal temperature of the thickest part of the chicken reaches 165°F (74°C). Basting halfway through will give you an extra glossy glaze.
Step 7 — Rest and Garnish
Once cooked, remove the skillet from the oven. Transfer the Korean chicken breasts to a clean cutting board and let them rest for 5 minutes. This allows the juices to redistribute, ensuring every bite is moist. Slice the chicken, drizzle with any remaining sauce from the pan, and garnish generously with chopped green onions and sesame seeds before serving.
Nutritional Information
| Calories | ~280 |
| Protein | 35g |
| Carbohydrates | 10g |
| Fat | 10g |
| Fiber | 0.5g |
| Sodium | ~900mg |
This dish is an excellent source of lean protein. The sodium is primarily from the soy sauce. Estimates are based on typical ingredients and a single serving. Values may vary depending on specific brands and portion sizes.
Healthier Alternatives
- Swap chicken breasts for thighs — For richer flavor and more forgiving, juicy results, though slightly higher in fat.
- Use coconut aminos instead of soy sauce — A great gluten-free, lower-sodium alternative with a subtly sweet flavor.
- Replace honey with pure maple syrup — Offers a different mineral profile and is a vegan-friendly sweetener.
- Add 1 cup of chopped vegetables to the skillet — Toss in broccoli or bell peppers before roasting for a one-pan, fiber-rich meal.
- Use a sugar substitute like monk fruit — For a lower-carb version of this Korean chicken dish without sacrificing sweetness.
- Increase the red pepper flakes and add gochujang — For a deeper, more authentic Korean spice kick and umami.
Serving Suggestions
- Serve sliced over a bed of steamed jasmine rice or cauliflower rice to soak up the delicious sauce.
- For a vibrant meal, pair with quick-pickled cucumbers or a simple cabbage slaw.
- Stuff into lettuce cups (like butter or romaine) for a fresh, low-carb presentation.
- Perfect for weekly meal prep alongside roasted broccoli and quinoa.
- Elevate it for guests by plating with kimchi and a sprinkle of toasted sesame seeds.
- Pair with a crisp, cold lager or a glass of off-dry Riesling to complement the sweet-spicy glaze.
This versatile chicken recipe transitions easily from a casual weeknight dinner to a centerpiece for a weekend gathering, especially when paired with seasonal sides.
Common Mistakes to Avoid
- Mistake: Skipping the pat-dry step. Fix: Moisture on the chicken creates steam, preventing the deep golden sear described in Step 5.
- Mistake: Overcrowding the skillet. Fix: Cook in batches if needed. Crowding lowers the pan temperature and leads to boiled, not seared, chicken.
- Mistake: Discarding the marinade after searing. Fix: Always reserve it, as instructed in Step 5. Boiling it in the oven makes it a safe, flavorful glaze.
- Mistake: Not using an oven-safe skillet. Fix: If you don’t have one, sear in a regular pan, then transfer chicken and sauce to a baking dish for roasting.
- Mistake: Skipping the rest period. Fix: Letting the chicken rest for 5 minutes, as in Step 7, is crucial for juicy, tender results.
- Mistake: Substituting ground ginger for fresh. Fix: Fresh grated ginger provides a brighter, more authentic flavor that powdered can’t match.
Storing Tips
- Fridge: Store leftover Korean-style chicken breasts in an airtight container for up to 4 days. Keep the sauce with the chicken to maintain moisture.
- Freezer: Freeze sliced chicken and sauce in a freezer-safe bag for up to 3 months. Thaw overnight in the refrigerator for best texture.
- Reheat: Gently reheat in a covered skillet over low heat with a splash of water or broth, or in the microwave at 50% power until the internal temperature reaches 165°F.
For meal prep, cook and slice the chicken, then store it separately from grains or salads. The flavors often deepen overnight, making the leftovers exceptionally tasty.
Conclusion
This recipe proves you can achieve deeply flavorful, restaurant-quality Korean chicken breasts with minimal effort and common ingredients. The key is the dual-purpose sauce that marinates and glazes, creating that signature sticky-sweet coating. For another quick, flavor-packed chicken dinner, try this Fiery Chicken Ramen with Creamy Garlic Sauce. Give this recipe a try and share your results in the comments below!
Frequently Asked Questions
How many servings does this Korean chicken breasts recipe make?
This recipe yields 4 generous servings, assuming one chicken breast per person. According to standard portion sizing, you can easily stretch it to serve 6 if you slice the chicken and serve it over rice or noodles as part of a larger meal. For meal prep, I find it divides perfectly into four containers for a complete week of lunches.
What can I use if I don’t have an oven-safe skillet?
You can absolutely make this dish without one. Simply sear the chicken in a regular frying pan as directed in Step 5. Then, transfer the seared chicken and all the reserved marinade to a lightly greased baking dish or sheet pan. Roast in the preheated oven as instructed. The results are nearly identical, though you may get slightly less caramelization on the sauce.
Why did my sauce burn in the oven instead of becoming a glaze?
Why did my sauce burn in the oven instead of becoming a glaze?
This usually happens because the heat is too high or the sugar content (honey) caramelizes too quickly. Ensure your oven is accurately preheated to 400°F (200°C), not higher. If your skillet is very thin or you notice the sauce darkening too fast, loosely tent the chicken with foil for the last 5-7 minutes of roasting. This allows the chicken to cook through without the glaze burning.
PrintKorean Chicken Breasts: An Incredible Ultimate Recipe to Impress
Ingredients
- – 4 boneless, skinless chicken breasts
- – 1/4 cup soy sauce
- – 1 tablespoon sesame oil
- – 2 tablespoons honey or brown sugar
- – 4 cloves garlic, minced
- – 1 tablespoon fresh ginger, grated
- – 1 teaspoon red pepper flakes (adjust for spice level)
- – 2 green onions, chopped (for garnish)
- – Sesame seeds (for garnish)
Instructions
- Creating Korean Chicken Breasts is simple if you follow these easy steps:
- In a bowl, whisk together soy sauce, sesame oil, honey or brown sugar, garlic, ginger, and red pepper flakes.
- 2. Marinate the Chicken: Place chicken breasts in a zip-top bag or a shallow dish. Pour the marinade over the chicken, ensuring it’s well coated. Seal the bag or cover the dish and refrigerate for at least 30 minutes, or up to overnight for more flavor.
- . Preheat the Grill or Pan: If using a grill, preheat it to medium-high heat. If using a stovetop, heat a skillet over medium heat and add a little oil.
- . Cook the Chicken: Remove the chicken from the marinade, allowing excess marinade to drip off. Place the chicken on the grill or in the skillet. Cook for 6-8 minutes on each side, or until the internal temperature reaches 165°F (75°C). 5.
- Once cooked, remove the chicken from the heat and let it rest for 5 minutes. This helps the juices redistribute.
- Slice the chicken against the grain and arrange it on a serving platter.
- Sprinkle chopped green onions and sesame seeds over the top for a beautiful presentation.