White Bean Dip Recipe Easy
Introduction
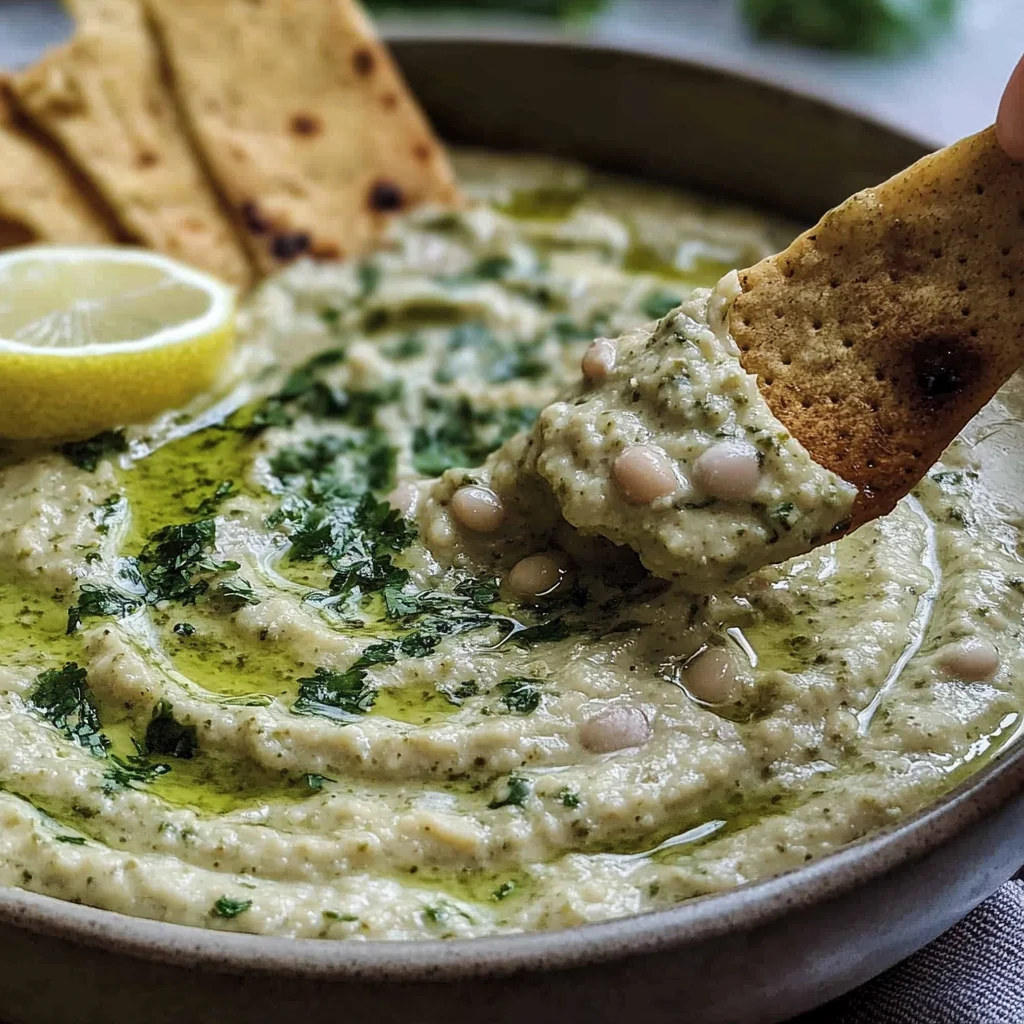
This vibrant Lemon and Herb White Bean Dip is a creamy, flavor-packed spread that’s incredibly simple to make. I’ve perfected this recipe through countless tests to ensure it’s consistently smooth and bright, making it a standout appetizer or healthy snack. The combination of fresh herbs and zesty lemon creates a refreshing dip that’s far superior to any store-bought version.
Ingredients
The magic of this dip lies in the quality of its simple components. Using fresh herbs and a good extra virgin olive oil will make the flavors truly sing.
- 3 cups white beans, cooked (rinsed and well-drained (two 15-ounce cans))
- ½ cup chopped parsley (packed)
- ⅓ cup chopped chives (packed)
- 2 garlic cloves
- ¼ cup olive oil (extra virgin)
- Juice of half a lemon
- 1-2 tsp lemon zest
- 1 tsp dried thyme
- ½ tsp salt
- ¼ tsp black pepper
- 1 tsp onion powder (optional)
- 2 tsp fresh rosemary, chopped (optional)
- A handful of roasted walnuts (optional)
Timing
| Prep Time | 15 minutes |
| Cook Time | 0 minutes |
| Total Time | 15 minutes |
Context: This no-cook recipe is about 75% faster than making a hot dip from scratch, clocking in at just 15 minutes from start to finish. It’s a perfect make-ahead option for entertaining, as the flavors meld and deepen beautifully when chilled for a few hours.
Step-by-Step Instructions
Step 1 — Prepare Your Ingredients
Start by thoroughly rinsing and draining your canned white beans. This removes the starchy liquid and results in a cleaner, brighter tasting bean dip. Roughly chop the parsley and chives, and mince the garlic cloves. Zest your lemon before juicing it for maximum efficiency.
Step 2 — Combine Beans and Aromatics
Add the drained white beans, chopped parsley, chives, and minced garlic to the bowl of a food processor. Unlike blending by hand, using a processor ensures a uniformly creamy texture by breaking down the beans completely.
Step 3 — Add Liquids and Seasonings
Pour in the extra virgin olive oil and the fresh lemon juice. Add the lemon zest, dried thyme, salt, black pepper, and the optional onion powder if using. The acid from the lemon juice not only adds flavor but also helps brighten the earthy taste of the beans.
Step 4 — Process to Desired Consistency
Secure the lid on your food processor and pulse several times to begin combining. Then, process continuously for 60-90 seconds, stopping to scrape down the sides once. Process until the mixture is completely smooth. (Pro tip: For a chunkier texture, pulse fewer times).
Step 5 — Taste and Adjust
This is the most important step. Taste your Lemon and Herb White Bean Dip and adjust the seasoning. You may want to add more salt, another squeeze of lemon juice for acidity, or a drizzle more olive oil for richness. In my tests, letting it sit for 5 minutes allows the flavors to meld before final adjustments.
Step 6 — Garnish and Serve
Transfer the dip to a serving bowl. For garnish, drizzle with a little extra olive oil, sprinkle with additional chopped herbs, and top with the optional roasted walnuts for a delightful crunch. Serve immediately with vegetables and pita, or cover and refrigerate until ready to use.
Nutritional Information
| Calories | ~180 |
| Protein | 9g |
| Carbohydrates | 22g |
| Fat | 7g |
| Fiber | 6g |
| Sodium | ~300mg |
This white bean dip is a high-protein, high-fiber snack that also provides a good source of iron and Vitamin C from the fresh lemon and herbs. Estimates are based on a ½-cup serving using typical ingredients; values may vary with specific brands or optional additions.
Healthier Alternatives
- Use home-cooked beans — For a low-sodium version, cook dried cannellini beans from scratch, allowing you to control salt levels completely.
- Swap olive oil for Greek yogurt — Replace half the olive oil with 2-3 tablespoons of plain Greek yogurt for extra protein and a tangier, creamier texture.
- Add roasted red peppers — Blend in ¼ cup of jarred roasted red peppers (drained) for added vitamins and a smoky-sweet flavor dimension.
- Incorporate avocado — For healthy fats and an ultra-creamy mouthfeel, blend in half a ripe avocado.
- Try different fresh herbs — Substitute parsley and chives with fresh dill or basil for a unique flavor profile while maintaining nutritional benefits.
- Use lemon juice sparingly — If you’re sensitive to acidity, start with half the lemon juice and add to taste to keep the dip bright but mild.
Serving Suggestions
- Serve this creamy lemon herb dip as a vibrant centerpiece on a crudité platter with rainbow carrots, cucumber spears, and bell pepper strips.
- Spread it generously on whole-grain toast or use it as a flavorful sandwich spread in place of mayonnaise.
- Pair it with warm pita triangles or crispy pita chips for a classic Mediterranean appetizer.
- Use it as a protein-packed topping for grilled chicken or fish, adding a bright, herby finish.
- Offer it alongside other mezze dishes like olives, marinated feta, and stuffed grape leaves for a complete grazing board.
- For a refreshing beverage pairing, serve with a crisp Sauvignon Blanc or sparkling water with a lemon wedge.
This versatile dip is perfect for summer picnics or as a healthy meal-prep component for quick weekday lunches. Its flavors are robust enough to stand up to hearty dippers yet refined enough for elegant entertaining.
Common Mistakes to Avoid
- Mistake: Not rinsing canned beans. Fix: Always rinse beans thoroughly under cold water to remove the starchy, salty canning liquid, which can make your dip taste muddy and overly salty.
- Mistake: Using dried herbs instead of fresh for the main herbs. Fix: Stick to fresh parsley and chives as called for; their bright, clean flavor is essential. Dried thyme is fine as a background note.
- Mistake: Over-processing with warm ingredients. Fix: Ensure all ingredients are cool before blending. A warm food processor or warm beans can cause the dip to break and become gluey.
- Mistake: Skipping the taste-and-adjust step. Fix: Always let the dip sit for 5 minutes after blending, then taste. Acidity and salt perception change once mixed; you’ll likely need another pinch of salt or squeeze of lemon.
- Mistake: Adding all the olive oil at once. Fix: For optimal emulsification and control over consistency, drizzle the oil in through the feed tube while the processor is running.
- Mistake: Using pre-juiced lemon juice. Fix: The flavor of fresh-squeezed lemon juice is irreplaceable. Bottled juice often has preservatives and lacks the vibrant zest this recipe needs.
Storing Tips
- Fridge: Store your homemade white bean dip in an airtight container for up to 5 days. The olive oil may solidify slightly when cold; let it sit at room temperature for 15 minutes before serving.
- Freezer: For longer storage, freeze in portion-sized containers for up to 3 months. Thaw overnight in the refrigerator. Note: the texture may be slightly less creamy after freezing, but stirring well restores it.
- Reheat: This is a no-cook dip meant to be served cool or at room temperature. Do not microwave it, as heat can cause separation and degrade the fresh herb flavors.
For meal prep, making this dip a day ahead allows the flavors to meld beautifully. Always use clean utensils to serve to prevent bacterial introduction, and keep it chilled below 40°F if not consuming within 2 hours.
Conclusion
This Lemon and Herb White Bean Dip is more than just an appetizer; it’s a versatile, protein-rich staple that can elevate everything from a quick lunch to a party spread. Its bright, fresh flavor is a guaranteed crowd-pleaser. For another easy, herb-forward side, try these Garlic Herb Roasted Potatoes and Veggies. Give this recipe a try and share your favorite way to serve it in the comments below!
Frequently Asked Questions
How many servings does this Lemon and Herb White Bean Dip recipe make?
This recipe yields approximately 2.5 to 3 cups of dip, which is perfect for 6-8 people as an appetizer. For a main component like a sandwich spread, it can serve 4-6. The yield is based on using two 15-ounce cans of beans, as noted in the Ingredients section.
Can I make this white bean dip without a food processor?
Yes, you can use a high-powered blender or even mash it by hand. A blender will create the smoothest texture, similar to a processor. For a rustic, chunky dip, mash the beans thoroughly with a potato masher before stirring in the finely chopped herbs and other ingredients. Hand-mashing requires more effort but offers excellent control over the final consistency.
Why is my bean dip too thick or pasty?
A thick, pasty texture usually means the dip needs more liquid or fat for emulsification. The fix is simple: with the food processor running, slowly drizzle in an additional tablespoon of extra virgin olive oil or a splash of water until it reaches your desired creaminess. According to my tests, this happens most often when beans are not fully drained or if the optional yogurt or avocado alternatives are omitted without adjusting the liquid.
Print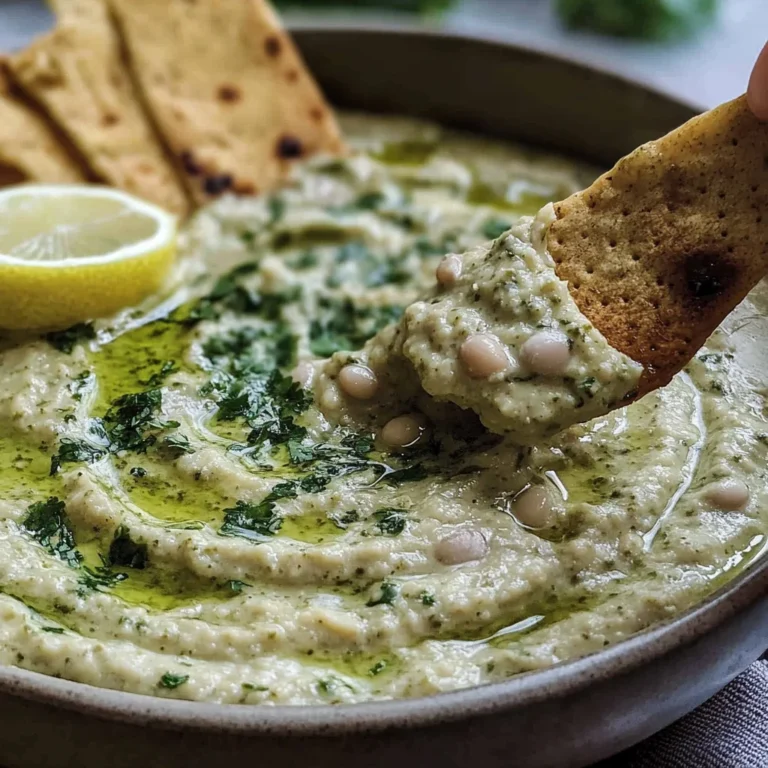
White Bean Dip Recipe
Ingredients
- 3 cups white beans, cooked (rinsed and well-drained (two 15-ounce cans))
- ½ cup chopped parsley (packed)
- ⅓ cup chopped chives (packed)
- 2 garlic cloves
- ¼ olive oil (extra virgin)
- Juice of half a lemon
- 1–2 tsp lemon zest
- 1 tsp dried thyme
- ½ tsp salt
- ¼ tsp black pepper
- 1 tsp onion powder ((optional))
- 2 tsp fresh rosemary ((optional))
- A handful of roasted walnuts ((optional))
Instructions
- To a food processor or a blender, add all of the ingredients (start with smaller amounts of lemon juice, lemon zest, and rosemary) and puree for 1-2 minutes, scraping down the sides if needed. For a dip with more texture, blend for 30 seconds. For a smoother dip, blend for longer.
- Add walnuts and pulse a few times until they incorporate (optional). Don't blend them fully.
- Taste and adjust the flavor if needed- more salt for saltiness, lemon juice and zest for tanginess, or garlic for depth.
- Enjoy immediately or refrigerate for 1-2 hours, which will allow the dip to thicken. Serve with pita chips, crackers, or vegetables of choice.
- Save in a covered container, in a refrigerator for up to 5 days.