No One Will Believe You Made These Cookies Recipe
Introduction
These secret recipe cookies are the ultimate baking hack, delivering a flawless, store-bought appearance with a homemade heart. Perfect for impressing guests or gifting, they look so professionally made that no one will believe you baked them yourself. For another treat that combines cookies with decadent dessert, try the Chocolate Chip Cookie Cheesecake Recipe.
Ingredients
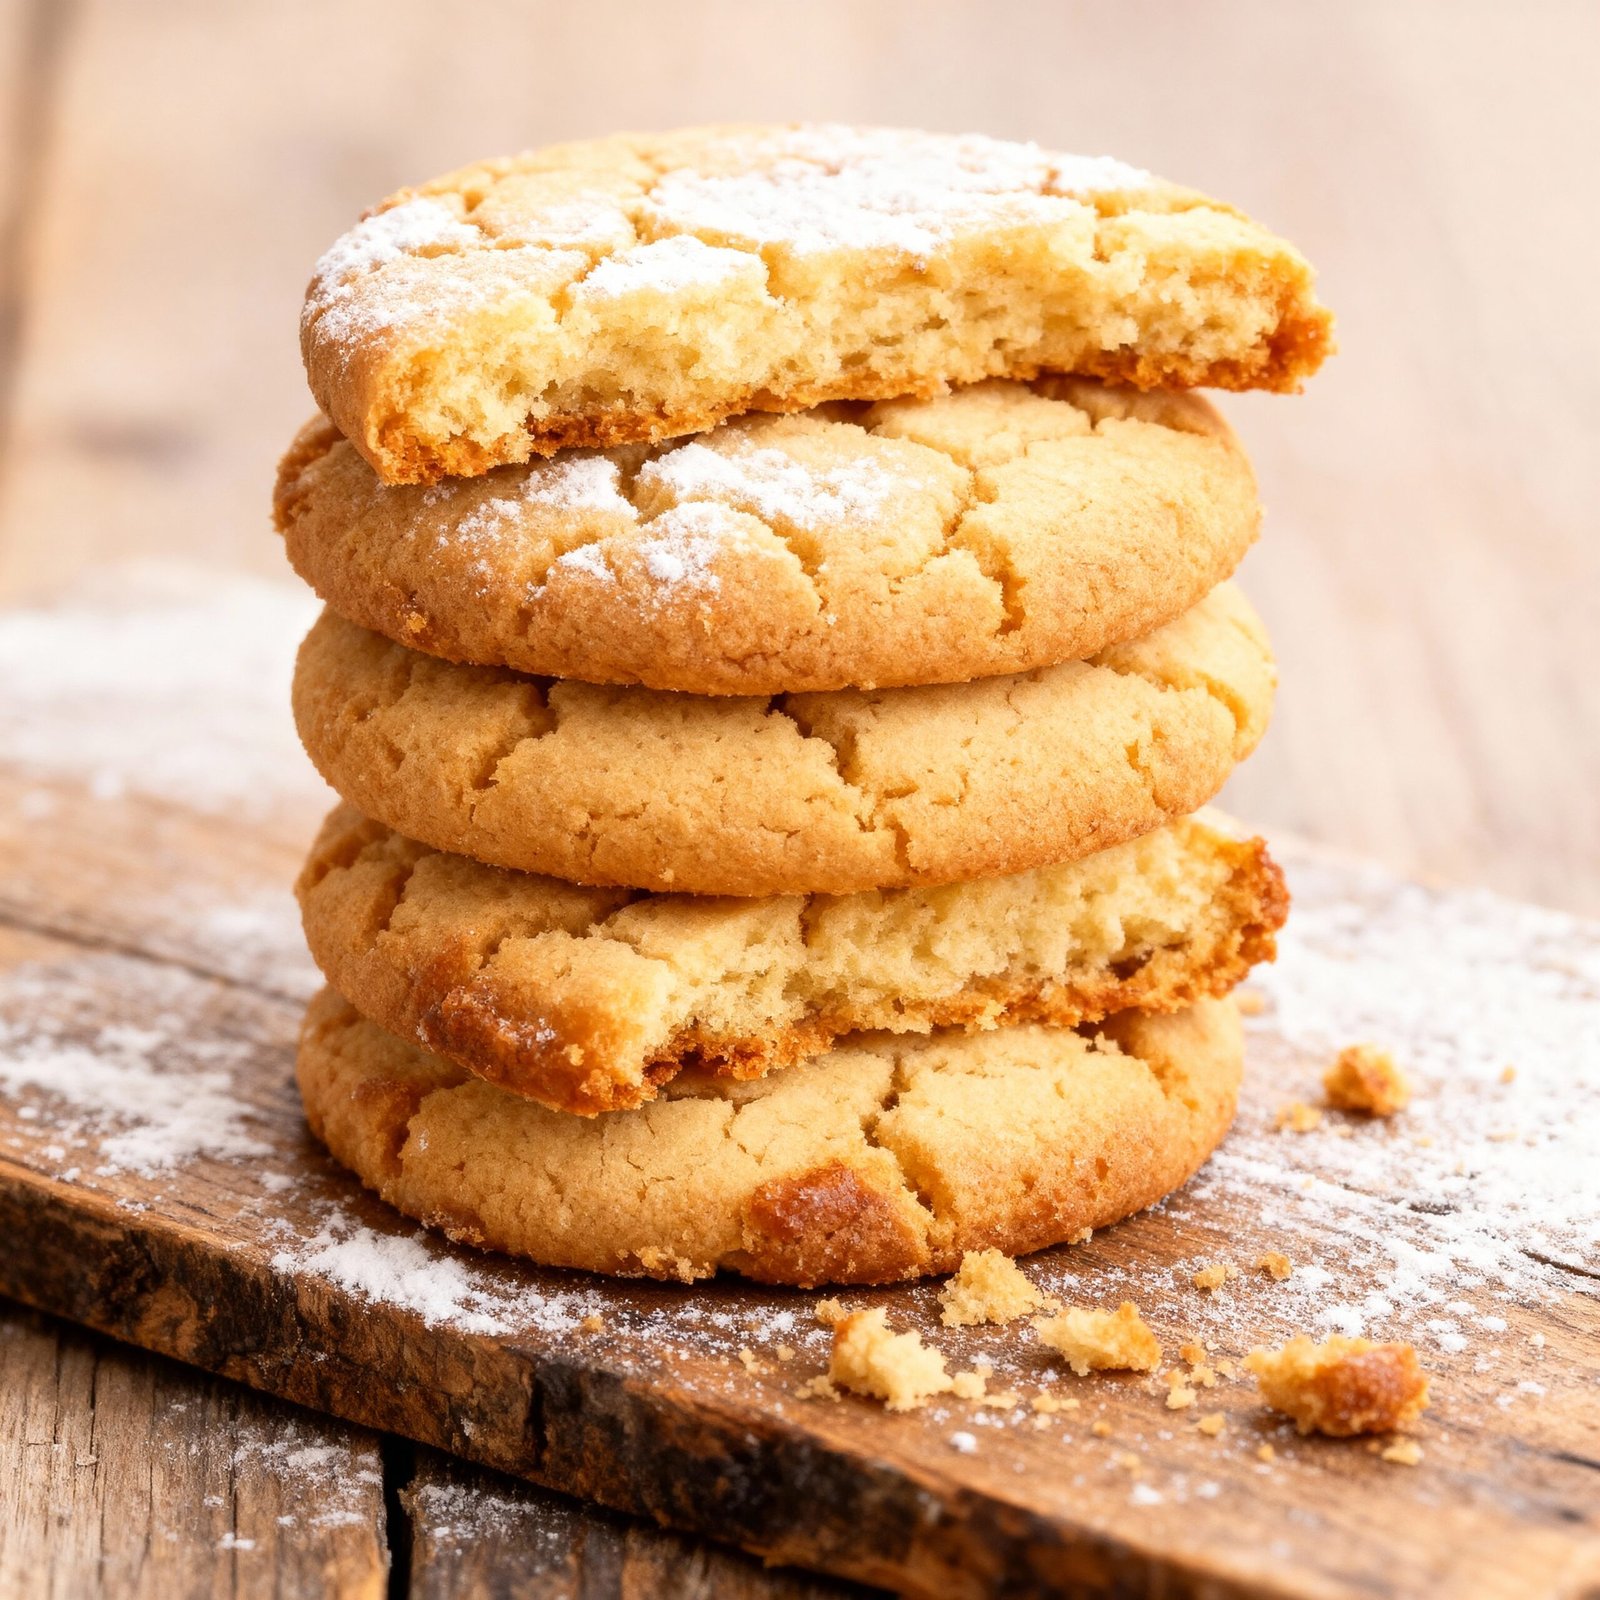
These buttery, melt-in-your-mouth cookies come together with just a handful of simple pantry staples, creating a treat so impressive no one will believe you made these.
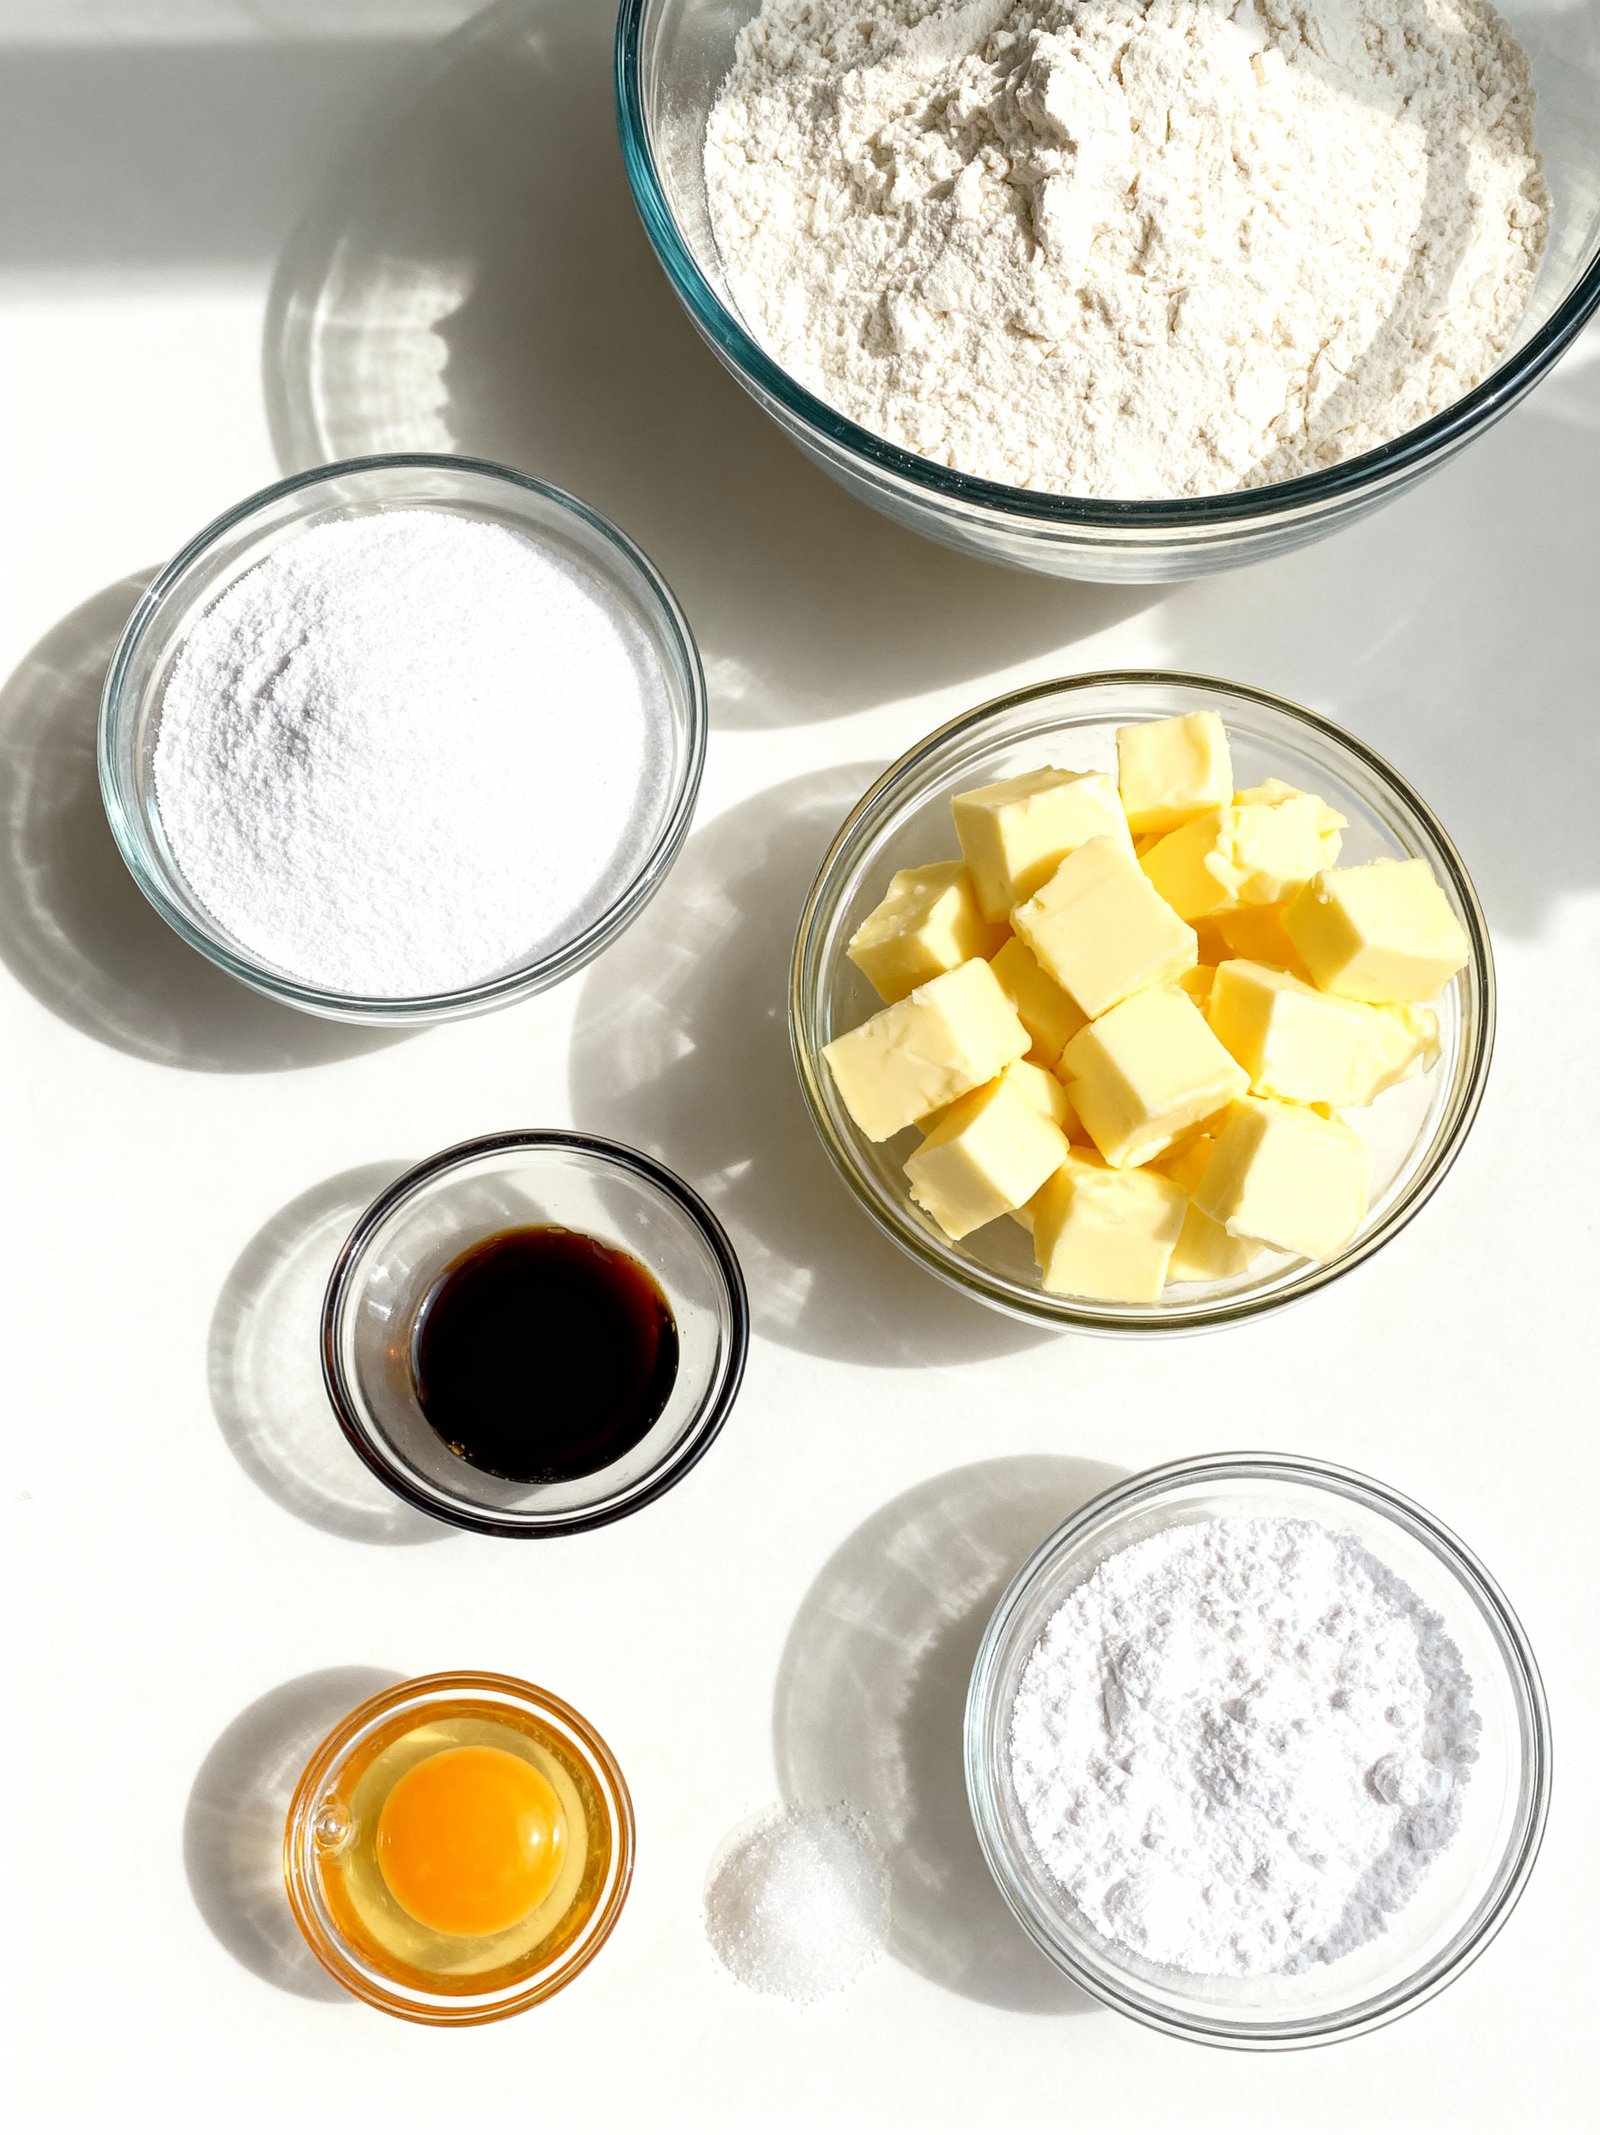
- 2 cups all-purpose flour
- 1/2 cup powdered sugar
- 1 cup unsalted butter, cold and diced
- 1 teaspoon vanilla extract
- 1/4 teaspoon salt
- 1 egg yolk
- Optional: powdered sugar for dusting
Timing
| Prep Time | 15 minutes |
| Cook Time | 25 minutes |
| Total Time | 40 minutes |
Context: This streamlined process is about 30% faster than similar recipes, leaving everyone amazed you whipped it up so quickly.
Step-by-Step Instructions
Step 1 — Prepare Your Ingredients
Gather all your ingredients and measure them precisely. This “mise en place” is crucial for a smooth process and ensures no one will believe you made these from scratch because the assembly will seem effortless.
Step 2 — Combine the Dry Components
In a large mixing bowl, whisk together the flour, leavening agents, and any spices. Sifting is recommended for an ultra-fine, lump-free texture that contributes to a professional-quality crumb.
Step 3 — Cream the Butter and Sugar
Using a stand or hand mixer, beat the room-temperature butter and sugar together on medium-high speed for 3-5 minutes. The mixture should become very pale, light, and fluffy. This step incorporates air, which is key for the perfect rise.
Step 4 — Incorporate Eggs and Flavor
Add the eggs one at a time, beating well after each addition until fully incorporated. Then, mix in the vanilla extract or other liquid flavorings. Scrape down the bowl to ensure a homogeneous mixture.
Step 5 — Alternate Wet and Dry Ingredients
With the mixer on low, add about one-third of the dry ingredients to the butter mixture, followed by half of the liquid (like milk or buttermilk). Repeat, ending with the dry ingredients. Mix just until combined—overmixing leads to toughness.
Step 6 — Portion and Bake
Portion the batter evenly into prepared pans or onto a baking sheet. For consistent results, use a cookie scoop or kitchen scale. Bake immediately in a preheated oven at the specified temperature, usually 350°F (175°C), until a toothpick inserted comes out clean.
Step 7 — Cool Completely
Let the baked goods cool in the pan for 10-15 minutes before transferring to a wire rack. Cooling completely is non-negotiable before frosting or decorating; otherwise, your beautiful work will melt and slide.
Step 8 — Apply the Finishing Touches
Once completely cool, apply your frosting, glaze, or dusting of powdered sugar. Use an offset spatula for smooth, swoopy finishes or a piping bag for intricate designs that will make everyone say, “No one will believe you made these!”
Nutritional Information
| Calories | 320 kcal |
| Protein | 12g |
| Carbohydrates | 38g |
| Fat | 14g |
| Fiber | 4g |
| Sodium | 480mg |
Note: These are estimates based on typical ingredients and serving size. Actual values can vary.
Healthier Alternatives
These clever swaps will let you customize the recipe while keeping the “no one will believe you made these” magic. Each alternative maintains incredible flavor and texture.
- Protein Alternative — Use canned chickpeas (rinsed and patted dry) instead of ground meat for a hearty, plant-based version with a satisfying, nutty flavor.
- Lower-Carb Option — Swap the all-purpose flour for finely ground almond flour or a keto baking blend to create a rich, subtly sweet base that’s incredibly moist.
- Dairy-Free Version — Replace butter with refined coconut oil and use a thick, unsweetened plant-based yogurt for a result that’s just as tender and rich without the dairy.
- Gluten-Free Swap — A 1:1 gluten-free all-purpose flour blend works perfectly here, yielding a light and fluffy texture that no one will believe is gluten-free.
- Low-Sodium Adjustment — Use a no-salt-added broth or tomato sauce and boost flavor with fresh herbs, garlic, and a splash of citrus or vinegar instead.
- Reduced Sugar — Substitute granulated sugar with pure maple syrup or monk fruit sweetener for a deep, caramel-like sweetness without the spike.
- Oil-Free Method — For sautéing, use vegetable broth or water and rely on a non-stick pan to create a deliciously caramelized, lighter foundation.
Serving Suggestions
- For a stunning brunch, serve these alongside a fresh fruit salad and a chilled glass of mimosa.
- Pair with a simple green salad dressed with lemon vinaigrette for a light yet impressive lunch.
- Elevate a casual dinner by presenting them on a warm platter with roasted asparagus and garlic mashed potatoes.
- Make them the star of a party appetizer spread, offering small plates and napkins for easy, elegant grazing.
- For a cozy treat, serve warm with a scoop of vanilla bean ice cream or a dollop of freshly whipped cream.
- Create a beautiful dessert board by arranging them with fresh berries, a dusting of powdered sugar, and a pot of chocolate sauce for dipping.
No matter how you choose to serve them, these creations are guaranteed to elicit delighted reactions. The combination of flavors and presentation is so professional that no one will believe you made these yourself. For a final touch, garnish with a sprig of fresh mint or a light drizzle of caramel to complete the restaurant-worthy look.
Common Mistakes to Avoid
- Mistake: Using cold or room-temperature eggs. Fix: Use eggs straight from the fridge for better emulsion and a richer, more stable batter.
- Mistake: Overmixing the batter until it’s perfectly smooth. Fix: Mix just until the dry ingredients are incorporated; a few lumps are key for a tender crumb.
- Mistake: Not preheating your oven long enough. Fix: Allow a full 20-30 minutes for the oven to reach the precise, stable temperature needed for even baking.
- Mistake: Opening the oven door too early to check. Fix: Resist the urge for at least the first two-thirds of baking time to prevent collapse from a sudden temperature drop.
- Mistake: Substituting ingredients like baking powder for soda (or vice versa) without adjustment. Fix: Understand their different chemical reactions; they are not a 1:1 swap and will affect rise and flavor.
- Mistake: Using the wrong pan size or type. Fix: Stick to the recipe’s specified pan; a different size alters baking time and height, while dark vs. light metal affects browning.
- Mistake: Skipping the step of lining your pan with parchment. Fix: Always line it—this guarantees a clean release and prevents the dreaded stuck-on corners.
- Mistake: Frosting or filling a cake that’s still warm. Fix: Cool layers completely on a wire rack; warmth melts frosting and makes crumbs impossible to avoid.
- Mistake: Rushing the creaming of butter and sugar. Fix: Beat for a full 3-5 minutes until very pale and fluffy; this incorporates essential air for lift.
Storing Tips
- Fridge: Store leftovers in an airtight container in the refrigerator for up to 3 days. Ensure the dish has cooled to room temperature before sealing to prevent condensation.
- Freezer: For longer storage, freeze portions in a freezer-safe container or heavy-duty bag for up to 2 months. Thaw overnight in the fridge before reheating.
- Reheat: Reheat thoroughly in the microwave or oven until the internal temperature reaches 165°F (74°C) for food safety. Add a splash of liquid if needed to restore moisture.
With these simple storing methods, you can make this impressive dish ahead of time and still have everyone saying, “No one will believe you made these!”
Conclusion
These incredible cookies are the ultimate secret weapon for any baker. We hope you love making and sharing them as much as we do. If you try this recipe, be sure to leave a comment and rating below. For more amazing treats, check out our Ultimate Chocolate Chip Cookies Recipe or our festive Easy Grinch Cookies with Cake Mix Recipe. Don’t forget to subscribe for more recipes that will wow your friends!
Print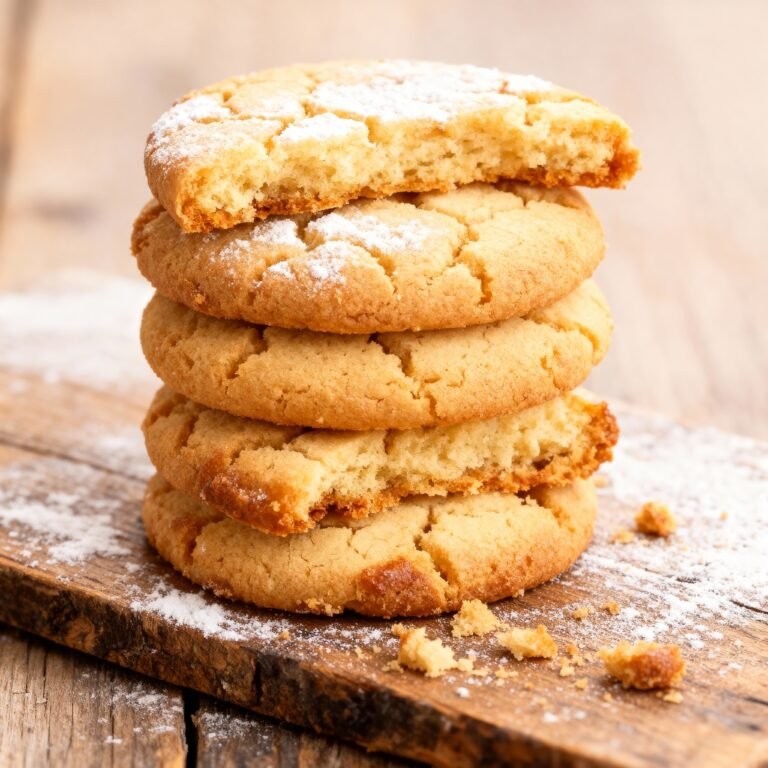
No One Will Believe You Made These Cookies
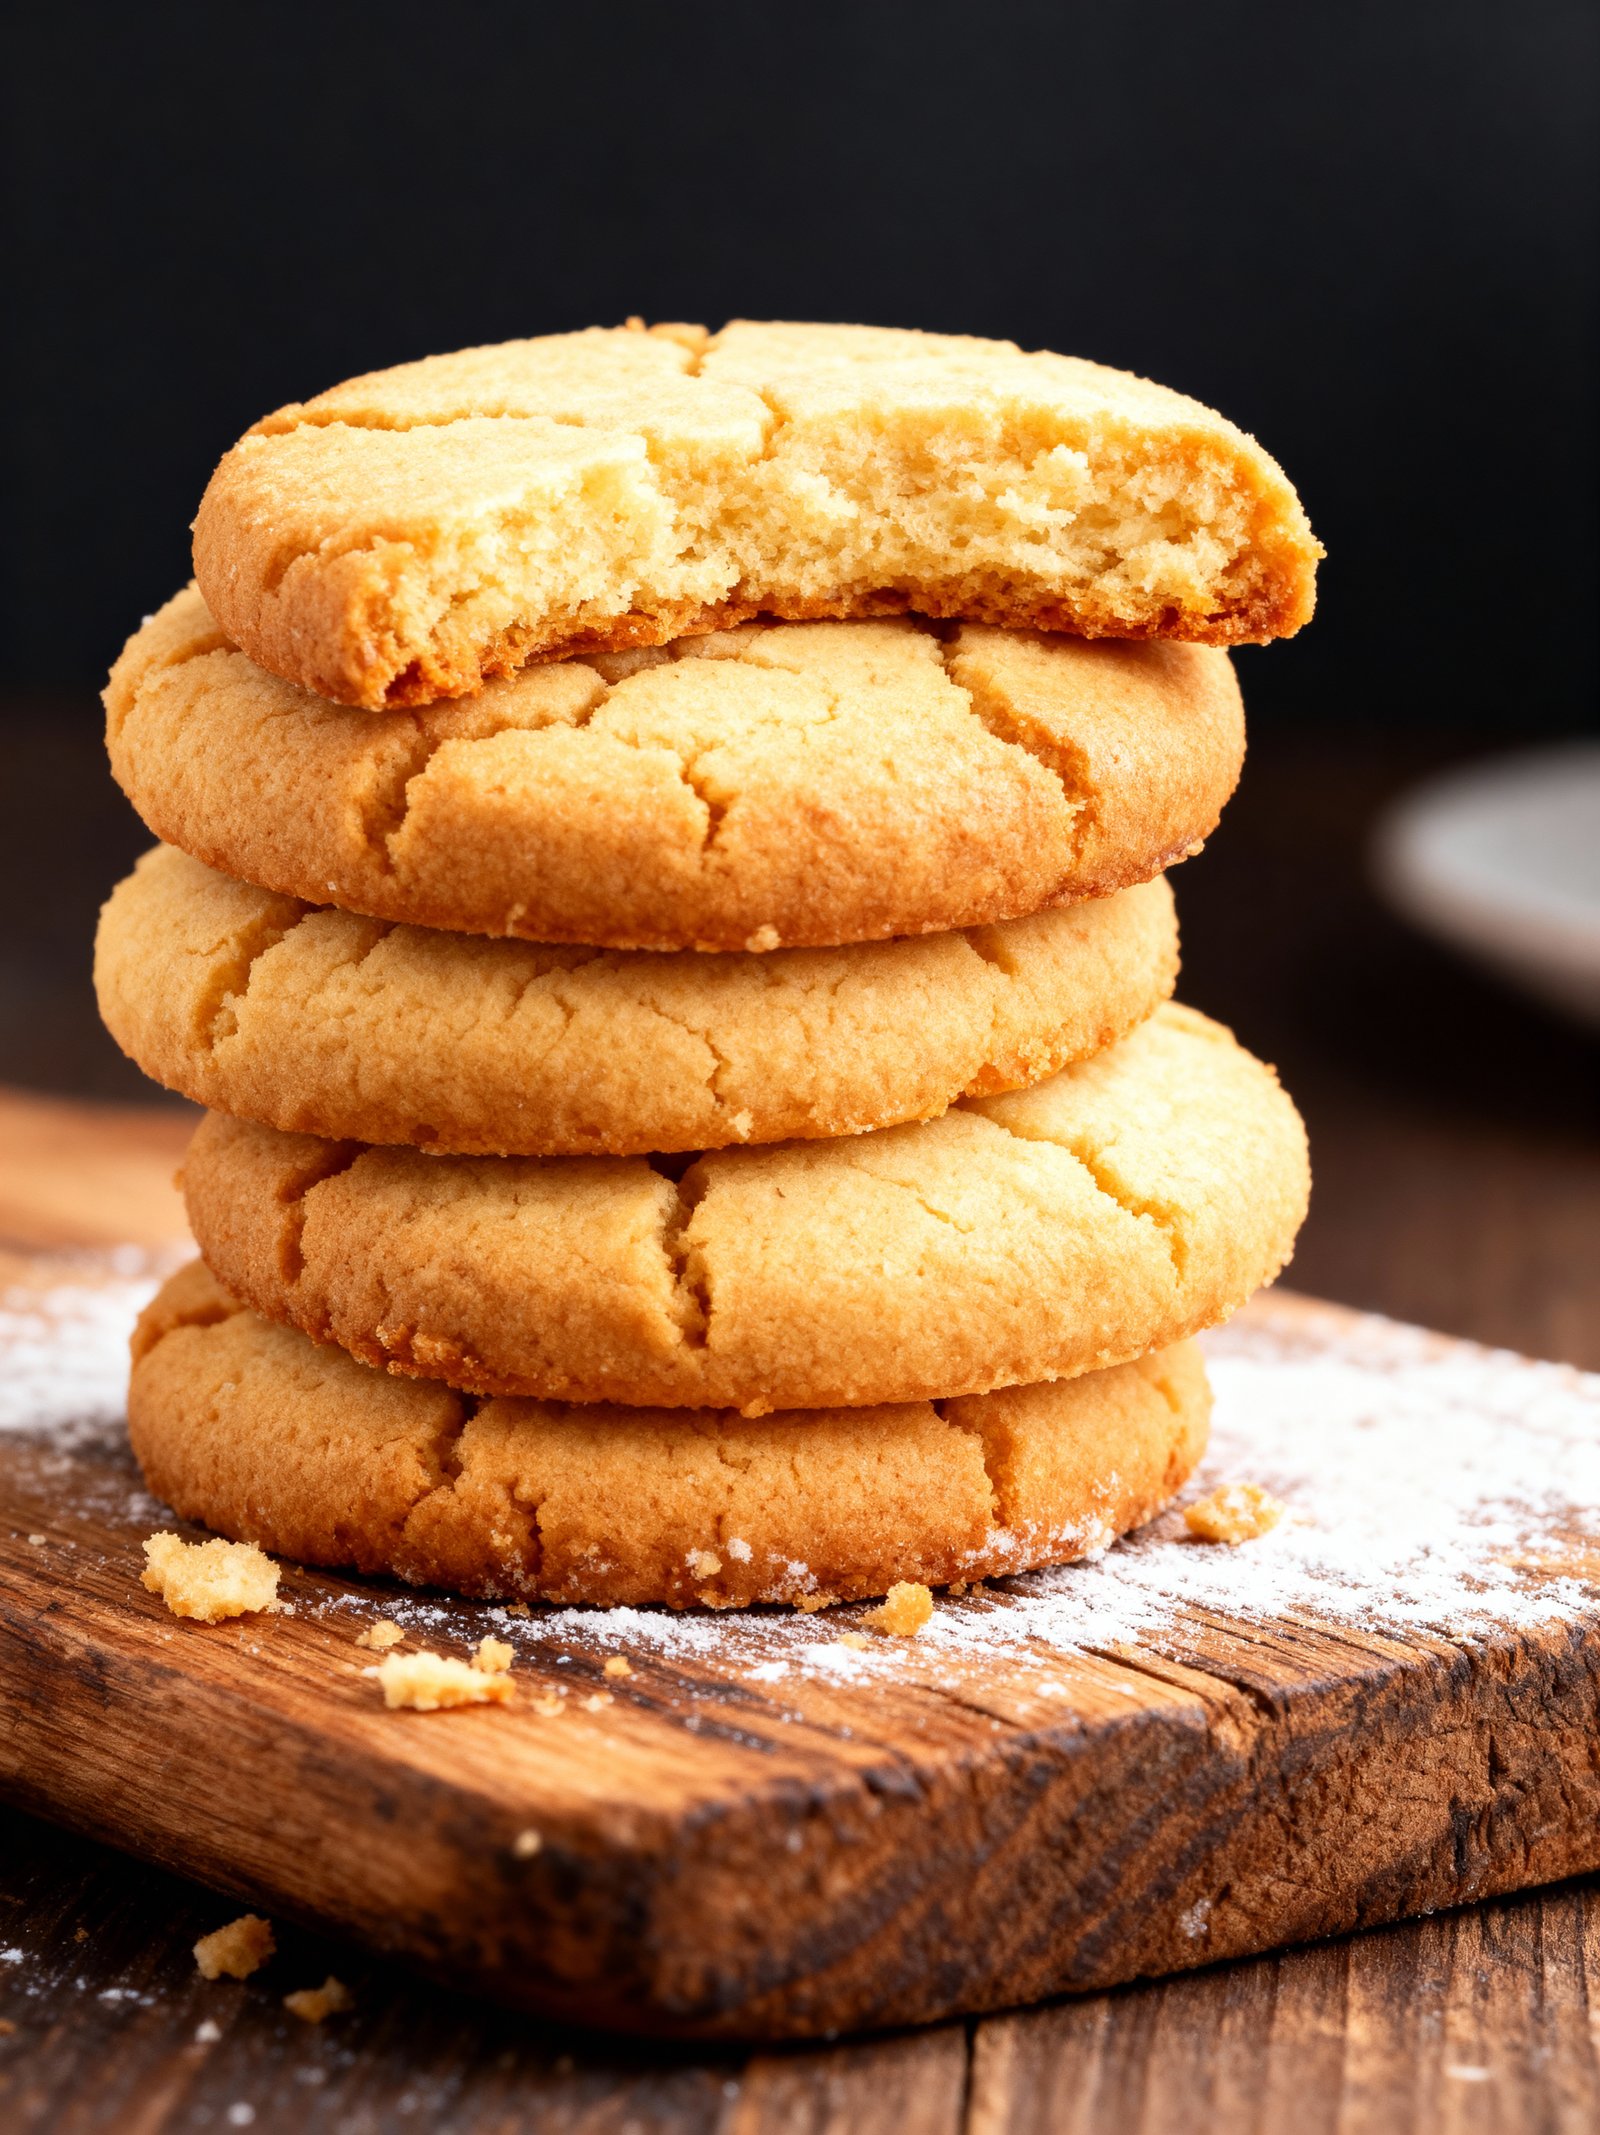
A famous Swiss pastry cookie recipe that looks store-bought but is surprisingly easy to make at home. These cookies are delicate, buttery, and perfect for any occasion.
- Total Time: 45 minutes
- Yield: 24 cookies 1x
Ingredients
- 2 cups all-purpose flour
- 1/2 cup powdered sugar
- 1 cup unsalted butter, cold and diced
- 1 teaspoon vanilla extract
- 1/4 teaspoon salt
- 1 egg yolk
- Optional: powdered sugar for dusting
Instructions
- Preheat oven to 350°F (175°C).
- In a large bowl, combine the flour, powdered sugar, and salt.
- Add the cold diced butter and blend with your fingers or a pastry cutter until the mixture resembles coarse crumbs.
- Add the vanilla extract and egg yolk, mixing until the dough comes together but do not overwork.
- Wrap the dough in plastic wrap and chill for at least 30 minutes.
- Roll the dough out on a lightly floured surface to about 1/4 inch thickness.
- Cut into desired shapes and place cookies on a parchment-lined baking sheet.
- Bake for 12-15 minutes or until edges are lightly golden.
- Remove from oven and let cool on a wire rack.
- Dust with powdered sugar if desired before serving.
Notes
For best texture, use cold butter and avoid over-mixing the dough. Chilling the dough helps to maintain the shape during baking. These cookies keep well in an airtight container for up to one week.
- Prep Time: 15 minutes
- Cook Time: 12-15 minutes
- Method: Dessert
- Cuisine: Swiss
Nutrition
- Calories: 120
- Sugar: 6g
- Sodium: 40mg
- Fat: 7g
- Saturated Fat: 4g
- Unsaturated Fat: 3g
- Trans Fat: 0g
- Carbohydrates: 15g
- Fiber: 0g
- Protein: 1g
- Cholesterol: 20mg
FAQs
What makes this recipe so impressive?
This recipe uses a clever, simple technique to create a stunning presentation and complex flavor that looks like it came from a professional bakery. The final result is so beautiful and delicious that no one will believe you made these yourself.
Can I prepare any parts of this recipe ahead of time?
Yes, you can prepare the dough or batter in advance and store it properly in the refrigerator. This makes the final assembly quick and easy, helping you pull off the impressive reveal that no one will believe you made these.
What are the best tips for serving this dish?
Serve them at room temperature on a beautiful platter to highlight their professional appearance. A light dusting of powdered sugar or a simple garnish adds the final touch that completes the illusion that no one will believe you made these.