Ultimate Decadent Red Velvet Cake with Cream Cheese Frosting
Did You Know Red Velvet Cake Wasn’t Always Red?
It’s true! The original “velvet” cakes of the 1800s got their name from their soft, fine crumb—not their vibrant hue. The iconic crimson color we adore today only became popular in the 20th century, thanks to a clever marketing stunt by a food coloring company. But one thing has remained constant through the centuries: the irresistible pairing of tender cocoa-kissed cake with tangy cream cheese frosting. This decadent red velvet cake recipe honors tradition while delivering that signature richness modern bakers crave.
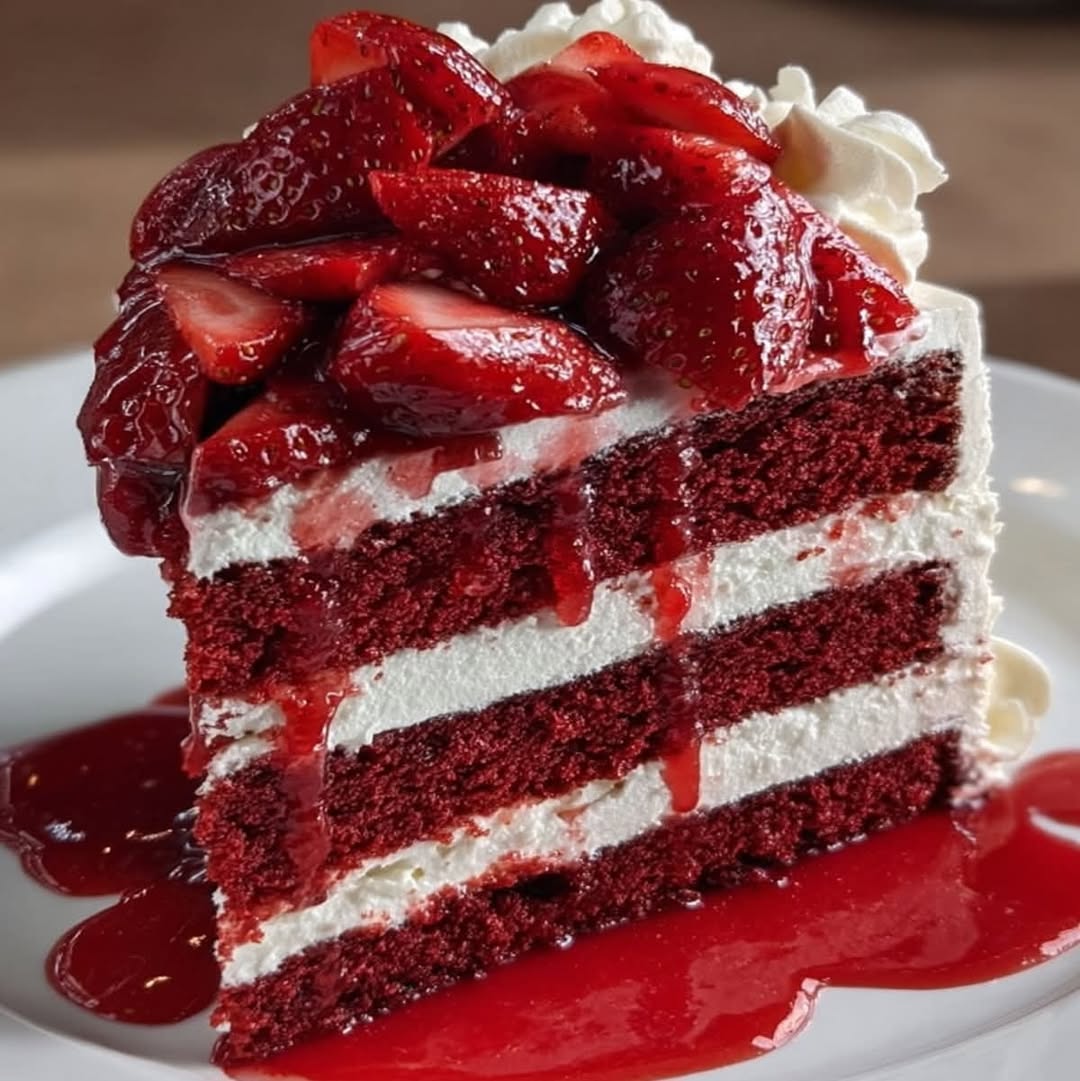
There’s something magical about slicing into a tall layer of red velvet cake. The dramatic color contrast—deep ruby crumb against snowy frosting—makes every bite feel like a celebration. Yet for all its elegance, this dessert has humble roots in Southern kitchens, where buttermilk and vinegar worked together to create that signature velvety texture long before chemical leaveners existed.
Why This Recipe Becomes an Instant Classic
After testing dozens of versions (a delicious but dangerous job!), I’ve perfected the balance that makes this decadent red velvet cake truly exceptional:
- Just enough cocoa – Unlike chocolate cake, red velvet should whisper cocoa flavor rather than shout it
- Vinegar magic – The secret weapon that reacts with baking soda for an airy lift
- Silky ermine frosting – A vintage cooked-milk alternative to cream cheese frosting that’s less sweet but equally luxurious
- Natural color options – From beet powder to hibiscus for those avoiding food dyes
The first time I made this version for a friend’s anniversary, her husband declared it “better than our wedding cake”—and I knew the recipe was a keeper. There’s a reason red velvet has endured as the crown jewel of Southern baking: when done right, it’s moist without being dense, striking without being artificial-tasting, and romantic without being fussy.
Decadent Red Velvet Cake with Cream Cheese Frosting
A rich and moist red velvet cake topped with smooth cream cheese frosting, perfect for special occasions.
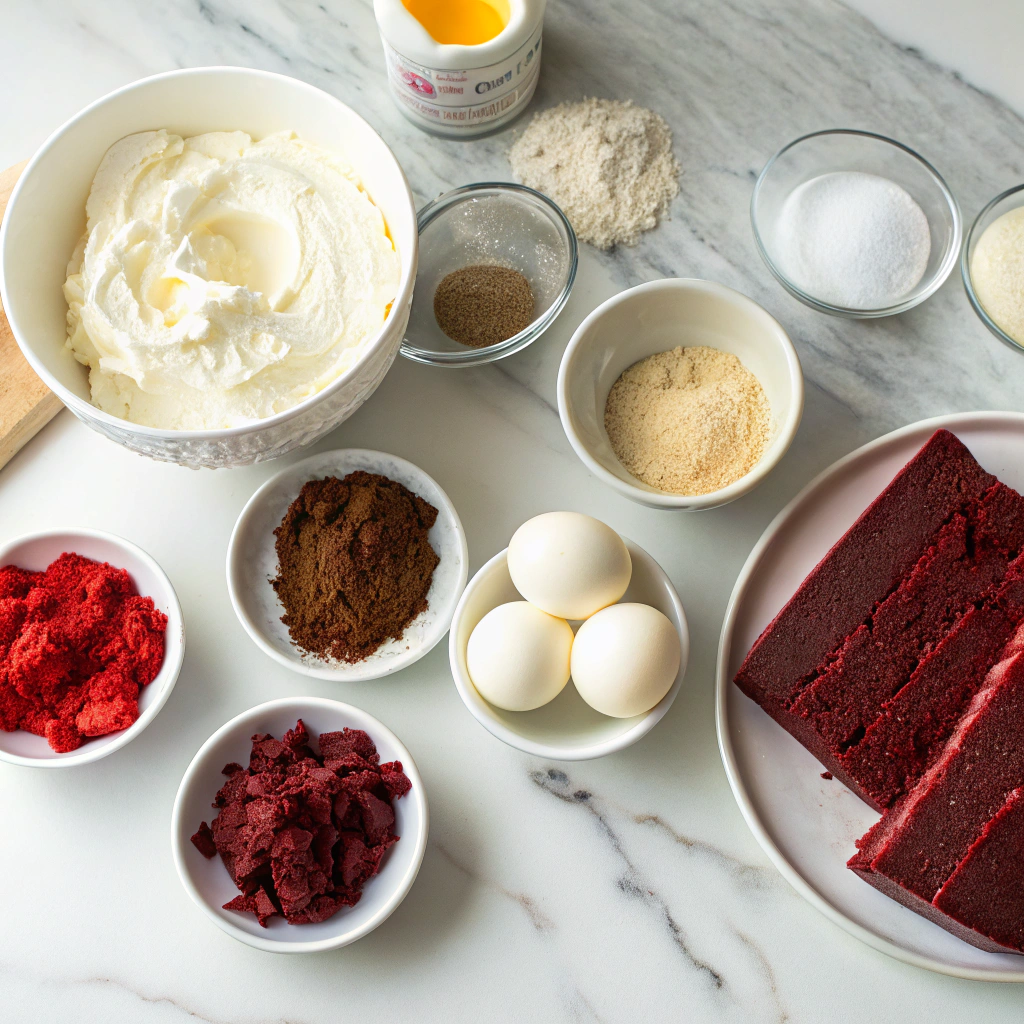
Ingredients
For the Crust:
- 2 1/2 cups all-purpose flour
- 1 1/2 cups granulated sugar
- 1 tsp baking soda
- 1 tsp salt
- 1 tsp cocoa powder
- 1 1/2 cups vegetable oil
- 1 cup buttermilk
- 2 large eggs
- 2 tbsp red food coloring
- 1 tsp vanilla extract
- 1 tsp white vinegar
- 8 oz cream cheese, softened
- 1/2 cup unsalted butter, softened
- 4 cups powdered sugar
- 1 tsp vanilla extract
Instructions
1. Prepare the Crust:
- Preheat oven to 350°F (175°C). Grease and flour two 9-inch round cake pans.
- In a large bowl, whisk together flour, sugar, baking soda, salt, and cocoa powder.
- In another bowl, beat together oil, buttermilk, eggs, food coloring, vanilla, and vinegar.
- Gradually mix the wet ingredients into the dry ingredients until smooth.
- Divide batter evenly between the prepared pans. Bake for 25-30 minutes or until a toothpick inserted comes out clean.
- Let cakes cool in pans for 10 minutes, then transfer to a wire rack to cool completely.
- For the frosting, beat cream cheese and butter until smooth. Gradually add powdered sugar and vanilla, beating until fluffy.
- Frost the cooled cake layers with the cream cheese frosting.
Notes
You can customize the seasonings to taste.
The Perfect Red Velvet Cake: A Love Story in Layers
There’s something undeniably magical about a red velvet cake. That deep crimson crumb, the whisper of cocoa, and that tangy cream cheese frosting—it’s a dessert that feels like a hug in cake form. Whether it’s for a birthday, anniversary, or just because you deserve something sweet, this recipe is my tried-and-true favorite.
Ingredients You’ll Need
- 2 ½ cups all-purpose flour – Spoon and level it, my dear bakers! No packed flour here.
- 1 ½ cups granulated sugar – Just the right amount of sweetness to balance the cocoa.
- 1 teaspoon baking soda – Our little leavening hero.
- 1 teaspoon fine sea salt – A pinch to make all the flavors sing.
- 1 tablespoon cocoa powder – Dutch-processed if you have it, for that rich depth.
- 1 ½ cups vegetable oil – The secret to an impossibly moist crumb.
- 1 cup buttermilk, room temperature – Tangy, tenderizing magic. No buttermilk? Add 1 tablespoon lemon juice to regular milk and let it sit for 5 minutes.
- 2 large eggs, room temperature – Always room temp—cold eggs can make the batter curdle.
- 2 tablespoons red food coloring – I prefer gel for vibrant color without thinning the batter.
- 1 teaspoon vanilla extract – Pure, please! The imitation stuff just won’t do.
- 1 teaspoon white vinegar – Trust me, it’s the old-school trick for a perfect rise.
For the Cream Cheese Frosting
- 8 oz cream cheese, softened – Full-fat is non-negotiable for that luscious texture.
- ½ cup unsalted butter, softened – Salted butter can throw off the balance, so stick with unsalted.
- 4 cups powdered sugar – Sifted to avoid lumps—because no one wants gritty frosting.
- 1 teaspoon vanilla extract – The perfect aromatic finish.
- A pinch of salt – To cut the sweetness just enough.
Let’s Bake: Step by Step
Step 1: Preheat & Prep
Preheat your oven to 350°F (175°C). Grease and line two 9-inch round cake pans with parchment paper—this ensures your cakes slide out effortlessly. A little butter and flour dusting never hurt either!
Step 2: The Dry Dance
In a large bowl, whisk together the flour, sugar, baking soda, salt, and cocoa powder. Take your time here—getting rid of any cocoa lumps now means a smoother batter later.
Step 3: The Wet Waltz
In another bowl, beat the oil, buttermilk, eggs, food coloring, vanilla, and vinegar until smooth. I like to use a hand mixer here, but a whisk and some elbow grease work just fine. The batter should look like liquid rubies—deep and luxurious.
Step 4: Marry the Mixtures
Slowly add the wet ingredients to the dry, mixing just until combined. Overmixing is the enemy of a tender cake! A few flour streaks are okay—they’ll disappear with a gentle fold.
Step 5: Bake with Love
Divide the batter evenly between your prepared pans. Bake for 25-30 minutes, or until a toothpick comes out clean. The cakes should spring back when lightly touched. Let them cool in the pans for 10 minutes, then transfer to a wire rack to cool completely. Patience, darling—warm cakes and frosting are a slippery slope!
Conclusion
There’s nothing quite like the rich, velvety texture and striking color of a homemade red velvet cake, especially when it’s crowned with luscious cream cheese frosting. This recipe is a labor of love, but every bite is worth the effort. Whether you’re baking for a special occasion or just indulging in a sweet craving, this cake is sure to impress.
Now it’s your turn! Whip up this decadent dessert, and don’t forget to share your masterpiece with us in the comments or tag us on social media. If you loved this recipe, explore our other cake recipes for more baking inspiration. Happy baking!
FAQs
Can I make this cake without food coloring?
Absolutely! While traditional red velvet cake gets its vibrant hue from food coloring, you can skip it for a more natural version. The cocoa powder will still give the cake a lovely reddish-brown tint, though it won’t be as bold.
Why did my cake turn out dry?
Overbaking is often the culprit. Be sure to check your cake a few minutes before the timer goes off—a toothpick inserted should come out with a few moist crumbs. Also, measure your flour correctly (spoon and level, don’t scoop!) to avoid a dense texture.
Can I substitute buttermilk?
Yes! If you don’t have buttermilk, mix 1 cup of milk with 1 tablespoon of lemon juice or vinegar and let it sit for 5 minutes before using. This creates a great buttermilk substitute.
How do I store leftovers?
Store the cake in an airtight container in the refrigerator for up to 5 days. Let slices come to room temperature before serving for the best texture and flavor.
Can I freeze this cake?
Definitely! Wrap unfrosted cake layers tightly in plastic wrap and freeze for up to 3 months. Thaw at room temperature before frosting. You can also freeze frosted slices—just place them in a single layer on a tray to freeze solid before wrapping.