
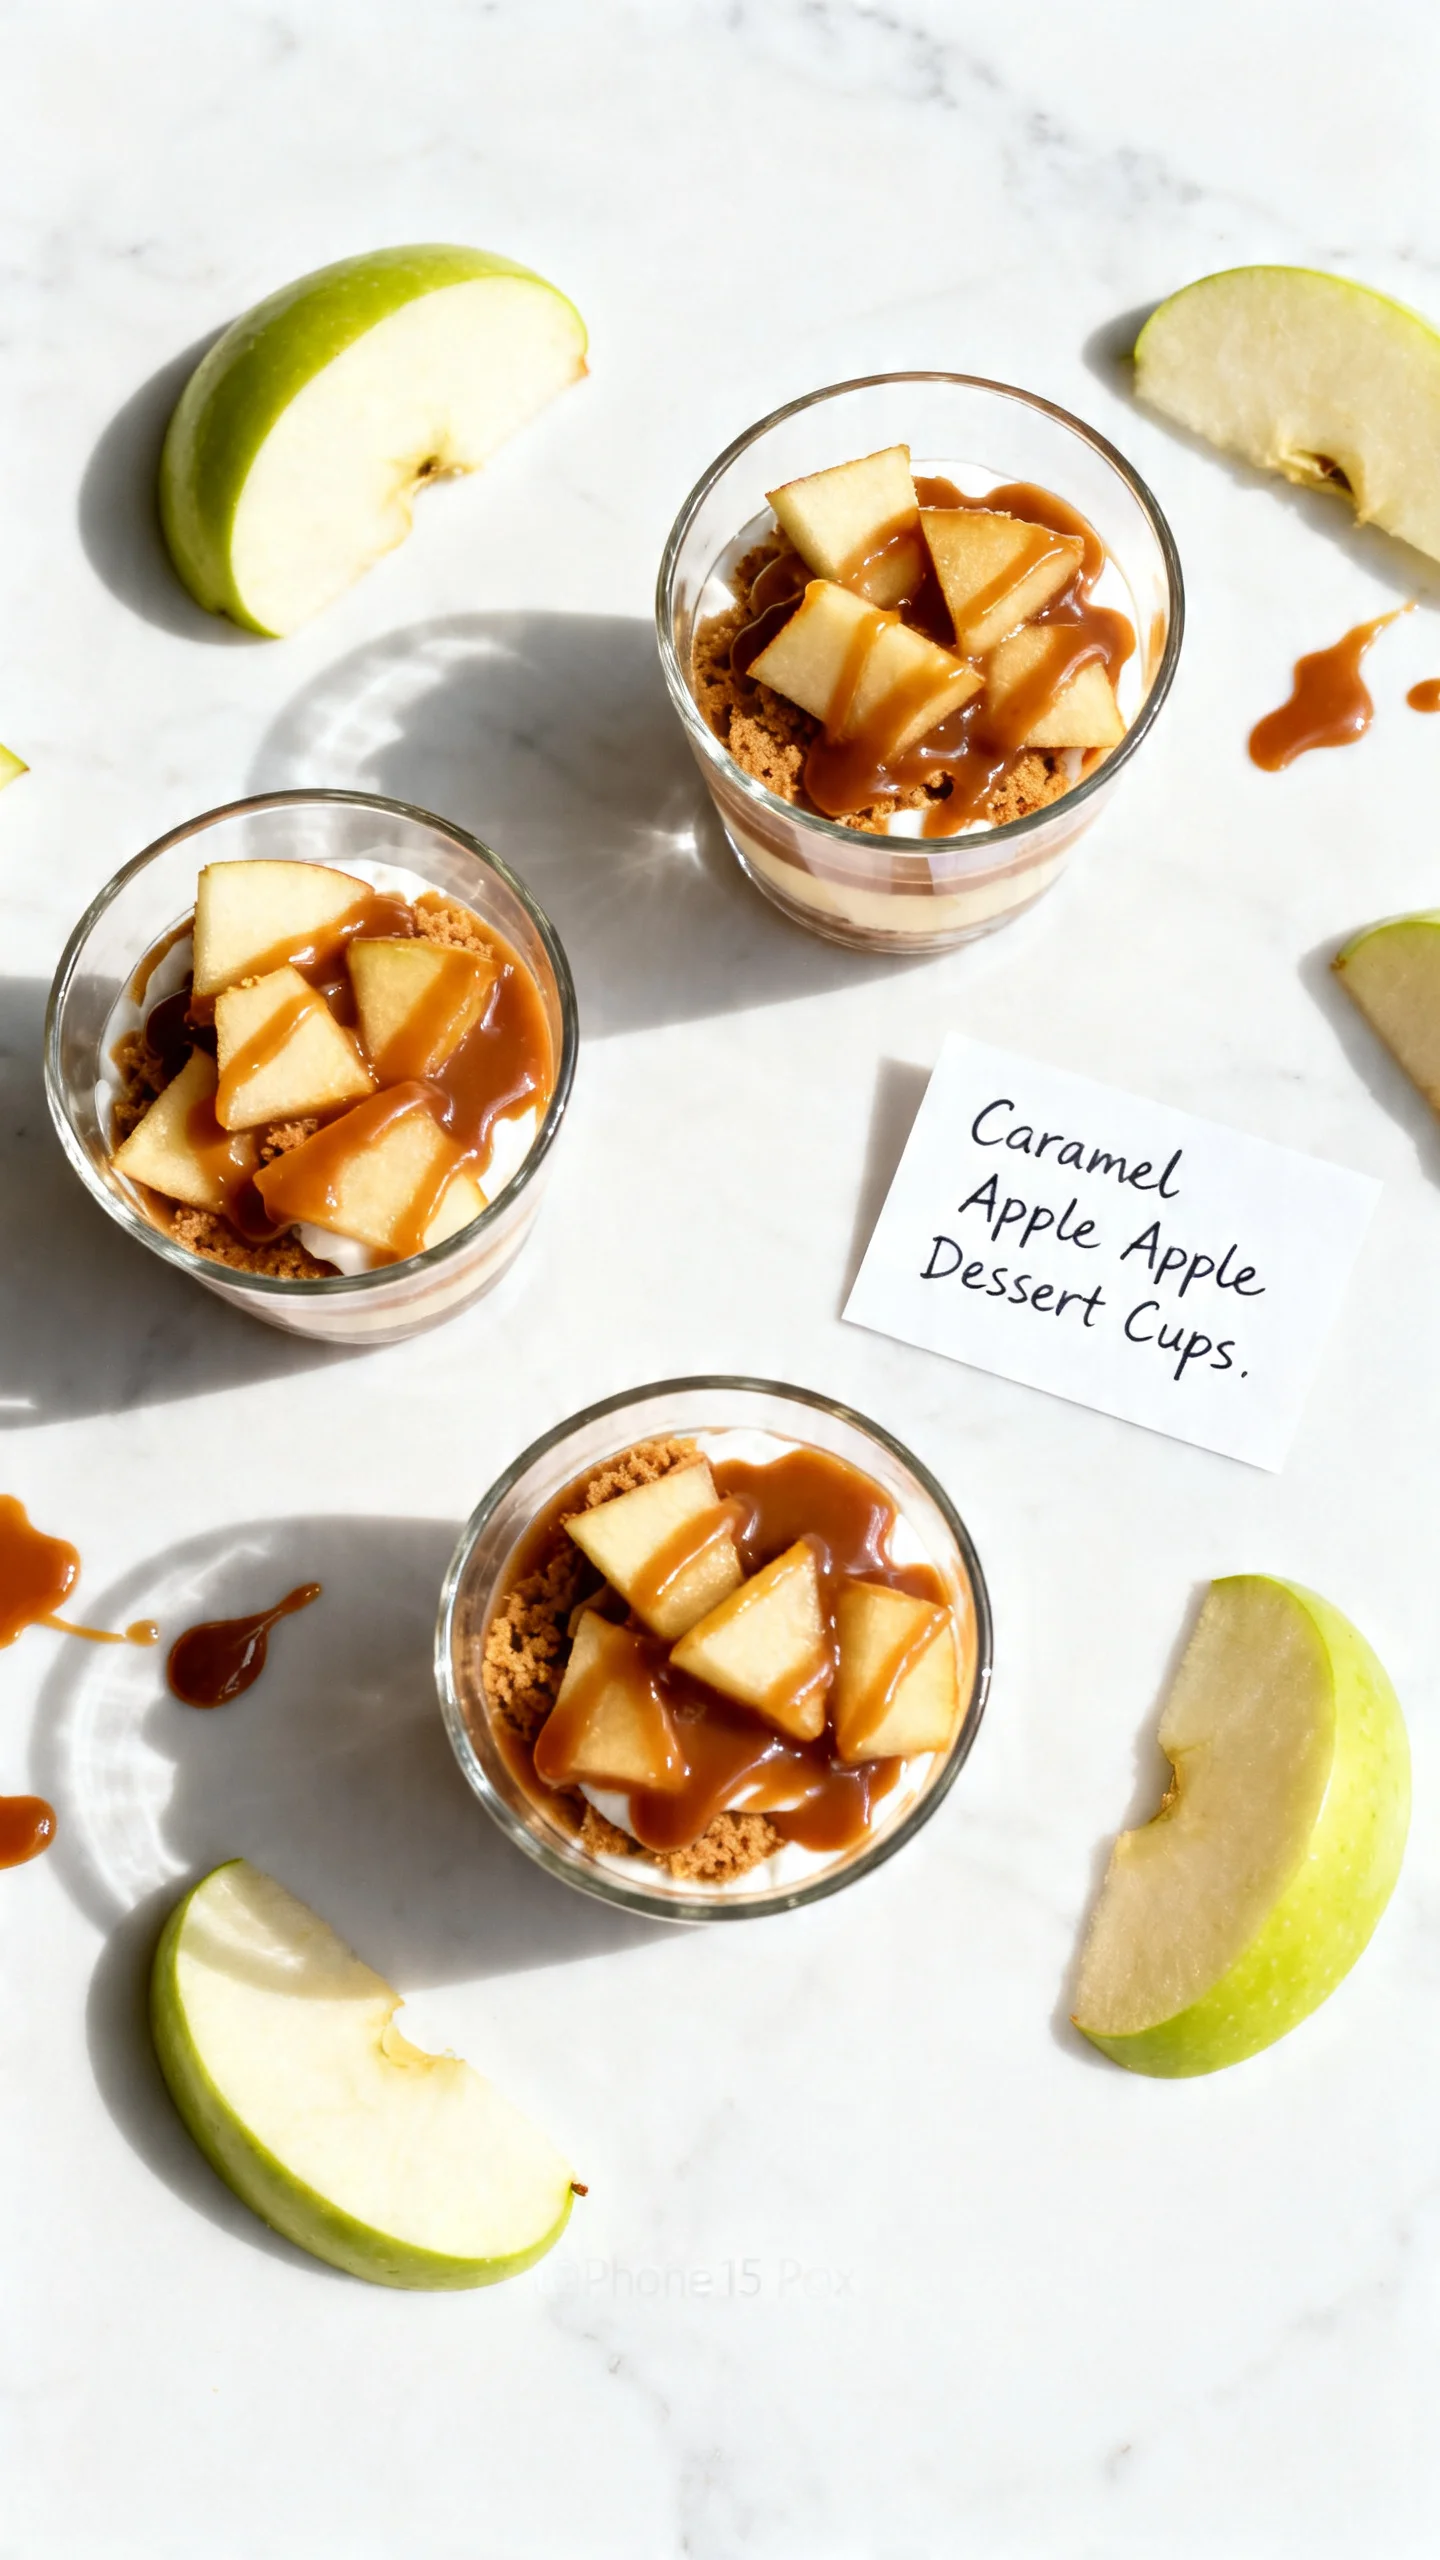
Caramel Apple Dessert Cups Recipe
Introduction
These Caramel Apple Dessert Cups are the ultimate no-bake treat, combining warm, spiced apples with cool, fluffy whipped cream and a decadent caramel drizzle. I’ve perfected this recipe over many autumn seasons, finding it delivers the cozy flavors of a classic apple pie in a fraction of the time. It’s an elegant yet simple dessert that’s sure to impress at any gathering.
Ingredients
The magic of this easy dessert lies in using fresh, crisp apples and a quality caramel sauce. The sautéing technique, which means cooking quickly in a small amount of fat over medium-high heat, intensifies the apple flavor beautifully.
- 3 cups peeled and chopped apples (such as Granny Smith or Honeycrisp)
- 1/2 cup brown sugar
- 1/2 teaspoon ground cinnamon
- 1 tablespoon butter
- 4 cups whipped cream (freshly whipped or high-quality store-bought)
- 1/2 cup caramel sauce (plus extra for drizzling)
Timing
| Prep Time | 15 minutes |
| Cook Time | 10 minutes |
| Total Time | 25 minutes |
Context: This method reduces the total time by over 50% compared to baking a traditional apple pie. It’s a fantastic make-ahead option; you can prepare the spiced apple filling a day in advance and simply assemble the cups before serving.
Step-by-Step Instructions
Step 1 — Prepare the Apple Filling
In a medium skillet, melt the tablespoon of butter over medium heat. Add the peeled and chopped apples, brown sugar, and ground cinnamon. Stir to coat the apples evenly. Unlike boiling, sautéing caramelizes the natural sugars in the apples and brown sugar, creating a richer flavor base.
Step 2 — Cook to Perfection
Cook the apple mixture, stirring occasionally, for 8-10 minutes. The apples should be tender but still hold their shape slightly, and the sauce will have thickened into a glossy syrup. (Pro tip: A fork should pierce an apple chunk easily). Remove the skillet from the heat and let the filling cool for at least 10 minutes; this prevents the whipped cream from melting when combined.
Step 3 — Whip the Cream
While the apples cool, prepare your whipped cream. If using store-bought, give it a quick fluff with a whisk. For homemade, whip cold heavy cream with a bit of sugar until stiff peaks form. In my tests, I’ve found that slightly under-whipped cream folds into the caramel more easily for the next step.
Step 4 — Fold in Caramel Sauce
Gently fold 1/2 cup of caramel sauce into the 4 cups of whipped cream until just combined, creating a marbled effect. Be careful not to overmix, as you want distinct ribbons of caramel. This step adds a deep, sweet flavor to every layer of your dessert cups.
Step 5 — Layer the Components
Begin assembling your cups. Start with a layer of the caramel whipped cream at the bottom of each serving glass. Add a generous spoonful of the cooled spiced apple filling on top. Repeat the layers, finishing with a final dollop of the whipped cream mixture.
Step 6 — Garnish and Serve
Drizzle the top of each assembled Caramel Apple Dessert Cup with additional caramel sauce and a light sprinkle of cinnamon if desired. For the best texture and temperature contrast, serve immediately. These cups can be refrigerated for up to 2 hours before serving if needed.

Nutritional Information
| Calories | ~320 |
| Protein | 2g |
| Carbohydrates | 48g |
| Fat | 15g |
| Fiber | 3g |
| Sodium | 180mg |
This dessert provides a notable amount of Vitamin C from the fresh apples. Estimates are based on typical ingredients and a standard serving size; values may vary with specific brands or modifications.
Healthier Alternatives
- Greek Yogurt for Whipped Cream — Use full-fat Greek yogurt for a high-protein, tangy layer that still provides a creamy texture.
- Coconut Sugar for Brown Sugar — A lower-glycemic option that offers a similar caramel-like flavor in the apple filling.
- Date Caramel Sauce — Blend soaked dates with a splash of vanilla for a whole-food, refined-sugar-free caramel drizzle.
- Nut-Based Topping — Sprinkle chopped walnuts or pecans on top for added healthy fats, fiber, and a satisfying crunch.
- Dairy-Free Whipped Topping — Opt for coconut cream or a store-bought plant-based whipped topping to make these dessert cups dairy-free.
- Reduce Sodium — Use unsalted butter and check your caramel sauce label to select a low-sodium variety.
Serving Suggestions
- Serve these cups as the perfect finale to a cozy fall dinner party.
- Pair with a hot mug of spiced chai tea or strong black coffee to balance the sweetness.
- For a festive touch, garnish with a thin apple slice or a cinnamon stick.
- Transform them into a parfait bar by setting out toppings like granola, chocolate shavings, and toasted coconut for guests to customize.
- Pack individual servings in mason jars for a portable treat on autumn picnics.
This recipe is incredibly versatile for seasonal entertaining. You can prep the components ahead of time for a stress-free, elegant dessert that captures the essence of the season.
Common Mistakes to Avoid
- Mistake: Using apples that turn to mush. Fix: Choose firm varieties like Granny Smith or Honeycrisp that hold their shape when sautéed.
- Mistake: Adding hot apple filling to the whipped cream. Fix: Always let the filling cool for at least 10 minutes, as specified in Step 2, to prevent a soupy, melted mess.
- Mistake: Overmixing the caramel into the cream. Fix: Fold gently until just combined to maintain a beautiful marbled effect and light texture.
- Mistake: Skimping on the caramel drizzle. Fix: A generous final drizzle adds visual appeal and ensures every bite is packed with flavor.
- Mistake: Assembling too far in advance. Fix: For the best texture, assemble your Caramel Apple Dessert Cups no more than 2 hours before serving.
- Mistake: Overcrowding the skillet. Fix: Cook the apples in a single layer if doubling the recipe to allow proper caramelization and steam to escape.
Storing Tips
- Fridge: Store assembled cups or separate components in airtight containers. The apple filling keeps for up to 5 days, while the whipped cream mixture is best used within 2 days. Always refrigerate below 40°F.
- Freezer: For longer storage, freeze the cooled apple filling in a freezer-safe bag for up to 3 months. Thaw overnight in the fridge. Note: Freezing whipped cream is not recommended as it will separate.
- Reheat: Gently warm the chilled apple filling in a saucepan over low heat or in the microwave for 15-second intervals, stirring until just warm. Do not overheat, as this can break down the apples.
For optimal meal prep, cook the spiced apple filling ahead and store it separately. Assemble your easy caramel apple cups just before serving to maintain the perfect contrast between the warm filling and cool cream.
Conclusion
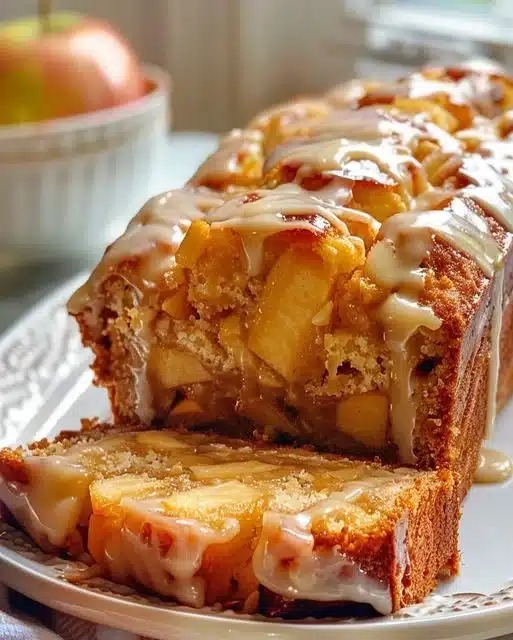
These Caramel Apple Dessert Cups deliver the nostalgic taste of fall in a stunning, no-bake format perfect for effortless entertaining. For more delicious apple desserts, try this Apple Cider Bundt Cake Recipe or these Apple Fritter Bites Recipe. I hope you love this quick and elegant treat—share your creation in the comments!
Frequently Asked Questions
How many servings does this Caramel Apple Dessert Cups recipe make?
This recipe yields 4 generous servings when using standard dessert cups or glasses. You can easily double or triple the ingredients for a larger crowd. For smaller portions, simply divide the components among 6 smaller ramekins.
What can I use instead of whipped cream for a lighter option?
For a lighter, airy texture, try folding the caramel sauce into a tub of thawed frozen whipped topping. Another excellent option is to use sweetened vanilla yogurt or a dairy-free coconut whipped topping, which will alter the flavor profile but remains delicious. I’ve tested with Greek yogurt, as mentioned in the Healthier Alternatives section, for a protein-rich twist.
Why did my caramel sauce seize or harden when I tried to drizzle it?
This usually happens because the caramel sauce is too cold. Gently warm the sauce for 10-15 seconds in the microwave or in a heatproof bowl over simmering water until it reaches a pourable consistency. According to standard candy-making principles, warming it slowly and stirring constantly prevents crystallization and ensures a smooth, glossy finish for your dessert cups.
PrintCaramel Apple Dessert Cups
Ingredients
- 3 cups peeled and chopped apples
- 1/2 cup brown sugar
- 1/2 teaspoon ground cinnamon
- 1 tablespoon butter
- 4 cups whipped cream
- 1/2 cup caramel sauce
Instructions
- In a skillet, melt the butter over medium heat.
- Add the chopped apples, brown sugar, and cinnamon.
- Cook, stirring occasionally, until the apples are tender and caramelized, about 8-10 minutes.
- Remove from heat and let cool slightly.
- Layer the caramelized apples and whipped cream in dessert cups.
- Drizzle caramel sauce over the top.
- Refrigerate for at least 30 minutes before serving.
2 Comments