

Introduction
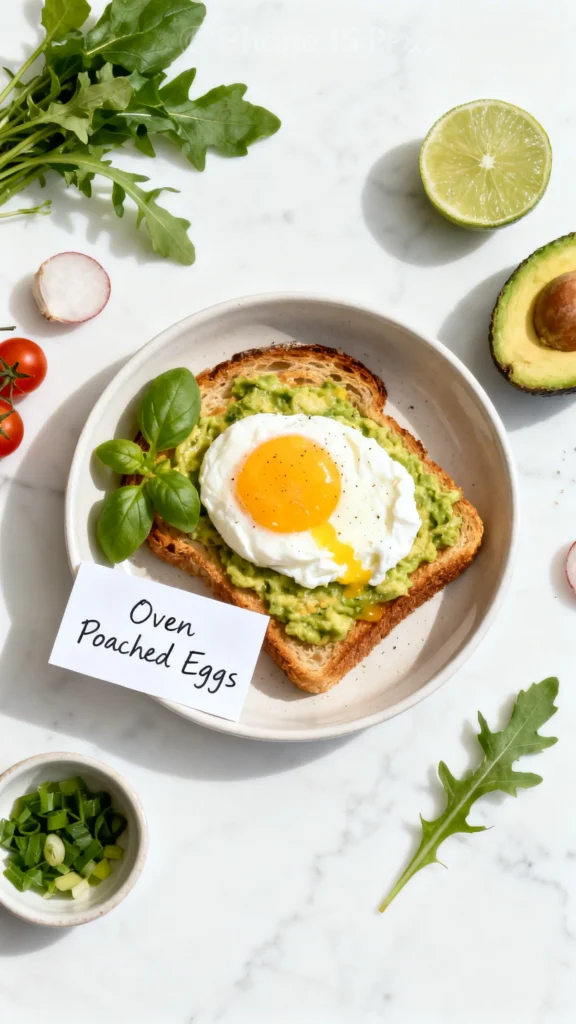
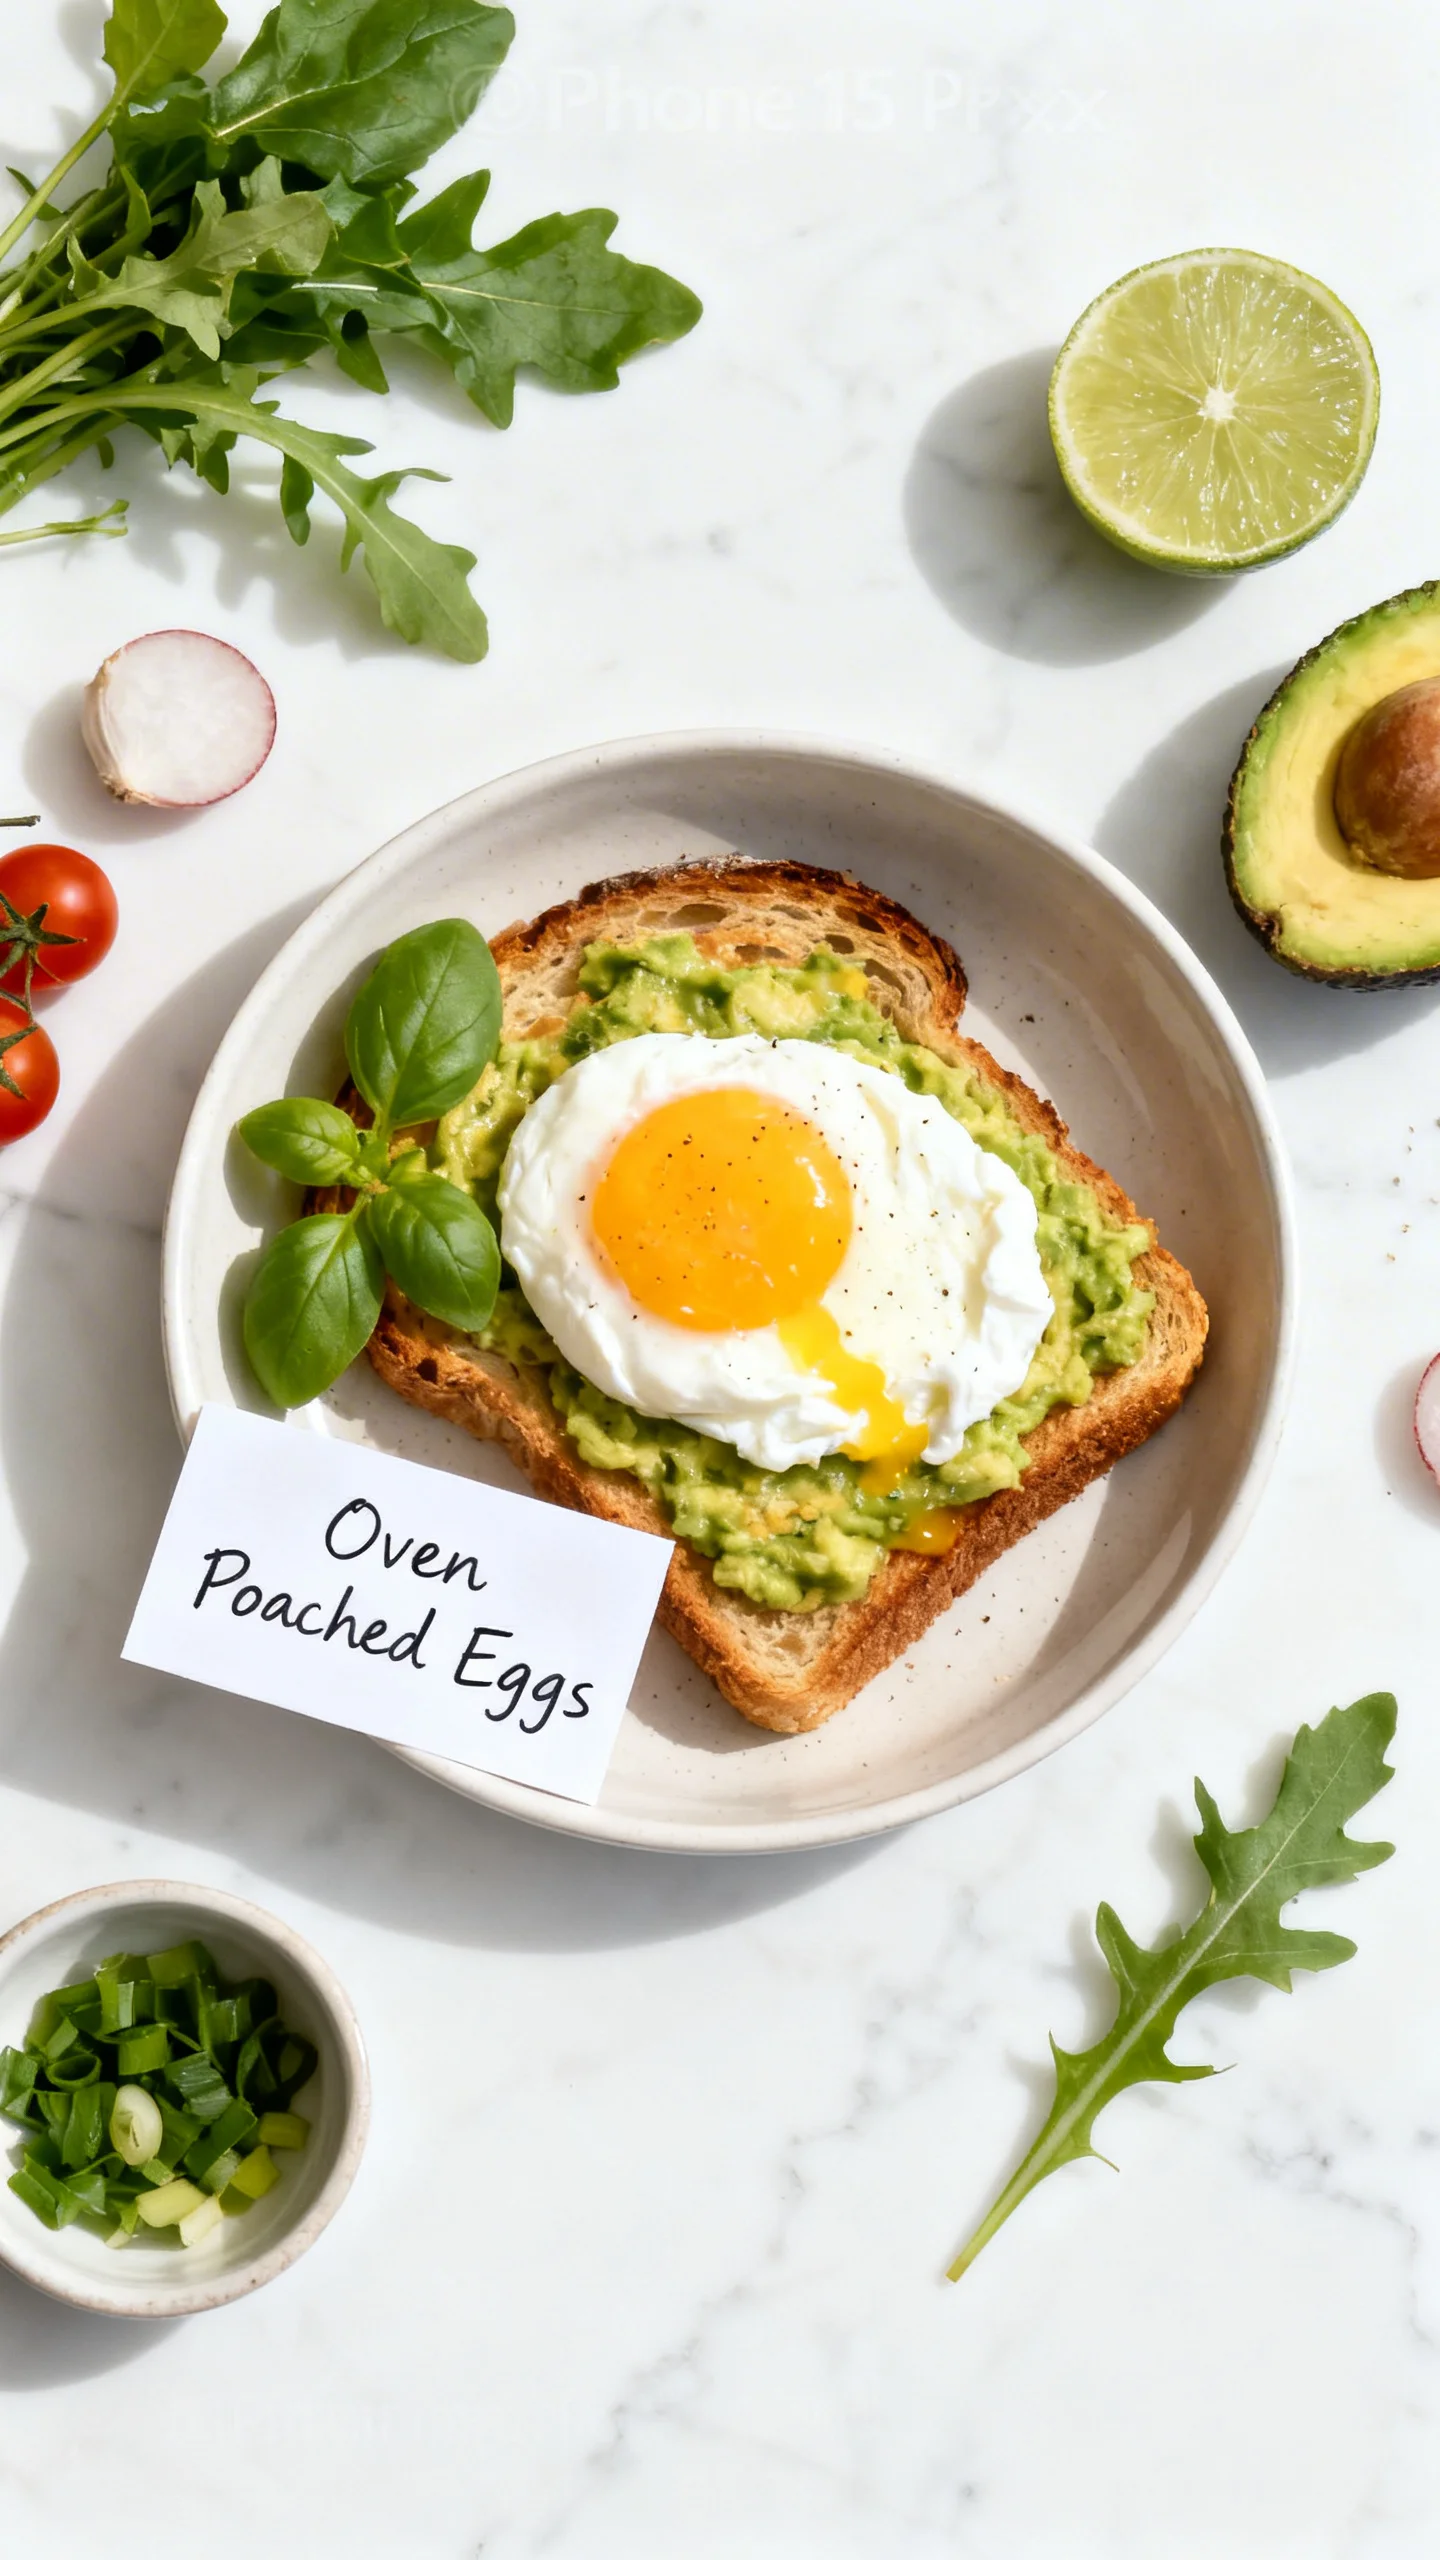
Forget the swirling water and inevitable mess—Oven Poached Eggs are your secret to perfectly cooked, hands-off breakfast perfection. This method yields tender, set whites and gloriously runny yolks every single time, a game-changer I discovered after years of inconsistent stovetop results. It’s the ultimate technique for effortlessly feeding a crowd or prepping a week’s worth of healthy, protein-packed meals.
Ingredients
The beauty of this recipe lies in its simplicity, requiring just two core components. Using the freshest eggs you can find is key, as they hold their shape better during the gentle oven cooking process.
- 6 large eggs
- Salt and freshly ground black pepper to taste
Timing
| Prep Time | 5 minutes |
| Cook Time | 15 minutes |
| Total Time | 20 minutes |
Context: This hands-off method is about 30% faster than poaching individual batches on the stovetop, making it perfect for busy weekend brunches. The total active time is minimal, freeing you up to prepare toast, bacon, or a fresh salad while the oven does the work.
Step-by-Step Instructions
Step 1 — Preheat and Prepare the Pan
Begin by preheating your oven to 350°F (175°C). While it heats, generously grease a standard 12-cup muffin tin with cooking spray, butter, or a neutral oil. Proper greasing is non-negotiable for easy release later.
Step 2 — Add Water to the Cups
Carefully add one tablespoon of warm water to each of the six greased muffin cups you plan to use. This water creates a gentle steam bath in the oven, which is the defining technique of oven poaching and ensures even, moist cooking.
Step 3 — Crack the Eggs
One at a time, crack a fresh egg directly into each prepared, water-filled cup. I’ve found that cracking them into a small ramekin first can help, but going directly in works perfectly if you’re confident. Try to keep the yolks intact.
Step 4 — Season Generously
Lightly season each egg with a pinch of salt and a crack of black pepper. Seasoning at this stage, rather than after cooking, allows the flavor to penetrate. (Pro tip: A small pinch of smoked paprika or everything bagel seasoning here is fantastic).
Step 5 — Bake to Perfection
Place the muffin tin on the center rack of your preheated oven. Bake for 12 to 15 minutes. The exact time will depend on your oven and your desired yolk consistency. For a completely runny yolk, aim for 12-13 minutes.
Step 6 — Check for Doneness
Start checking at the 12-minute mark. The egg whites should be completely set and opaque, while the yolks should still look soft and jiggle slightly when you gently shake the pan. Unlike boiling, this gentle heat provides a wider margin for error.
Step 7 — Remove and Rest
Once cooked to your liking, immediately remove the pan from the oven. Let the eggs rest in the hot pan for about 1 minute; this allows them to firm up just enough for easier handling.
Step 8 — Gently Remove the Eggs
Using a small spoon or offset spatula, carefully run it around the edge of each muffin cup to loosen the egg. Gently lift each oven-poached egg out and place it directly onto your serving plate, toast, or salad. They are now ready to enjoy.

Nutritional Information
| Calories | 72 |
| Protein | 6.3g |
| Carbohydrates | 0.4g |
| Fat | 4.8g |
| Fiber | 0g |
| Sodium | 71mg |
Note: Estimates are per egg, based on typical large eggs and a light seasoning of salt. This method is a high-protein, low-carb option perfect for a healthy breakfast. Values may vary with specific ingredients.
Healthier Alternatives
- Egg Whites Only — For a cholesterol-free, lower-fat version, use 3 tablespoons of liquid egg whites per muffin cup. They bake in about 10 minutes.
- Low-Sodium Seasoning — Replace table salt with a potassium-based salt substitute or use fresh herbs like chives and dill for flavor without the sodium.
- Add Vegetables — Line each greased cup with a thin slice of tomato or a handful of fresh spinach before adding the egg and water for added fiber and vitamins.
- Dairy-Free Fat — Grease the pan with avocado oil spray instead of butter for a dairy-free option rich in monounsaturated fats.
- Protein Boost — Crumble a tablespoon of cooked turkey sausage or lean ham into the water before cracking the egg for a more substantial meal.
Serving Suggestions
- Serve your perfectly cooked oven-poached eggs on a toasted whole-grain English muffin with a slice of avocado for a classic, satisfying breakfast.
- Top a vibrant grain bowl (like quinoa or farro) with an egg, a drizzle of tahini, and pickled onions for a nutrient-packed lunch.
- For an elegant brunch, place an egg atop a round of crispy polenta or a bed of sautéed garlicky kale.
- Add a runny-yolked egg to a hearty lentil soup or a simple green salad to transform it into a complete meal.
- Pair with crispy bacon or turkey sausage and a side of roasted cherry tomatoes for a classic diner-style plate.
- Enjoy with a glass of freshly squeezed orange juice or a hot cup of black coffee for the ultimate breakfast experience.
This method is a meal-prep superstar; bake a full dozen on Sunday for quick, healthy breakfasts all week. In the summer, try serving them over a cool, herby potato salad.
Common Mistakes to Avoid
- Mistake: Using cold water in the cups. Fix: Use warm tap water to help the cooking process start evenly and prevent rubbery whites.
- Mistake: Skipping the greasing step. Fix: Generously grease every cup, even if using a non-stick pan. In my tests, this is the #1 reason eggs stick.
- Mistake: Overbaking for a “firmer” yolk. Fix: Remember the eggs continue to cook from residual heat after removal. Pull them out when the yolks still look soft.
- Mistake: Not letting the eggs rest. Fix: Allow the eggs to sit in the hot pan for 1 full minute (as in Step 7) to let them set for easier, cleaner removal.
- Mistake: Using a dull utensil to remove the eggs. Fix: A small, flexible silicone spoon or offset spatula is ideal to gently loosen the egg without breaking the delicate white.
- Mistake: Overcrowding the oven. Fix: For consistent results, bake only one muffin tin at a time on the center rack to ensure even heat circulation.
Storing Tips
- Fridge: Let cooked eggs cool completely, then store in an airtight container for up to 4 days. I find they stay fresh for 5 days, but the USDA recommends 3-4 days for optimal quality and safety (below 40°F).
- Freezer: For longer storage, freeze individually on a parchment-lined tray, then transfer to a freezer bag. They will keep for up to 2 months. Note: The texture of the white changes slightly upon thawing.
- Reheat: The best method is to reheat refrigerated eggs in a microwave at 50% power for 30-45 seconds, or in a warm water bath for 5 minutes. If frozen, thaw in the fridge overnight first. Always reheat to an internal temperature of 165°F.
Storing oven-poached eggs makes weekly meal prep effortless. Having a batch ready to go means you can assemble a healthy breakfast in under 2 minutes on even the busiest mornings.
Conclusion
This hands-off method for Oven Poached Eggs is the ultimate solution for consistent, stress-free results, whether you’re cooking for one or a crowd. It’s a foundational technique that opens up endless possibilities for easy, protein-rich meals. For a perfect brunch pairing, try these eggs with a side of Parmesan Roasted Asparagus With Tomatoes & Balsamic or Crispy Southern Okra Patties. Give it a try and let me know how it goes in the comments!
Frequently Asked Questions
Can I make oven poached eggs ahead of time for meal prep?
Yes, this is one of the best methods for meal prep. As mentioned in the Storing Tips section, you can bake a batch, cool them completely, and store them in the fridge for up to 4 days. Reheat gently in a microwave at 50% power for 30-45 seconds. I’ve found this makes weekday breakfasts incredibly fast and easy.
What can I use if I don’t have a muffin tin for poaching eggs in the oven?
You can use a shallow baking dish or a small oven-safe ramekin for each egg. The key is to maintain the water bath technique—add about one tablespoon of warm water to each vessel before cracking in the egg. Just be sure to grease the dish well, as the eggs will have more surface area to potentially stick to.
Why did my oven-poached egg turn out with a rubbery texture?
A rubbery texture is almost always due to overcooking. Unlike stovetop poaching, the gentle oven heat provides a wider window, but eggs continue to cook from residual heat after removal. The best approach is to pull them from the oven when the yolks still look soft and jiggly, as directed in Step 6, and let them rest for only one minute. Using warm, not cold, water in the cups also helps prevent this issue.
PrintOven Poached Eggs
Ingredients
- 6 eggs
- salt and pepper to taste
Instructions
- Preheat oven to 350°F.
- In a muffin tray pour 1 tablespoon of water into each cup you are using.
- Crack 1 egg into each cup and season with salt and pepper.
- Place in the oven and bake for 12-15 minutes or until egg whites are set and the yolk is still runny.
- Use a slotted spoon or small spatula to remove them.