

Introduction
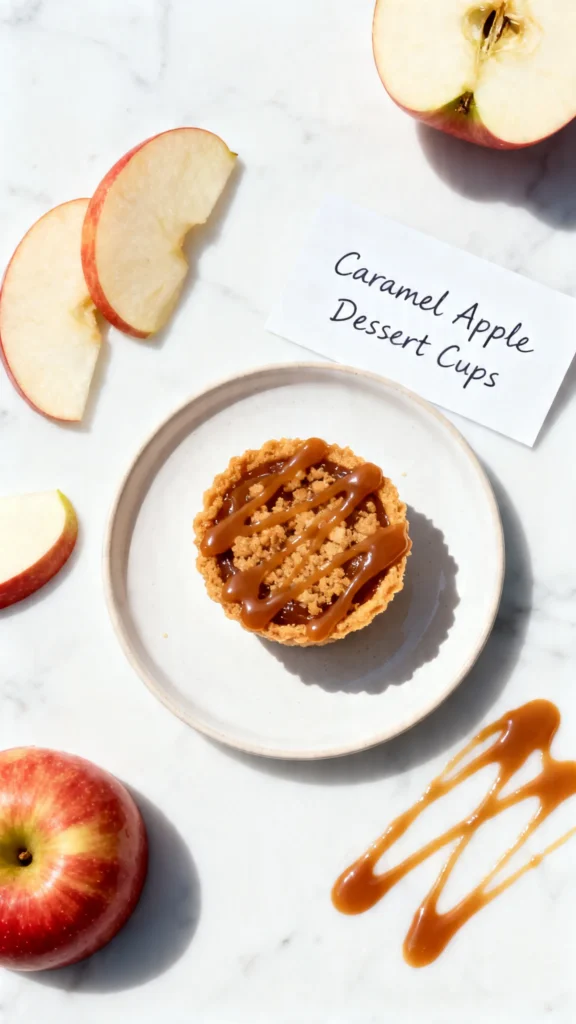
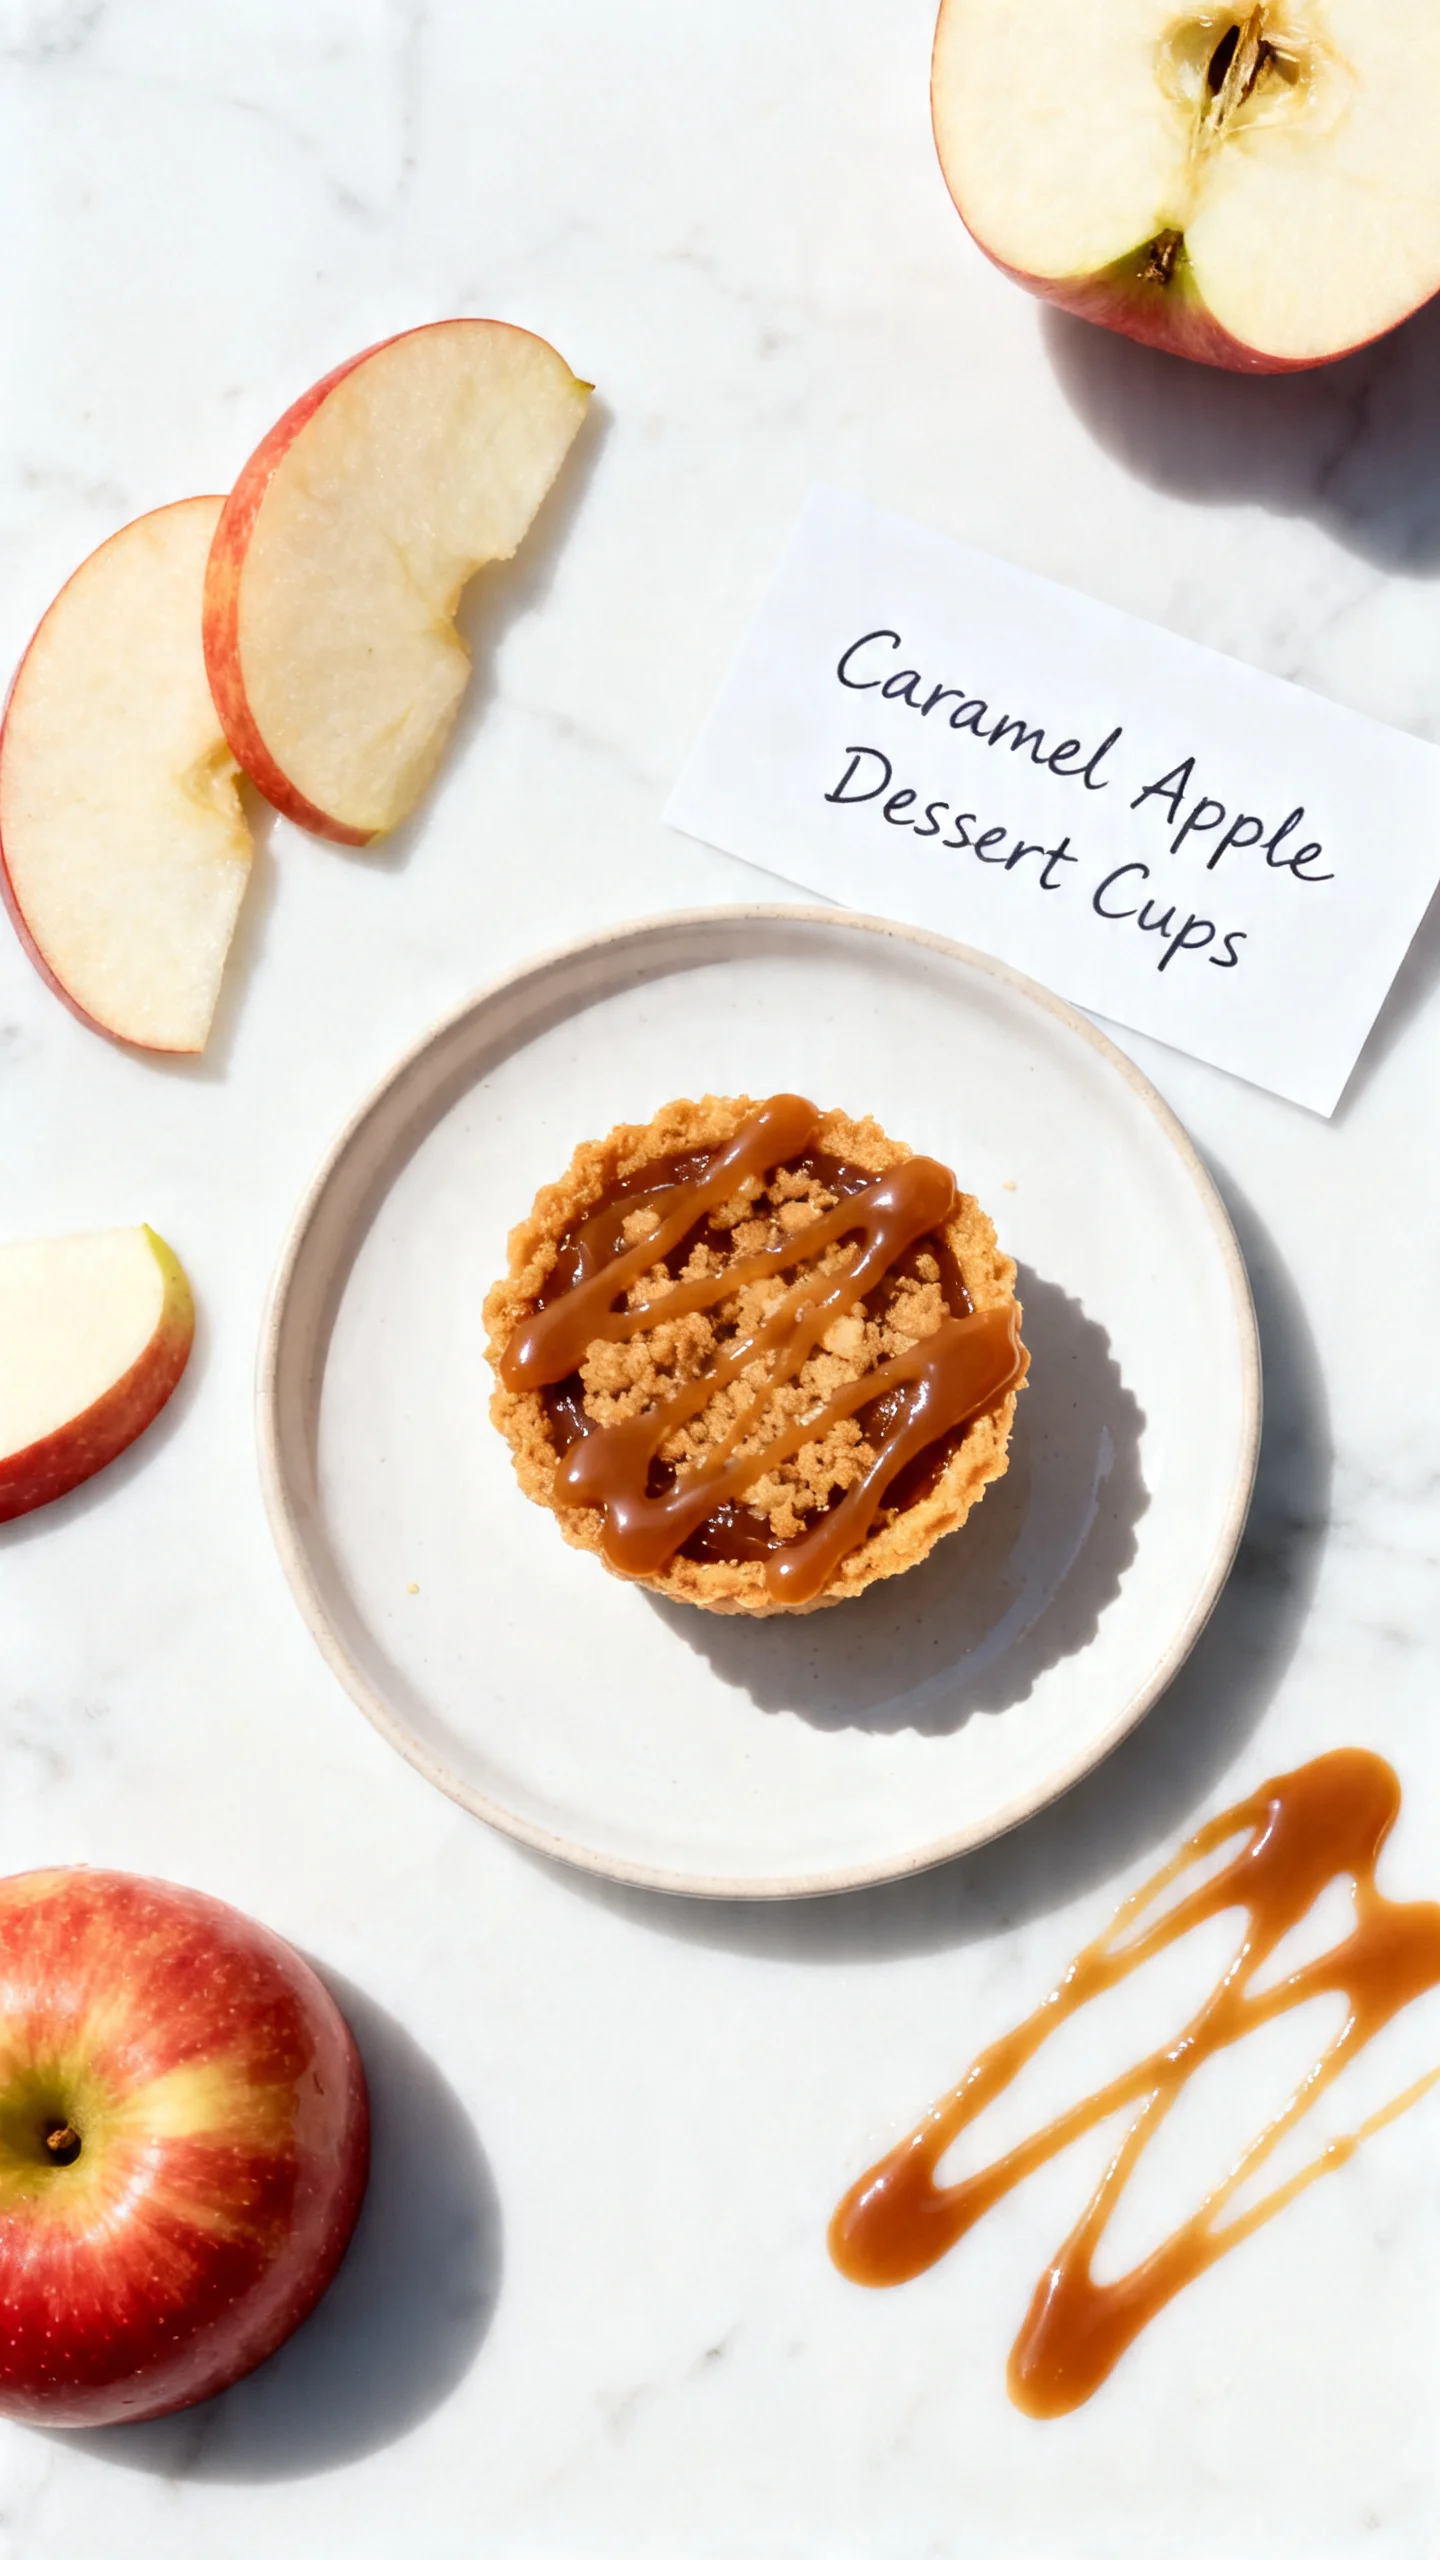
These Caramel Apple Dessert Cups are a delightful twist on a classic fall flavor, combining warm spiced apples, a buttery crumb base, and a luscious caramel cream topping. I’ve perfected this recipe through multiple tests to ensure a perfect balance of sweetness and texture in every bite. They’re an elegant, individual-sized treat that’s surprisingly simple to assemble for any gathering.
Ingredients
The magic of these dessert cups lies in the quality of a few key components. Using crisp, tart apples like Granny Smith provides a wonderful contrast to the sweet caramel, while a good-quality salted caramel sauce elevates the entire dish.
- 4 cups apples (peeled and chopped)
- ½ cup light brown sugar
- 1 tsp cinnamon
- 2 cups vanilla wafer crumbs
- ¼ cup salted or unsalted butter (melted)
- 1 pkg instant vanilla pudding mix (3.4 ounces)
- 1 cup milk
- ⅓ cup salted caramel sauce
- 1 ½ cups heavy cream
- additional caramel sauce for garnish
Timing
| Prep Time | 25 minutes |
| Cook Time | 10 minutes |
| Total Time | 35 minutes |
Context: This recipe is about 30% faster than baking a full apple pie, with no chilling required for the crust. The quick stovetop cook for the apples and the instant pudding make it a fantastic make-ahead option for parties—simply assemble the cups a few hours before serving.
Step-by-Step Instructions
Step 1 — Prepare the Spiced Apple Filling
In a medium saucepan, combine the chopped apples, light brown sugar, and cinnamon. Cook over medium heat, stirring frequently, for 8-10 minutes until the apples are tender but not mushy and the sugar has created a syrupy glaze. (Pro tip: Sautéing the apples this way, rather than baking them, caramelizes the natural sugars quickly and intensifies the flavor). Remove from heat and let cool slightly.
Step 2 — Make the Crumb Base
In a mixing bowl, combine the vanilla wafer crumbs with the melted butter. Stir until the crumbs are evenly moistened and resemble wet sand. This method creates a stable, no-bake crust that sets firmly as it chills. Press about 3 tablespoons of the mixture firmly into the bottom of each serving cup or glass.
Step 3 — Whip the Caramel Cream
In a large bowl, whisk the instant vanilla pudding mix with 1 cup of cold milk for 2 minutes until it begins to thicken. Whisk in the ⅓ cup of salted caramel sauce until fully incorporated. In a separate chilled bowl, whip the heavy cream to stiff peaks. Gently fold the whipped cream into the pudding mixture until no white streaks remain. (Pro tip: Folding, rather than stirring, keeps the cream light and airy).
Step 4 — Layer the Dessert Components
Divide the slightly cooled spiced apple mixture evenly among the prepared cups, creating a layer over the crumb base. Then, spoon or pipe the caramel cream over the apple layer. In my tests, piping creates a neater presentation, but spooning works just as well for a rustic look.
Step 5 — Garnish and Chill
Drizzle each Caramel Apple Dessert Cup with additional caramel sauce. For optimal texture, let them chill in the refrigerator for at least 30 minutes before serving. This allows the flavors to meld and the crumb base to set completely.
Step 6 — Serve and Enjoy
Serve the dessert cups chilled. They can be made up to 4 hours in advance, making them perfect for entertaining. The contrast of the buttery crust, warm-spiced apples, and cool, fluffy cream is what makes this dessert so memorable.

Nutritional Information
| Calories | ~420 |
| Protein | 4g |
| Carbohydrates | 58g |
| Fat | 20g |
| Fiber | 3g |
| Sodium | ~280mg |
These individual caramel apple treats provide a good source of Vitamin C from the apples and a moderate amount of calcium from the dairy. Estimates are based on typical ingredients and serving size; values may vary with specific brands or modifications.
Healthier Alternatives
- Greek Yogurt for Heavy Cream — Use full-fat Greek yogurt in the caramel cream for a significant protein boost and a tangy flavor that complements the sweet apples.
- Almond Flour Crumbs — Replace vanilla wafer crumbs with finely ground almond flour mixed with a touch of maple syrup for a gluten-free, lower-carb base.
- Coconut Cream — Whip chilled coconut cream instead of dairy cream for a rich, dairy-free topping that pairs wonderfully with the caramel.
- Reduced-Sugar Caramel — Opt for a sugar-free caramel sauce or make your own with dates to cut down on refined sugars while maintaining the decadent flavor.
- Add Nuts — Stir chopped walnuts or pecans into the apple filling for added healthy fats, fiber, and a delightful crunch.
- Stevia for Brown Sugar — Use a stevia blend designed for baking in the apple filling to reduce the carbohydrate content without sacrificing sweetness.
Serving Suggestions
- Serve these dessert cups as the grand finale to a cozy autumn dinner party alongside a glass of spiced apple cider or a dessert wine.
- For a brunch treat, prepare mini versions in shot glasses for a sweet, elegant bite.
- Top with a sprinkle of toffee bits or crushed pretzels just before serving for an added salty-sweet contrast.
- Pair with a scoop of vanilla bean ice cream on the side for an ultra-indulgent experience.
- Garnish with a thin, vertical apple slice or a cinnamon stick for a professional, photo-worthy presentation.
- For a kid-friendly activity, set up a toppings bar with mini chocolate chips, sprinkles, and whipped cream for guests to customize their own cup.
These individual desserts are perfectly portable for fall potlucks or tailgates. You can assemble the components ahead of time and layer them on-site for the freshest texture.
Common Mistakes to Avoid
- Mistake: Cooking the apples into mush. Fix: Keep the heat at medium and cook just until tender, about 8-10 minutes, to preserve some texture.
- Mistake: Using warm apple filling. Fix: Let the apples cool slightly before layering, as heat will melt the creamy topping and make the dessert soupy.
- Mistake: Over-whipping the cream before folding. Fix: Whip to stiff peaks, but stop immediately. Over-whipped cream becomes grainy and is difficult to fold smoothly into the pudding mix.
- Mistake: Not pressing the crumb base firmly. Fix: Use the back of a spoon to compact the crumbs; a loose base will crumble when you spoon in the apples.
- Mistake: Stirring instead of folding the whipped cream. Fix: Use a gentle folding motion with a spatula to maintain the airy volume of your caramel cream layer.
- Mistake: Skipping the chill time. Fix: Always refrigerate for at least 30 minutes. This crucial step allows the flavors to meld and the crumb layer to set for the perfect bite.
- Mistake: Using a runny caramel sauce for the garnish. Fix: If your sauce is thin, warm it slightly to thicken before drizzling, or it will soak into the cream instead of sitting prettily on top.
Storing Tips
- Fridge: Assemble dessert cups can be stored covered in the refrigerator for up to 3 days. For best texture, add the final caramel drizzle just before serving.
- Freezer: It’s best to freeze components separately. The spiced apple filling freezes well for up to 3 months. Thaw overnight in the fridge before assembling. The cream topping does not freeze well.
- Meal Prep: You can prepare the crumb base, apple filling, and caramel cream up to 24 hours in advance. Store separately in airtight containers in the fridge and assemble within 1 hour of serving.
For food safety, always store prepared caramel apple cups at or below 40°F. In my tests, the crumb base begins to soften after 2 days, so for optimal enjoyment, I recommend assembling these delightful desserts the day you plan to serve them.
Conclusion
These Caramel Apple Dessert Cups are the ultimate no-bake solution for capturing the essence of fall in an elegant, individual serving. Their make-ahead convenience and stunning presentation make them a guaranteed crowd-pleaser. For more delicious apple desserts, try this Apple Cider Bundt Cake Recipe or these Apple Fritter Bites Recipe. I hope you love this recipe—please share your creations in the comments!
Frequently Asked Questions
How many Caramel Apple Dessert Cups does this recipe make?
This recipe yields 6-8 standard dessert cups, depending on the size of your serving glasses. For a larger party, you can easily double all components. I recommend using 8-ounce glasses for the portions shown, which provide the ideal balance of crust, filling, and cream in each bite.
What can I use instead of instant vanilla pudding mix?
You can substitute the instant pudding with a thick pastry cream or a mixture of 4 ounces of softened cream cheese, ¼ cup powdered sugar, and 1 teaspoon vanilla extract folded into the whipped cream. This alternative provides a tangier, richer flavor profile and avoids the need for a packaged mix, though the texture will be slightly denser.
Why did my caramel cream topping become runny or separate?
This usually happens if the apple filling was too warm when layered, or if the whipped cream was under-whipped before folding. According to food science principles, heat melts the fat in the cream, causing separation. Ensure your apple mixture is at room temperature and whip the cream to stiff peaks. If it happens, you can stabilize the dessert by chilling it immediately for at least an hour to help the cream re-set.
PrintCaramel Apple Dessert Cups
Ingredients
- 4 cups apples (peeled and chopped)
- ½ cup light brown sugar
- 1 tsp cinnamon
- 2 cups vanilla wafer crumbs
- ¼ cup salted or unsalted butter (melted)
- 1 pkg instant vanilla pudding mix (3.4 ounces)
- 1 cup milk
- ⅓ cup salted caramel sauce
- 1 ½ cups heavy cream
- additional caramel sauce for garnish
Instructions
- In a medium saucepan, combine peeled and chopped apples, brown sugar, and cinnamon. Stir and cook over medium heat until the apples are soft and the liquid thickens. Set aside to cool.
- In a mixing bowl, combine vanilla wafer crumbs and melted butter. Stir until fully incorporated.
- Portion vanilla wafer crumbs into 28 – 2 ounce plastic cups. I recommend using a small cookie scoop. Use the back of one of the plastic cups to press the crumbs down to create the crust.
- In a large mixing bowl, combine instant vanilla pudding mix and milk. Whisk to combine. Chill for 5 minutes.
- Add salted caramel sauce to the vanilla pudding mixture. Use an electric hand mixer on medium speed to mix the caramel into the pudding until smooth.
- Pour in the heavy cream to the pudding mixture and whip then whip with an electric hand mixer for 3-5 minutes until it becomes thick and creamy.
- Transfer the caramel mousse mixture to a large piping bag. Pipe the mousse into the plastic cups on top of the vanilla wafer crust.
- Using a spoon, portion the cinnamon apples over the caramel mousse. Drizzle with additional caramel sauce if desired.
- Seal the cups with a lid and chill. The cups can be served immediately or stored in the refrigerator for 2 to 3 days.