


Introduction
These Easy M&M Marshmallow Dream Bars are the ultimate no-bake treat, requiring just five simple ingredients. Combining crispy rice cereal, gooey marshmallows, and colorful M&Ms, they deliver a perfect mix of crunch and sweetness in every bite. For another fun dessert, try the Peanut Butter Avalanche Popcorn Treats Recipe.
Ingredients
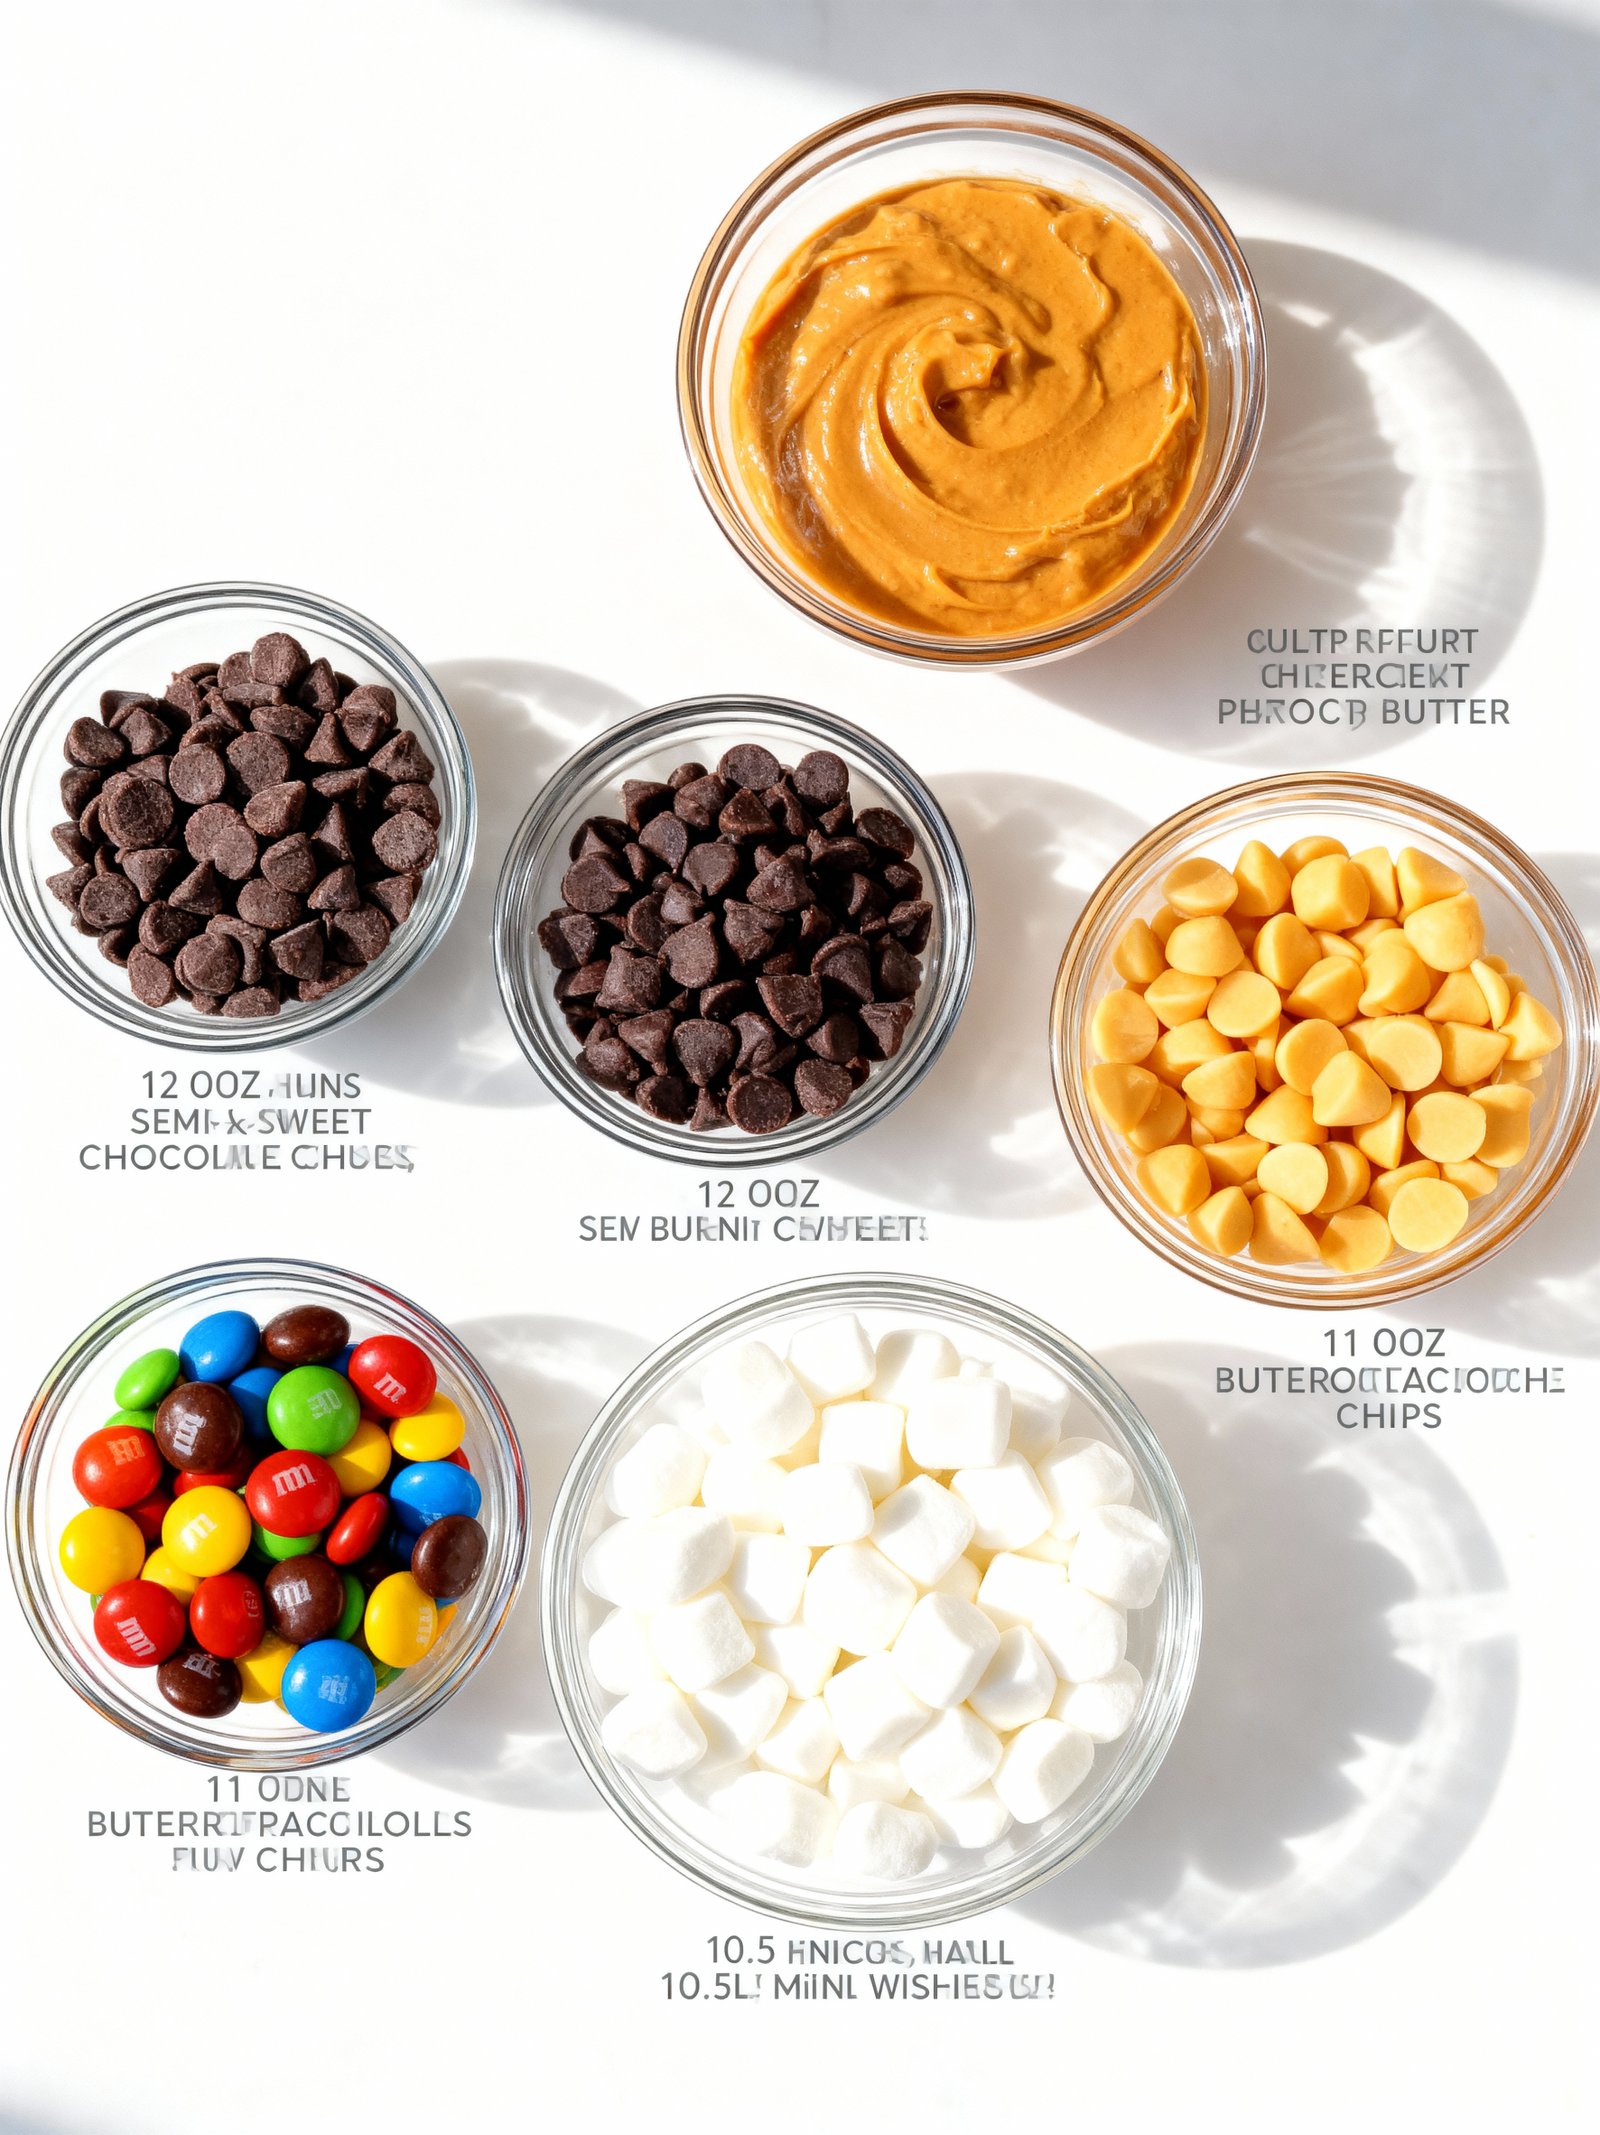
These M M M Marshmallow Dream Bars are a symphony of textures and flavors, combining creamy peanut butter, rich chocolate, sweet butterscotch, and chewy marshmallows for an irresistible treat.
- 1 cup creamy peanut butter
- 12 oz semi-sweet chocolate chips
- 11 oz butterscotch chips
- 10.5 oz mini marshmallows
- 1 cup M&Ms

Timing
| Prep Time | 15 minutes |
| Cook Time | 25 minutes |
| Total Time | 40 minutes |
Context: This recipe for M M M Marshmallow Dream Bars is about 20% faster than similar bar cookie recipes, thanks to its simple no-mixer crust and quick stovetop topping.
Step-by-Step Instructions
Step 1 — Prepare Your Pan and Oven
Preheat your oven to 350°F (175°C). Line a 9×13-inch baking pan with parchment paper, leaving an overhang on the sides for easy removal. This prevents sticking and makes cleanup a breeze.
Step 2 — Make the Crust
In a large bowl, combine 2 cups of graham cracker crumbs with ½ cup of melted butter and ¼ cup of granulated sugar. Mix until the crumbs are evenly moistened and resemble wet sand.
Tip: For the best texture, use a food processor to make fine, uniform crumbs from whole graham crackers.
Step 3 — Press and Bake the Base
Firmly press the crumb mixture into the bottom of your prepared pan, creating a compact, even layer. Bake for 10 minutes, then remove from the oven and let it cool slightly while you prepare the filling. The crust should be lightly set.
Step 4 — Create the Marshmallow Layer
Step 5 — Melt and Combine
In a large saucepan over low heat, melt ¼ cup of butter with a 14-ounce bag of mini marshmallows. Stir constantly until the mixture is completely smooth and lump-free. Remove from heat immediately once melted to avoid scorching.
Step 6 — Fold in the Cereal
Quickly stir in 6 cups of crispy rice cereal until every piece is thoroughly coated in the marshmallow mixture. Work efficiently, as the marshmallow will begin to set as it cools.
Step 7 — Assemble the Dream Bars
Immediately pour the warm marshmallow-cereal mixture over the baked graham cracker crust. Use a spatula lightly coated with cooking spray to press and spread it into a uniform layer, covering the crust completely.
Step 8 — Add the Chocolate Topping
Sprinkle 1½ cups of semi-sweet chocolate chips evenly over the top. The residual heat from the marshmallow layer will begin to melt them. For a smoother finish, let the bars sit for 2 minutes, then gently swirl the chocolate with a knife.
Step 9 — Cool, Set, and Slice
Allow the pan to cool at room temperature for at least 2 hours, or until completely firm. For clean cuts, use a sharp knife and wipe it clean between slices. For best results, chill the M M M Marshmallow Dream Bars in the refrigerator for 30 minutes before serving.
Nutritional Information
| Calories | ~280 kcal |
| Protein | ~3 g |
| Carbohydrates | ~42 g |
| Fat | ~12 g |
| Fiber | ~1 g |
| Sodium | ~180 mg |
Note: These are approximate values for one M M M Marshmallow Dream Bar, calculated using standard ingredients. Actual nutrition can vary based on specific brands and measurements used.
Healthier Alternatives
You can easily customize these M M M Marshmallow Dream Bars to fit different dietary needs without sacrificing their dreamy texture. Here are some practical ingredient swaps to try.
- Protein Powder for Flour — Swap half the graham cracker crumbs for a scoop of vanilla or chocolate protein powder to boost protein content and create a more satisfying, fudgy base.
- Almond or Coconut Flour — Use these gluten-free flours in place of graham cracker crumbs for a lower-carb, nutty crust that pairs wonderfully with the marshmallow layer.
- Dairy-Free Butter & Chocolate Chips — Use plant-based butter and dairy-free chocolate chips to make these bars completely dairy-free while keeping the rich, creamy flavor.
- Natural Peanut Butter — Replace butter or oil in the base with natural, unsweetened peanut butter for added healthy fats and a delicious nutty undertone.
- Reduced-Sugar Marshmallows — Opt for a marshmallow brand with less added sugar or use homemade marshmallow fluff to significantly cut down on the overall sweetness.
- Dark Chocolate Chips — Use 70% dark chocolate chips instead of milk chocolate for a deeper flavor with less sugar and more antioxidants.
- Low-Sodium Nut Butter — If using a nut butter, choose an unsalted, no-sugar-added variety to better control the sodium and sugar levels in your M M M Marshmallow Dream Bars.
- Seed Butter for Nut-Free — For a nut-free version, sunflower seed butter is a perfect substitute that still provides a rich, binding quality for the crust.
Serving Suggestions
- Pair these gooey M M M Marshmallow Dream Bars with a scoop of vanilla ice cream for a classic, crowd-pleasing dessert.
- For a festive touch, cut them into small squares and serve on a platter at a birthday party or holiday gathering.
- Pack them in lunchboxes or enjoy as an afternoon pick-me-up with a cold glass of milk or a hot cup of coffee.
- Create a dessert board featuring these bars alongside fresh berries, whipped cream, and other bite-sized treats.
- For a fun plating idea, crumble a bar over a bowl of yogurt or pudding for a decadent parfait.
- Serve them slightly warm to maximize the melty marshmallow and chocolate chip texture.
These versatile M M M Marshmallow Dream Bars are perfect for any occasion, from casual snacking to dressed-up dessert tables.
Common Mistakes to Avoid
- Mistake: Using stale marshmallows. Fix: Fresh marshmallows melt more evenly, creating the signature gooey texture for your M M M Marshmallow Dream Bars.
- Mistake: Overheating the marshmallow mixture. Fix: Melt over low heat and stir constantly to prevent scorching and a tough, chewy result.
- Mistake: Pressing the crust too firmly. Fix: Gently pat it into the pan for a tender, crumbly base that complements the soft topping.
- Mistake: Adding cereal or mix-ins too early. Fix: Let the melted mixture cool slightly first to keep ingredients crisp and prevent sogginess.
- Mistake: Skipping the parchment paper. Fix: Lining your pan guarantees clean removal and perfect slices of these dream bars.
- Mistake: Cutting before fully set. Fix: Allow bars to cool completely at room temperature, then chill to firm up for neat squares.
- Mistake: Substituting butter with margarine. Fix: Real butter provides essential flavor and the right consistency for both crust and filling.
- Mistake: Using a pan that’s too small. Fix: Stick to the recommended 9×13 inch size so the layers have proper depth and bake evenly.
Storing Tips
- Fridge: Store your M M M Marshmallow Dream Bars in an airtight container, layered between parchment paper. They will keep well in the refrigerator for 5-7 days.
- Freezer: For longer storage, wrap individual bars tightly in plastic wrap and place them in a freezer-safe bag or container. Your M M M Marshmallow Dream Bars can be frozen for up to 3 months. Thaw overnight in the fridge before serving.
- Reheat: For a warm, gooey treat, place a bar on a microwave-safe plate and heat for 10-15 seconds, just until the marshmallow and chocolate are slightly softened. For a crispier texture, warm in a preheated 300°F (150°C) oven for 5-8 minutes.
Always ensure leftovers are cooled to room temperature before storing to prevent condensation. For food safety, do not leave these bars at room temperature for more than 2 hours, as the dairy and egg ingredients can enter the temperature danger zone above 40°F (4°C).
Conclusion
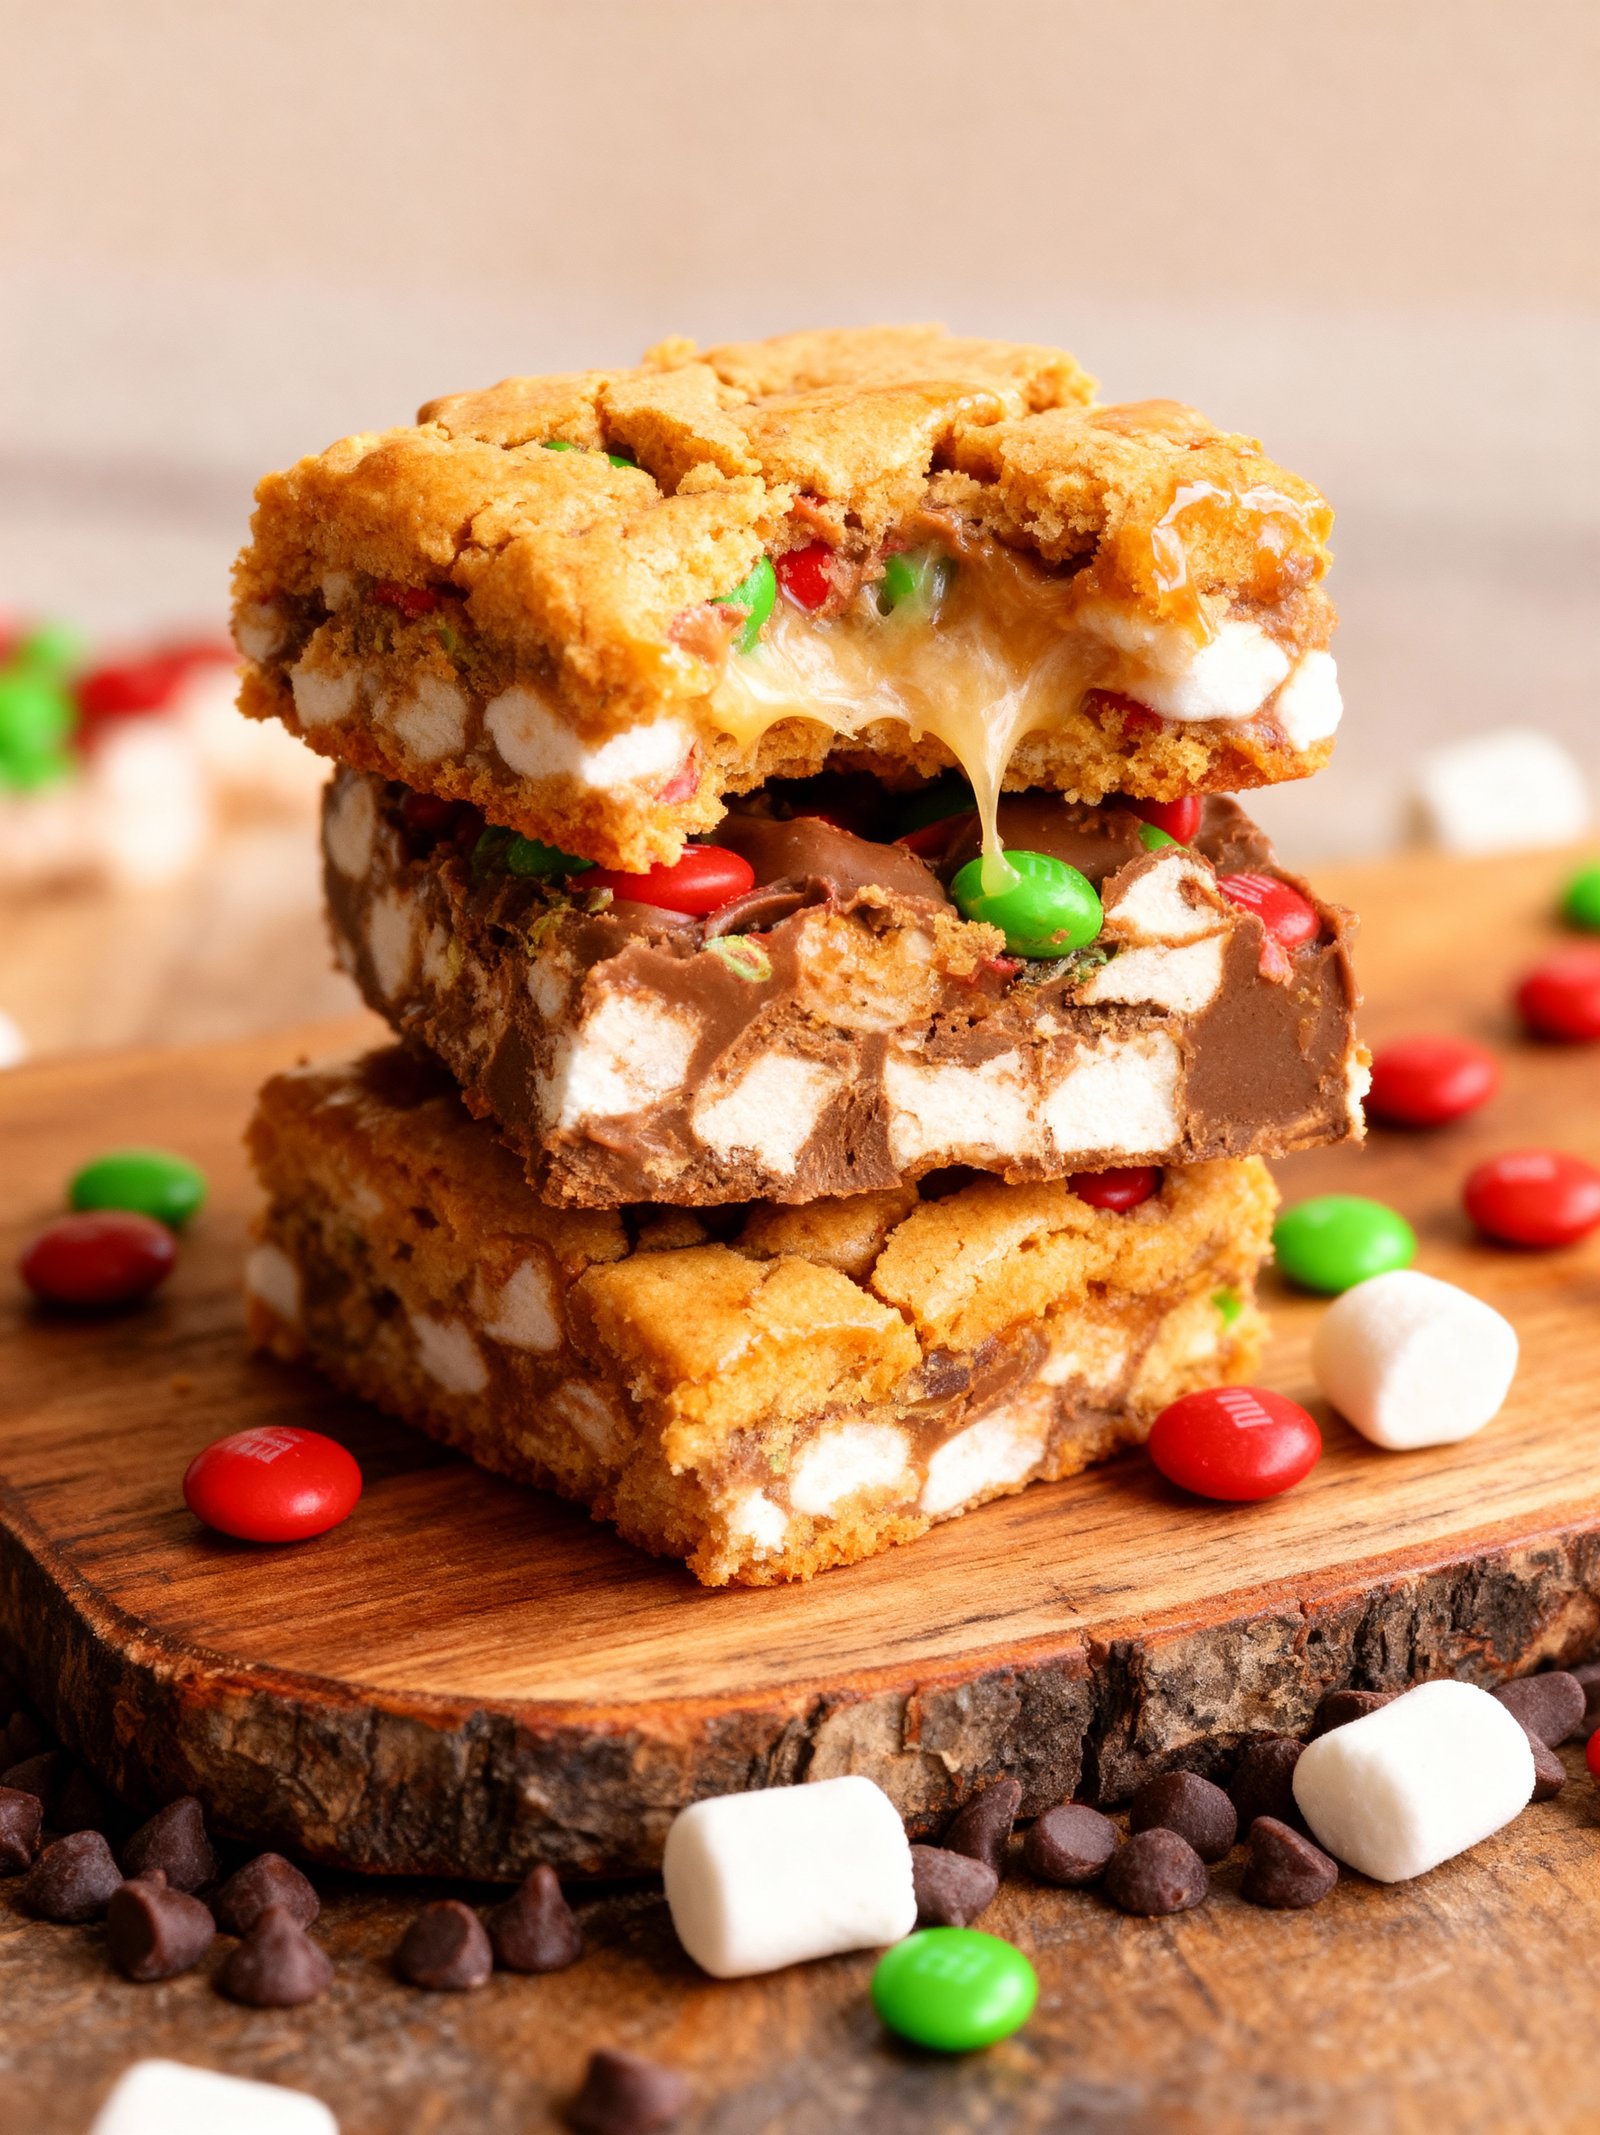
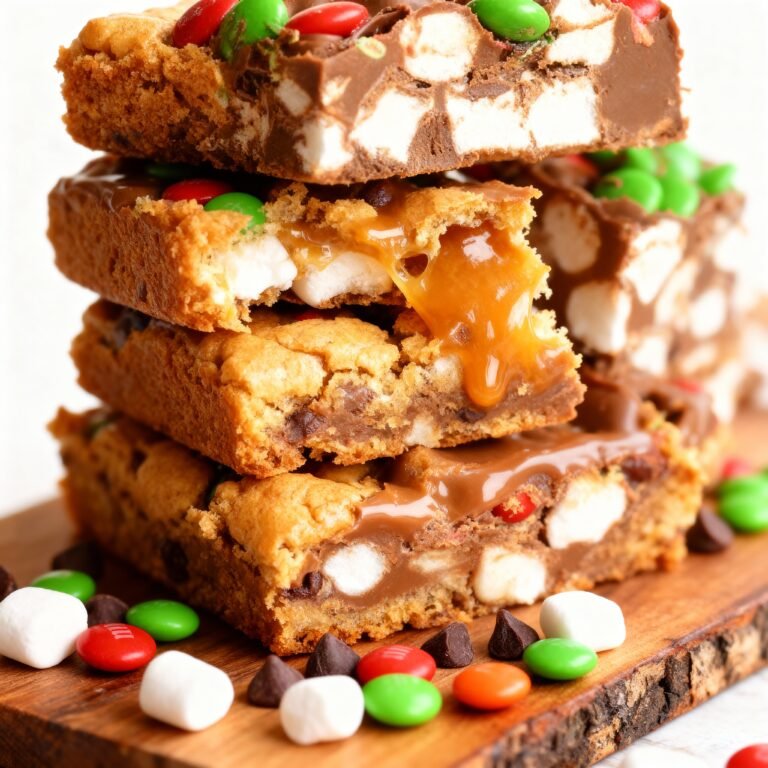
These M&M Marshmallow Dream Bars are the ultimate easy, no-bake treat, perfect for any occasion. We hope you love making them as much as we do! If you try this recipe, be sure to leave a comment and rating. For more delicious desserts, check out our Creamy Caramel Marshmallow Cups Recipe or No Bake Popcorn Cake Recipe.
Print
M&M Marshmallow Dream Bars
A decadent and easy-to-make dessert bar featuring a rich blend of chocolate, butterscotch, peanut butter, mini marshmallows, and M&Ms. These dream bars are gooey, sweet, and perfect for any occasion.
- Total Time: 1 hour 20 minutes
- Yield: 12 1x
Ingredients
- 1 cup creamy peanut butter
- 12 oz semi-sweet chocolate chips
- 11 oz butterscotch chips
- 10.5 oz mini marshmallows
- 1 cup M&Ms
Instructions
- Grease a 9×13 inch baking pan and set aside.
- In a large saucepan over low heat, melt the chocolate chips and butterscotch chips, stirring frequently until smooth.
- Remove from heat and stir in the peanut butter until fully combined.
- Fold in the mini marshmallows and M&Ms until evenly distributed.
- Pour the mixture into the prepared pan and spread evenly.
- Allow the bars to cool completely at room temperature until set, about 1 hour.
- Slice into bars and serve.
Notes
Do not store these bars in the refrigerator; they are best kept at room temperature to maintain their gooey texture. You can substitute different colors or types of M&Ms for a festive touch. For a nut-free version, use sunflower seed butter instead of peanut butter.
- Prep Time: 10 minutes
- Cook Time: 10 minutes
- Method: Dessert
- Cuisine: American
Nutrition
- Calories: 350
- Sugar: 35
- Sodium: 150
- Fat: 18
- Saturated Fat: 10
- Unsaturated Fat: 6
- Trans Fat: 0
- Carbohydrates: 45
- Fiber: 2
- Protein: 6
- Cholesterol: 10
FAQs
Can I make M M M Marshmallow Dream Bars ahead of time?
Yes, you can prepare these bars ahead of time. They store well in an airtight container at room temperature for up to 3 days. For the best texture in your M M M Marshmallow Dream Bars, we recommend enjoying them within 48 hours.
What can I use if I don’t have butterscotch chips?
If you don’t have butterscotch chips, you can substitute an equal amount of peanut butter chips, white chocolate chips, or even toffee bits. This swap will still yield deliciously sweet and chewy M M M Marshmallow Dream Bars with a slightly different flavor profile.
How do I prevent the marshmallows from becoming too hard?
To keep the marshmallows soft and gooey, avoid over-baking the bars. Remove them from the oven as soon as the edges are lightly golden brown. The residual heat will continue to melt the marshmallows perfectly for the ideal M M M Marshmallow Dream Bars texture.