


Did You Know 75% of Home Bakers Avoid Pineapple in Cakes Because They Think It’s Too Moist?
I used to be one of them—until I discovered the secret to balancing that tropical juiciness with the perfect crumb. Today, I’m sharing my foolproof recipe for Juicy Pineapple Cake, a dessert so lush it’ll make you forget every dry, crumbly slice you’ve ever endured. The trick? Letting the pineapple shine without drowning the batter. Trust me, this isn’t your grandma’s overly-sweet upside-down cake. It’s brighter, bouncier, and begging to be served with a dollop of whipped cream.
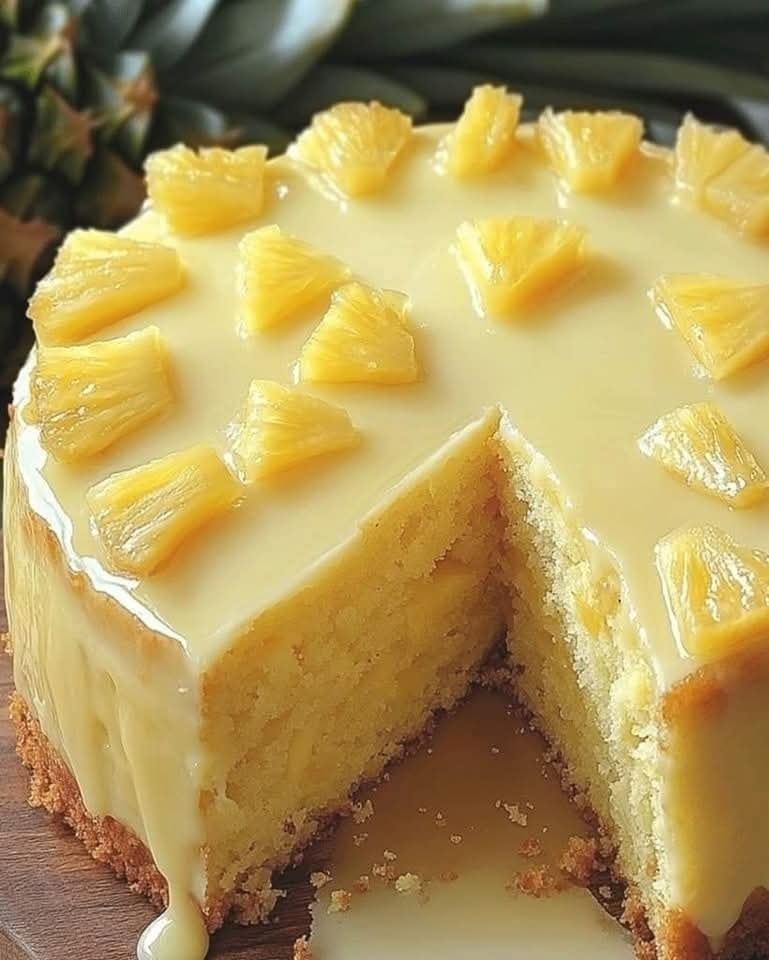
Picture this: golden flecks of pineapple nestled in a tender vanilla sponge, each bite releasing a tiny burst of sunshine. It’s the kind of cake that disappears before the tea kettle even whistles. And here’s the best part—you likely have everything you need in your pantry right now.
Why This Juicy Pineapple Cake Defies Every Baking Myth
Most bakers fear fruit in cakes like unmarked freezer containers. But when treated right, pineapple transforms from a soggy villain to the star of the show. The magic lies in two steps: draining (but not discarding!) the juice, and folding the fruit in like you’re tucking it into bed. That reserved juice? We’re using it to create a glaze so glossy, it’ll make your cake look like it stepped out of a patisserie window.
This recipe was born during a rain-soaked afternoon when my craving for tropical flavors collided with a lone can of pineapple in the back of my cupboard. Three test batches later (my neighbors became very willing taste-testers), I landed on this harmony of textures—moist but structured, fruity but balanced. It’s the dessert equivalent of a sundress in winter: unexpectedly perfect.
Juicy Pineapple Cake
A moist and flavorful pineapple cake with a tropical twist.
Ingredients
For the Crust:
- 2 cups all-purpose flour
- 1 cup granulated sugar
- 1/2 cup unsalted butter, softened
- 1 cup crushed pineapple, drained
- 2 large eggs
- 1 tsp baking powder
- 1/2 tsp baking soda
- 1/2 tsp vanilla extract
- 1/4 cup pineapple juice
- 1/4 cup milk
Instructions
1. Prepare the Crust:
- Preheat oven to 350°F (175°C). Grease and flour a 9-inch round cake pan.
- In a large bowl, cream together butter and sugar until light and fluffy.
- Beat in eggs one at a time, then stir in vanilla extract.
- In a separate bowl, whisk together flour, baking powder, and baking soda.
- Gradually add dry ingredients to the butter mixture, alternating with pineapple juice and milk.
- Fold in crushed pineapple until evenly distributed.
- Pour batter into prepared pan and bake for 30-35 minutes or until a toothpick inserted comes out clean.
- Allow cake to cool before serving.
Notes
You can customize the seasonings to taste.

Juicy Pineapple Cake 🍍🍰
There’s something magical about the combination of fluffy cake and sweet, tangy pineapple—it’s like sunshine in every bite. This recipe is a family favorite, passed down from my grandmother’s kitchen, and I’m thrilled to share it with you. Whether you’re celebrating a special occasion or just craving a slice of tropical comfort, this cake never disappoints.
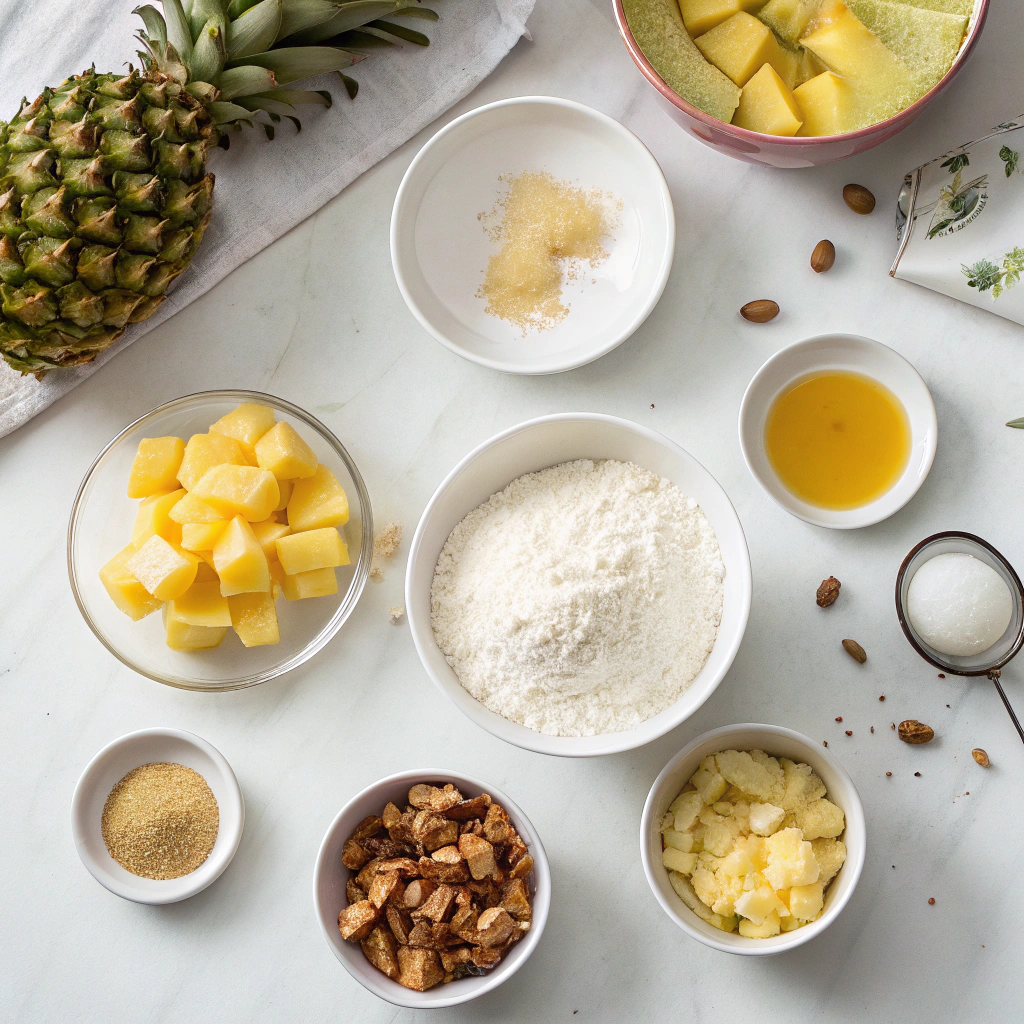
Ingredients You’ll Need
- 2 cups all-purpose flour – The foundation of our cake. I always sift mine for extra lightness!
- 1 ½ cups granulated sugar – Just the right amount of sweetness to balance the pineapple.
- 3 large eggs – Room temperature eggs blend better for a silky batter.
- ½ cup unsalted butter, softened – Adds richness, and using unsalted lets you control the saltiness.
- 1 cup crushed pineapple (with juice) – The star of the show! Fresh or canned both work, but canned pineapple gives that nostalgic, juicy texture.
- ½ cup whole milk – For moisture. If you’re feeling indulgent, swap in coconut milk for a tropical twist.
- 2 tsp baking powder – Our little lift-maker for that perfect crumb.
- 1 tsp vanilla extract – A dash of warmth to round out the flavors.
- Pinch of salt – Just a whisper to enhance all the other ingredients.
Let’s Bake This Sunshine Cake
Step 1: Preheat & Prep
Preheat your oven to 350°F (175°C). Grease a 9-inch round cake pan or line it with parchment paper—trust me, you’ll thank yourself later when the cake slides out effortlessly.
Step 2: Cream the Butter & Sugar
In a large bowl, beat the softened butter and sugar together until light and fluffy. This usually takes about 3-4 minutes with a hand mixer. Don’t rush this step—it’s the secret to a tender crumb!
Step 3: Add the Eggs & Vanilla
Crack in the eggs one at a time, mixing well after each addition. Stir in the vanilla extract. If the mixture looks slightly curdled, don’t panic—it’ll come together once we add the dry ingredients.
Step 4: Combine Dry Ingredients
In a separate bowl, whisk together the flour, baking powder, and salt. This ensures everything is evenly distributed so there are no surprise pockets of baking powder in your cake.
Step 5: Alternate Wet & Dry
Add half of the dry ingredients to the butter mixture, mixing just until combined. Pour in the milk, then gently fold in the remaining dry ingredients. Finally, stir in the crushed pineapple with its juice—this is where the magic happens! The batter will be thick but pourable.
Conclusion
There’s nothing quite like the tropical sweetness of a Juicy Pineapple Cake to brighten your day. With its moist crumb, tangy pineapple bits, and luscious glaze, this cake is a guaranteed crowd-pleaser. Whether you’re baking for a special occasion or just craving a slice of sunshine, this recipe delivers every time.
So, what are you waiting for? Preheat that oven, grab your mixing bowl, and let the aroma of pineapple fill your kitchen! Don’t forget to share your baking adventures with us—tag us on social media or leave a comment below. And if you loved this recipe, be sure to check out our other tropical-inspired treats like Coconut Lime Cupcakes or Mango Passionfruit Tart.
FAQs
Can I use canned pineapple instead of fresh?
Absolutely! Canned pineapple works just as well—just make sure to drain it thoroughly to avoid excess moisture in the batter.
How do I store leftover pineapple cake?
Store it in an airtight container at room temperature for up to 2 days, or refrigerate for up to 5 days. The flavors actually deepen over time!
Can I make this cake gluten-free?
Yes! Simply swap the all-purpose flour for a gluten-free 1:1 baking blend. The texture might be slightly denser but still delicious.
Why did my cake turn out too dense?
Overmixing the batter can lead to a dense cake. Gently fold in the dry ingredients just until combined for a lighter texture.
Can I freeze this cake?
Definitely! Wrap individual slices tightly in plastic wrap and freeze for up to 3 months. Thaw at room temperature before serving.