


Introduction
These Hocus Pocus Halloween Cookies are a simple and delicious treat perfect for your spooky celebrations. With a fun, magical theme and easy preparation, they’re sure to enchant both kids and adults. For more festive dessert ideas, try this No Bake Pumpkin Cheesecake or this White Chocolate Hot Chocolate Mix to complete your Halloween spread.
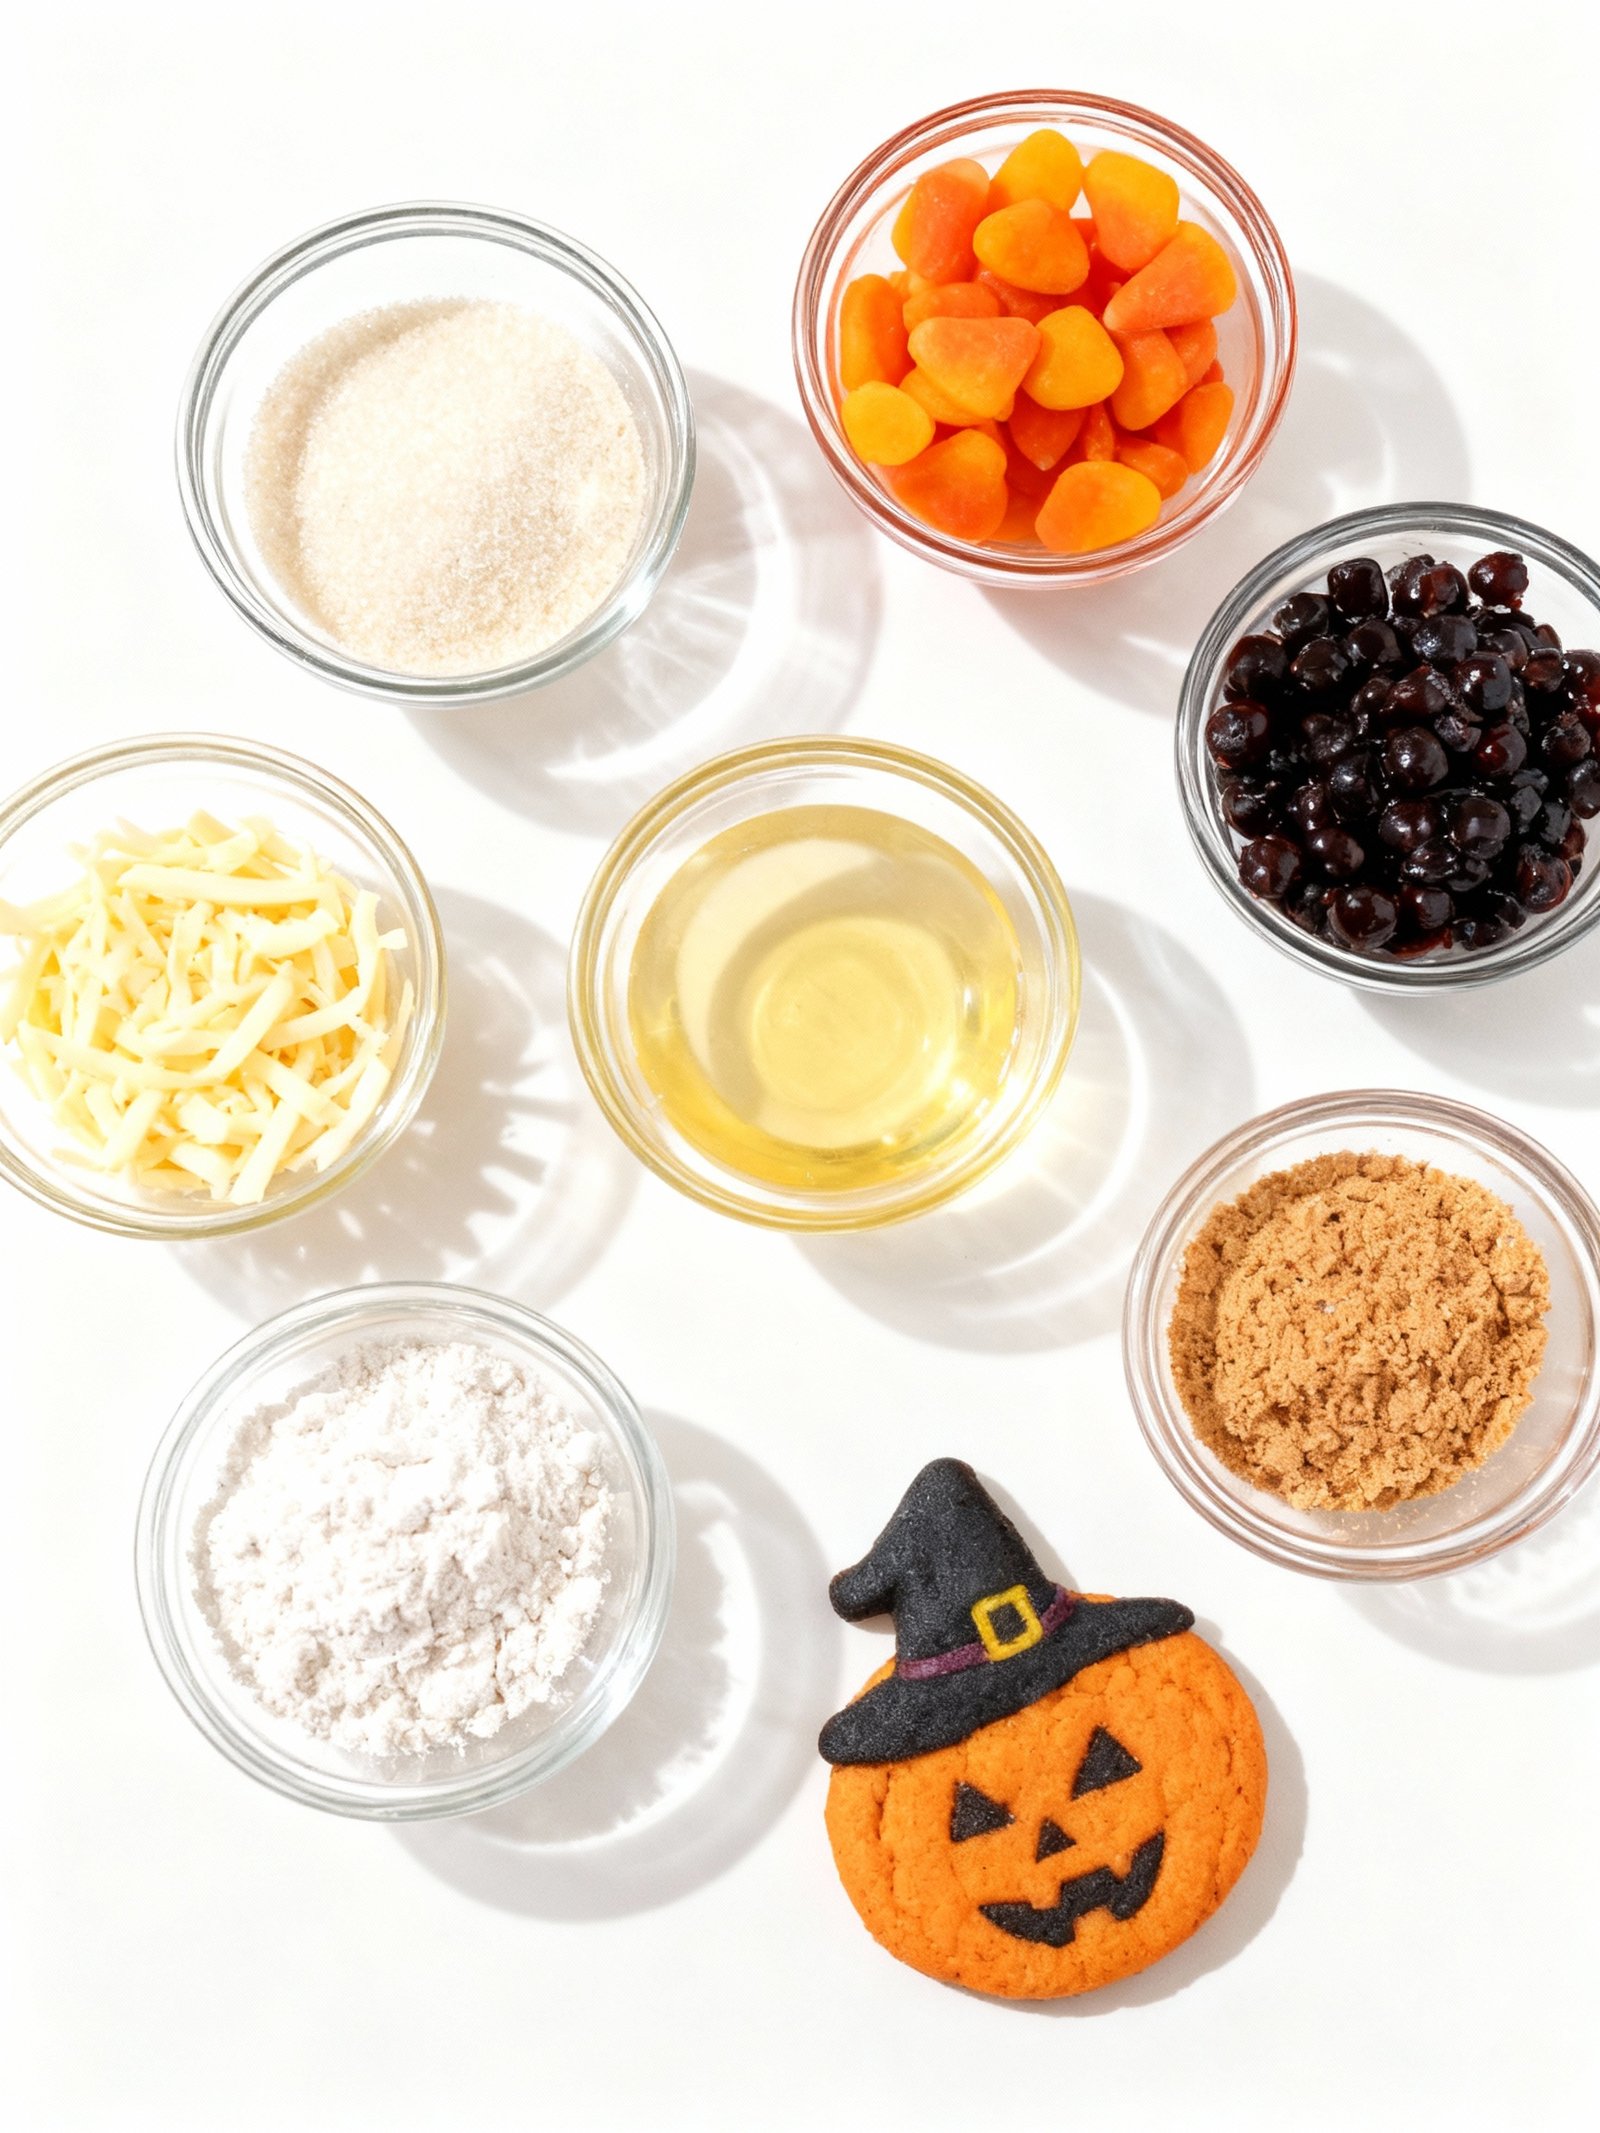
Ingredients
These vibrant Hocus Pocus Halloween Cookies combine soft, chewy sugar cookie dough with festive Halloween colors and decorations for a magical treat.
- 1 1/2 cups unsalted butter, softened
- 2 cups granulated sugar
- 3 large eggs
- 3 tsp vanilla extract
- 1 1/2 tsp cornstarch
- 1 1/2 tsp baking soda
- 3/4 tsp salt
- 2 cups cake flour
- 2 1/2 cups all-purpose flour
- Orange gel food coloring
- Neon green gel food coloring
- Purple gel food coloring
- 2 cups white chocolate chips
- Halloween sprinkles
- Candy eyes for decoration

Timing
| Prep Time | 30 minutes |
| Cook Time | 12 minutes |
| Total Time | 42 minutes |
Context: These Hocus Pocus Halloween Cookies come together about 20% faster than similar spooky cookie recipes.
Step-by-Step Instructions
Step 1 — Prepare Your Ingredients
Gather all ingredients for your Hocus Pocus Halloween Cookies: flour, sugar, butter, eggs, vanilla extract, and Halloween-themed sprinkles. Measure accurately for consistent results.
Ensure butter is softened to room temperature for easy creaming. Cold butter won’t incorporate properly and can affect cookie texture.
Step 2 — Cream Butter and Sugar
Beat softened butter and granulated sugar together in a large bowl until light and fluffy, about 2-3 minutes with an electric mixer.
Proper creaming creates air pockets that help your Hocus Pocus Halloween Cookies rise and become tender. Don’t rush this step.
Step 3 — Add Wet Ingredients
Mix in eggs one at a time, followed by vanilla extract. Scrape down the bowl sides to ensure even incorporation.
Use room temperature eggs to prevent the butter from seizing. This maintains the creamy texture needed for perfect Halloween cookies.
Step 4 — Combine Dry Ingredients
Whisk together flour, baking powder, and salt in a separate bowl. This ensures even distribution of leavening agents throughout your cookie dough.
For extra flavorful Hocus Pocus Halloween Cookies, add a pinch of cinnamon or nutmeg to the dry ingredients.
Step 5 — Mix Dough and Chill
Gradually add dry ingredients to the wet mixture, mixing until just combined. Fold in Halloween sprinkles or colored sugar.
Chill dough for at least 30 minutes. This prevents spreading and makes the Hocus Pocus Halloween Cookies easier to handle when cutting shapes.
Step 6 — Roll and Cut Shapes
Roll chilled dough to ¼-inch thickness on a floured surface. Use Halloween-themed cookie cutters like cauldrons, brooms, or crescent moons.
Dip cutters in flour between uses to prevent sticking. Re-roll scraps once for maximum yield of magical Halloween cookies.
Step 7 — Bake to Perfection
Arrange cookies on parchment-lined baking sheets and bake at 350°F (175°C) for 8-10 minutes. Rotate pans halfway for even browning.
Watch for golden edges while centers remain soft. Overbaking makes Hocus Pocus Halloween Cookies crisp rather than chewy.
Step 8 — Cool Completely
Let cookies rest on baking sheet for 5 minutes before transferring to wire racks. This allows them to set without breaking.
Complete cooling is essential before decorating. Warm Hocus Pocus Halloween Cookies will cause icing to melt and run.
Step 9 — Decorate Magically
Prepare royal icing or melted chocolate for decorating your Hocus Pocus Halloween Cookies. Use food coloring to create spooky hues.
Add sanding sugar, edible glitter, or candy eyes while icing is wet. Let decorations set completely before serving these enchanting treats.
Nutritional Information
| Calories | 180 |
| Protein | 2g |
| Carbohydrates | 28g |
| Fat | 7g |
| Fiber | 1g |
| Sodium | 95mg |
Note: Estimates based on typical ingredients and serving size.
Healthier Alternatives
These Hocus Pocus Halloween Cookies can be magically transformed with simple ingredient swaps to suit various dietary needs without losing their enchanting flavor.
- Protein-Packed Flour — Replace half the all-purpose flour with almond or oat flour for a nutty, wholesome taste and extra protein.
- Lower-Carb Sweetener — Swap granulated sugar with monk fruit or erythritol blend to reduce carbs while keeping a sweet, cookie-like flavor.
- Dairy-Free Butter — Use coconut oil or vegan butter instead of regular butter for a rich, slightly tropical note and dairy-free enjoyment.
- Gluten-Free Flour Blend — Substitute all-purpose flour with a 1:1 gluten-free baking mix for a light texture that’s friendly for gluten sensitivities.
- Low-Sodium Baking Soda — Opt for low-sodium baking powder to cut salt content while maintaining the cookies’ rise and tender crumb.
- Egg Replacer — Try flax eggs or applesauce for binding, adding a subtle earthy or fruity hint perfect for egg-free diets.
- Natural Food Coloring — Use beet powder or spirulina instead of artificial dyes for vibrant, Halloween-themed hues with an earthy undertone.
Serving Suggestions
- Pair these Hocus Pocus Halloween Cookies with a bubbling cauldron of warm apple cider for a magical treat.
- Serve alongside a spooky movie night featuring the classic Hocus Pocus film.
- Arrange on a tiered black cake stand for a dramatic, witchy display at your Halloween party.
- Package in clear cellophane bags tied with purple and green ribbons for enchanting party favors.
- Create a cookie platter with other Halloween treats like caramel apples and witch finger pretzels.
- Accompany with a rich hot chocolate bar for a cozy, spellbinding dessert experience.
These Hocus Pocus Halloween Cookies are perfect for themed parties, classroom celebrations, or as a festive family baking project that brings the magic of the movie to life.
Common Mistakes to Avoid
- Mistake: Using cold butter straight from the fridge. Fix: Let butter soften at room temperature for 30-60 minutes to achieve the perfect creamed texture for your Hocus Pocus Halloween Cookies dough.
- Mistake: Overmixing the cookie dough after adding flour. Fix: Mix just until the flour disappears to prevent developing too much gluten, which makes cookies tough.
- Mistake: Skipping the chilling step for the dough. Fix: Chill dough for at least 1 hour to prevent excessive spreading and help the cookies hold their spooky shapes.
- Mistake: Placing cookie dough on a warm baking sheet. Fix: Always use cool baking sheets to ensure your Hocus Pocus Halloween Cookies bake evenly and don’t melt prematurely.
- Mistake: Overbaking for a crispier cookie. Fix: Remove cookies when edges are just set but centers look slightly underdone for a wonderfully soft and chewy texture.
- Mistake: Using runny or overly thin royal icing for decorating. Fix: Test your icing consistency; it should hold a line for 10 seconds before settling for clean, detailed designs.
- Mistake: Applying thick layers of colored icing all at once. Fix: Use a “flood and pipe” technique—outline first, then fill with a thinner icing to prevent bleeding and create smooth surfaces.
- Mistake: Adding too much black food coloring, which can make icing taste bitter. Fix: Use a highly concentrated gel paste and start with a small amount, as a little goes a long way for that classic Halloween look.
- Mistake: Decorating warm cookies with icing. Fix: Allow cookies to cool completely on a wire rack so the icing sets properly and doesn’t melt or become greasy.
- Mistake: Storing decorated cookies while they are still slightly soft. Fix: Let iced cookies air-dry completely for several hours or overnight before stacking or storing to preserve your hard work.
Storing Tips
- Fridge: Store Hocus Pocus Halloween Cookies in an airtight container for up to 1 week.
- Freezer: Freeze baked cookies in a freezer-safe container for up to 3 months.
- Reheat: Warm cookies in a 300°F oven for 5–8 minutes until heated through.
Always ensure reheated Hocus Pocus Halloween Cookies reach an internal temperature of at least 165°F for food safety.
Conclusion
These Hocus Pocus Halloween Cookies are a spellbinding treat perfect for your spooky celebrations. We hope you love making them as much as we do! Don’t forget to rate the recipe and leave a comment. For more delicious desserts, try our White Chocolate Raspberry Cookies Recipe or Cranberry Orange Shortbread Cookies Recipe.
Print
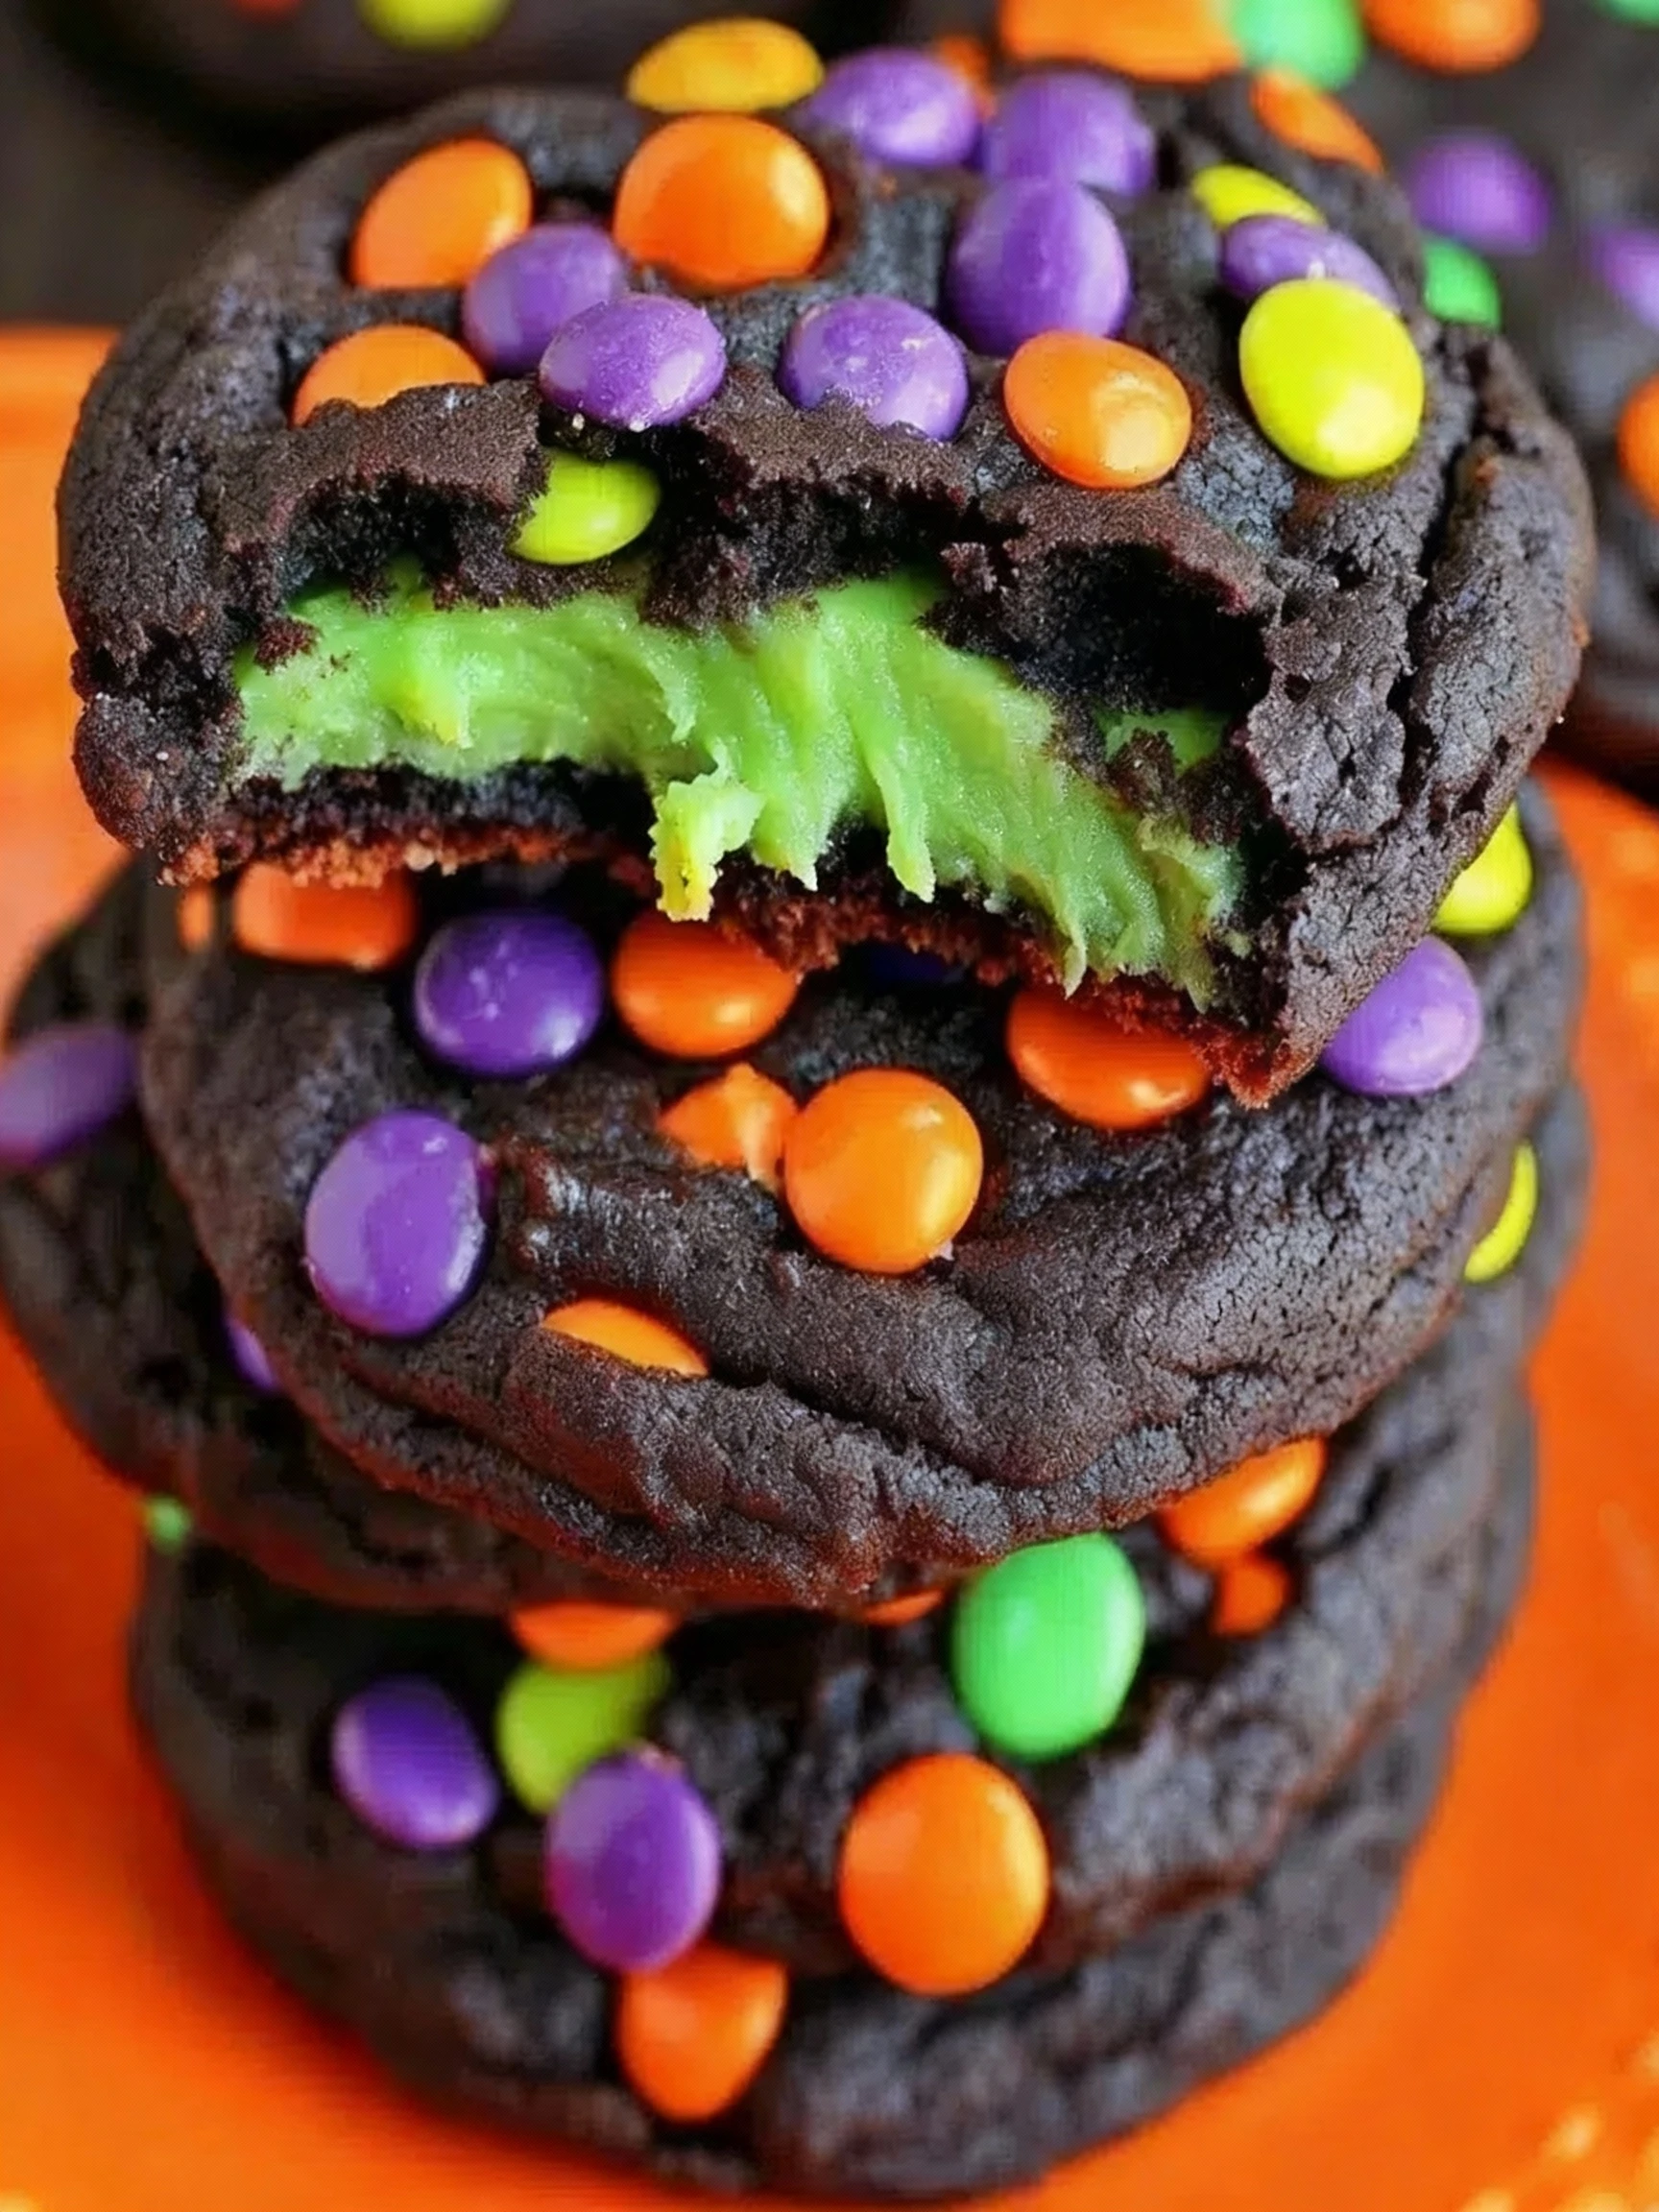
Hocus Pocus Cookies
Soft, chewy sugar cookies swirled with vibrant Halloween colors and decorated with sprinkles and candy eyes, perfect for a festive Halloween treat.
- Total Time: 34 minutes
- Yield: 24 cookies 1x
Ingredients
- 1 1/2 cups unsalted butter, softened
- 2 cups granulated sugar
- 3 large eggs
- 3 tsp vanilla extract
- 1 1/2 tsp cornstarch
- 1 1/2 tsp baking soda
- 3/4 tsp salt
- 2 cups cake flour
- 2 1/2 cups all-purpose flour
- Orange gel food coloring
- Neon green gel food coloring
- Purple gel food coloring
- 2 cups white chocolate chips
- Halloween sprinkles
- Candy eyes for decoration
Instructions
- Preheat oven to 350°F and line baking sheets with parchment paper.
- In a large bowl or stand mixer, cream the butter and sugar on high speed until light and fluffy.
- Add eggs one at a time, mixing well after each addition.
- Mix in vanilla extract until combined.
- In a separate bowl, whisk together cake flour, all-purpose flour, cornstarch, baking soda, and salt.
- Gradually add dry ingredients to wet ingredients, mixing on medium speed until fully incorporated.
- Divide dough into three equal parts and color each with orange, green, and purple gel food coloring, kneading until evenly colored.
- Mix white chocolate chips and half of the sprinkles into the dough.
- Chill dough for 30 minutes.
- Scoop dough into balls, roll in remaining sprinkles, and place on baking sheets 1-2 inches apart.
- Decorate each cookie with candy eyes and additional sprinkles as desired.
- Bake one sheet at a time for 13-14 minutes until edges are set but centers remain soft.
- Allow cookies to cool on baking sheet for 5 minutes before transferring to a wire rack to cool completely.
Notes
Using gel food coloring ensures vibrant colors without diluting the dough. Chilling the dough before baking helps maintain shape and enhances flavor. Decorate with candy eyes and sprinkles for a festive Halloween look.
- Prep Time: 20 minutes
- Cook Time: 14 minutes
- Method: Dessert
- Cuisine: American
Nutrition
- Calories: 180
- Sugar: 15g
- Sodium: 150mg
- Fat: 8g
- Saturated Fat: 5g
- Unsaturated Fat: 3g
- Trans Fat: 0g
- Carbohydrates: 25g
- Fiber: 0g
- Protein: 2g
- Cholesterol: 30mg
FAQs
Can I make the Hocus Pocus Halloween Cookies ahead of time?
Yes, you can prepare the dough in advance. Chill it for up to 3 days before baking, or freeze it for longer storage. This makes your Hocus Pocus Halloween Cookies convenient for busy schedules.
How should I store these cookies to keep them fresh?
Store your Hocus Pocus Halloween Cookies in an airtight container at room temperature. They will stay fresh and delicious for up to one week. For longer freshness, you can also freeze the baked cookies.
Can I substitute the decorations if I don’t have the ones listed?
Absolutely, feel free to use any Halloween-themed sprinkles or icing you have on hand. The key is to have fun and make your Hocus Pocus Halloween Cookies look magically spooky with your own creative touches.