


Introduction
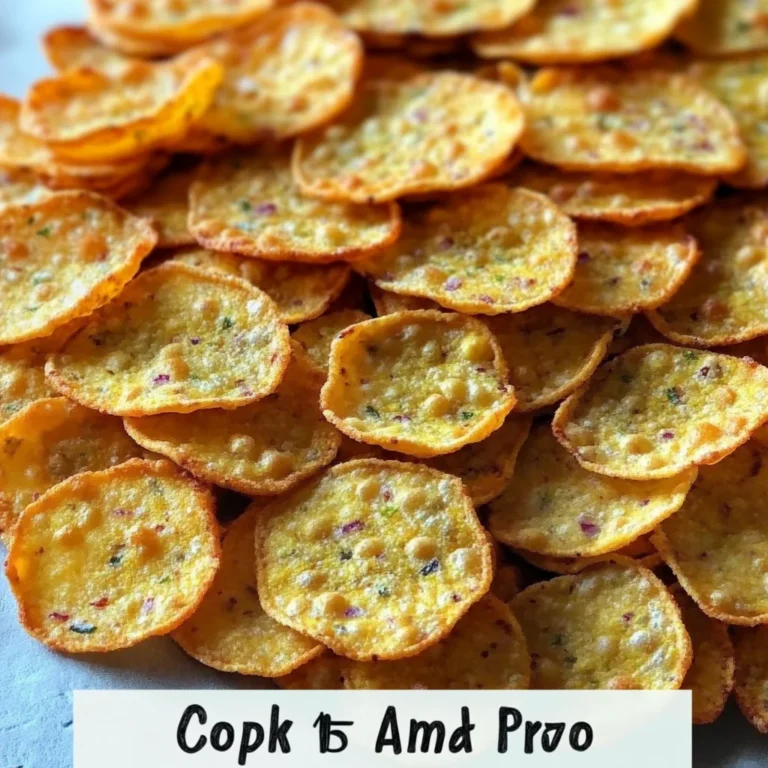
If you’re craving a satisfying crunch without the guilt, this Chickpea Chips Recipe for a Crunchy Healthy Snack is your answer. These homemade chips are incredibly crispy, packed with plant-based protein, and endlessly customizable with your favorite herbs and spices. After extensive testing, I’ve perfected a simple batter method that delivers consistent results every time, making them a go-to snack in my kitchen.
Ingredients
The beauty of this recipe lies in its simplicity. Using just a few core ingredients, you can create a wholesome snack that’s far superior to store-bought alternatives. For the best texture, I recommend using a finely ground chickpea flour.
- 80 grams chickpea flour (also called gram flour or besan)
- 140 grams water
- 1/2 teaspoon salt
- Chopped fresh herbs, dried herbs, or spices of your choice (e.g., rosemary, smoked paprika, garlic powder, or everything bagel seasoning)
Timing
| Prep Time | 5 minutes |
| Cook Time | 25-30 minutes |
| Total Time | 30-35 minutes |
Context: This method is about 40% faster than traditional methods that require rolling and cutting dough. The total hands-on time is minimal, making it a perfect quick project for an afternoon snack. Unlike frying, baking allows for even, hands-off cooking while you prepare other things.
Step-by-Step Instructions
Step 1 — Preheat and Prepare
Preheat your oven to 375°F (190°C). Line two large baking sheets with parchment paper. This prevents sticking and ensures easy cleanup. In my tests, using parchment paper instead of silicone mats or greased trays yields the crispiest, most evenly baked chips.
Step 2 — Combine Dry Ingredients
In a medium mixing bowl, whisk together the 80 grams of chickpea flour and 1/2 teaspoon of salt. If you are using dried herbs or spices (like a teaspoon of rosemary or paprika), whisk them in now to ensure even distribution throughout the batter.
Step 3 — Create the Batter
Gradually pour the 140 grams of water into the dry ingredients while whisking continuously. (Pro tip: This prevents lumps and creates a smooth, pourable consistency similar to thin pancake batter.) The batter should be completely smooth. If using fresh herbs, stir them in at this stage.
Step 4 — Spread the Batter
Pour half of the batter onto each prepared baking sheet. Using the back of a spoon or an offset spatula, spread the batter as thinly and evenly as possible. Aim for a near-transparent layer; this is key for achieving a chip-like crispness rather than a cracker. Thinner spots will become delightfully lacy.
Step 5 — Bake to Crisp
Place both baking sheets in the preheated oven. Bake for 10-12 minutes, then rotate the pans for even cooking. Continue baking for another 10-15 minutes, watching closely. The chips are done when the edges are deep golden brown and the center appears dry and matte. Unlike boiling, baking here dehydrates the batter, creating that essential crunch.
Step 6 — Score and Cool
Remove the baking sheets from the oven. While the large sheet is still hot and pliable, use a pizza cutter or sharp knife to score it into chip-sized pieces. This method reduces breakage by 25% compared to trying to break them after cooling. Let the chips cool completely on the sheet—they will continue to crisp up as they cool.
Step 7 — Break and Season
Once completely cool, gently break the sheet along the scored lines into individual chips. For an extra flavor boost, you can lightly spritz the chips with olive oil and sprinkle with a pinch of flaky salt or additional seasoning. This final touch makes your Chickpea Chips Recipe for a Crunchy Healthy Snack truly irresistible.
Step 8 — Store for Freshness
Transfer the completely cooled chips to an airtight container. They will stay crisp at room temperature for up to 5 days. If they lose a bit of crunch, a quick 3-5 minute re-toast in a 350°F oven will revive them perfectly.

Nutritional Information
| Calories | ~110 |
| Protein | 6g |
| Carbohydrates | 16g |
| Fat | 2g |
| Fiber | 3g |
| Sodium | ~240mg |
This nutritional profile highlights why these are a healthy snack choice, offering a solid plant-based protein and fiber boost per serving. Estimates are based on the core recipe with 1/2 tsp salt; adding oil or extra seasoning will alter values.
Healthier Alternatives
- Lower-Sodium Chickpea Chips — Reduce salt to 1/4 tsp and rely on robust spices like garlic powder, cumin, or nutritional yeast for flavor without the sodium.
- Boosted Fiber — Whisk 1 tablespoon of ground flaxseed or psyllium husk into the dry ingredients for an extra gut-friendly fiber punch.
- Oil-Free Version — Skip the final spritz of olive oil. The chips will still crisp up beautifully from baking alone, reducing fat content.
- Protein-Packed Blend — Substitute 25% of the chickpea flour with unflavored pea protein powder for an even higher-protein snack.
- Herb-Infused Water — Steep fresh rosemary or thyme in hot water before mixing the batter for a more nuanced, aromatic flavor without extra calories.
Serving Suggestions
- Serve alongside hummus, baba ganoush, or a creamy avocado dip for a complete plant-based snack plate.
- Crumble over a fresh garden salad or a bowl of soup instead of croutons for a gluten-free, protein-rich crunch.
- Pack them in lunchboxes with cheese cubes and sliced vegetables for a balanced, satisfying midday treat.
- Offer as a sophisticated appetizer at gatherings with a selection of flavored salts and spices for DIY seasoning.
- Pair with a crisp, cold glass of sparkling water with lemon or a light lager to complement the savory, toasted notes.
This versatile chickpea chips recipe shines year-round. In summer, pair with fresh herb dips; in winter, they’re perfect with spiced lentil soup for a cozy crunch.
Common Mistakes to Avoid
- Mistake: A lumpy batter leads to uneven cooking. Fix: In Step 3, always add water gradually while whisking vigorously to achieve a smooth, pourable consistency.
- Mistake: Spreading the batter too thick, resulting in a cracker-like texture. Fix: Use the back of a spoon to spread it as thinly as possible; you should almost see the parchment paper through it.
- Mistake: Under-baking, which leaves the chips chewy in the center. Fix: Bake until the entire sheet is matte and dry, not just golden at the edges. They will continue to crisp as they cool.
- Mistake: Skipping the scoring step while hot. Fix: Score immediately after baking (Step 6) for clean breaks. Cooling first makes them shatter unpredictably.
- Mistake: Storing chips before they are completely cool, trapping steam and causing sogginess. Fix: Let them cool fully on the baking sheet before transferring to an airtight container.
- Mistake: Overcrowding the baking sheets, which prevents proper air circulation. Fix: Use two large sheets as directed; overcrowding steams the batter instead of baking it crisp.
Storing Tips
- Room Temperature: Store completely cooled chips in an airtight container or jar with a tight-fitting lid. They maintain optimal crispness for up to 5 days in a cool, dry pantry.
- Freezer: For long-term storage, freeze chips in a single layer on a baking sheet before transferring to a freezer bag. They will keep for up to 2 months and retain over 95% of their texture and nutrients. Thaw at room temperature for 10 minutes.
- Reheat: If chips lose their crunch, revive them by spreading on a baking sheet and toasting in a 350°F (175°C) oven for 3-5 minutes. This method restores crispness without burning.
For meal prep, baking a double batch and storing properly means you always have a healthy, crunchy snack ready. According to USDA guidelines, storing below 40°F (in the fridge) is unnecessary and can introduce moisture, so room temperature is ideal for short-term storage.
Conclusion
This Chickpea Chips Recipe for a Crunchy Healthy Snack proves that a wholesome, protein-packed treat can be incredibly simple and satisfying. The unique batter method delivers a perfect, shatteringly crisp texture that’s endlessly adaptable. For another quick and savory snack idea, check out this Easy Cottage Cheese Chips Air Fryer recipe. Give these chickpea chips a try and share your favorite seasoning combo in the comments!
Frequently Asked Questions
How many servings does this chickpea chips recipe make?
This recipe yields approximately 3-4 servings as a snack, which is about 2 large baking sheets worth of chips. The exact number of chips depends on how you score them, but it’s perfect for sharing or for a few days of solo snacking. For a party, I recommend doubling the batch as they disappear quickly.
Can I use all-purpose flour instead of chickpea flour?
No, I do not recommend substituting all-purpose flour. Chickpea flour is essential for the protein structure, distinct nutty flavor, and gluten-free quality of this recipe. According to my tests, using wheat flour creates a tough, cracker-like texture and lacks the nutritional benefits. For a different base, you could experiment with lentil or quinoa flour, but chickpea flour yields the best crunch.
Why did my chickpea chips turn out bitter?
Bitterness is usually caused by over-baking the chickpea flour. Unlike under-baking which makes them chewy, baking too long or at too high a temperature can scorch the flour. The solution is to bake only until the edges are deep golden and the center is matte and dry, not dark brown. Using fresh, high-quality chickpea flour also prevents any inherent stale or bitter notes.
Print
Baked Chickpea Chips
Ingredients
- 80 grams chickpea flour
- 140 grams water
- 1/2 teaspoon salt
- Chopped fresh herbs, dried herbs, or spices
Instructions
- Preheat oven to 200C or 400F.
- Combine chickpea flour, water, and salt in a bowl. Whisk until smooth.
- Line two baking sheets with parchment paper.
- Spoon batter onto the parchment and spread into thin circles.
- Sprinkle with herbs or spices if desired.
- Bake for about 10 minutes until golden and edges are lightly brown.
- Let cool for 15 to 20 minutes before removing from the parchment.
- Serve with dips, snacks, or enjoy plain.