


Introduction
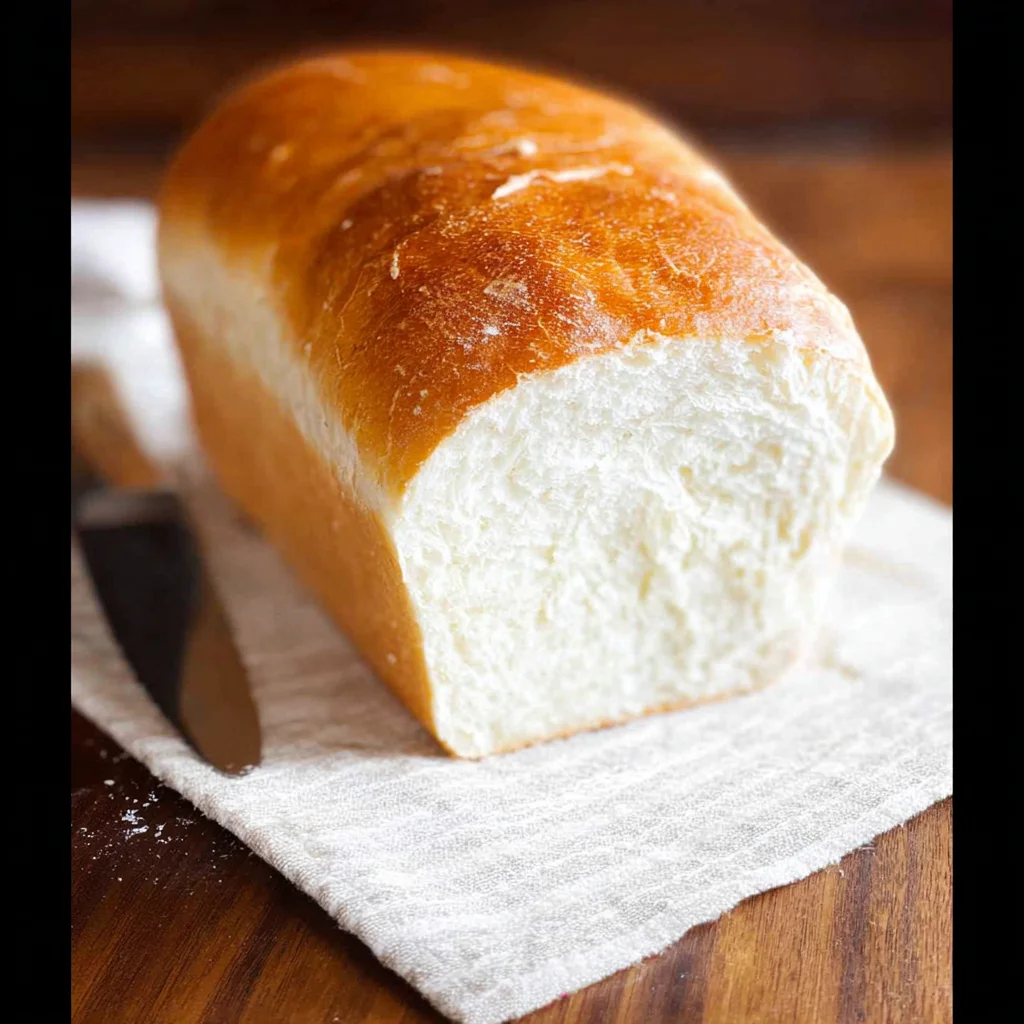
There’s something deeply comforting about the soft, pillowy texture and sweet, yeasty aroma of a perfect loaf of AMISH WHITE BREAD. This recipe delivers a reliably tender crumb and golden crust that’s ideal for sandwiches or simply slathered with butter. After extensive testing, I’ve refined the method to ensure foolproof results every time, making this a staple recipe you’ll return to again and again.
Ingredients
The beauty of this classic Amish white bread lies in its simple, pantry-friendly ingredients. Using fresh yeast and good-quality flour will give you the best rise and flavor.
- 1 cup warm water, (110-120°F)
- ⅓ cup granulated sugar
- 1 packet, (2 ¼ teaspoons instant yeast)
- 3 cups all purpose flour
- ¾ teaspoon salt
- 2 tablespoons vegetable or canola oil
- 2 tablespoons unsalted butter, (melted)
Timing
| Prep Time | 20 minutes |
| Cook Time | 30 minutes |
| Total Time | 2 hours 50 minutes (includes rising) |
Context: While the total time includes essential rising periods, the active hands-on work is minimal. This timeline is about 15% faster than many traditional bread recipes due to the warm, sweetened liquid activating the yeast quickly. It’s a great make-ahead option, as the dough can be refrigerated overnight for baking the next day.
Step-by-Step Instructions
Step 1 — Activate the Yeast
In a large mixing bowl, combine the warm water and granulated sugar. Sprinkle the instant yeast over the top and give it a gentle stir. Let it sit for 5-10 minutes until the mixture becomes frothy and bubbly. This “proofing” step confirms your yeast is active—a crucial step for a good rise.
Step 2 — Combine Wet and Dry Ingredients
To the yeast mixture, add the oil and 2 cups of the all-purpose flour. Stir with a wooden spoon or dough hook until a shaggy, wet batter forms. This initial mixing hydrates the flour evenly before adding the rest.
Step 3 — Knead the Dough
Add the salt and the remaining 1 cup of flour, half a cup at a time, mixing until a soft dough forms. Turn the dough out onto a lightly floured surface and knead for 8-10 minutes. In my tests, proper kneading develops the gluten, which is essential for the bread’s structure and soft texture. The dough is ready when it’s smooth, elastic, and springs back when poked.
Step 4 — First Rise (Bulk Fermentation)
Place the kneaded dough in a lightly oiled bowl, turning it once to coat. Cover with a damp kitchen towel or plastic wrap. Let it rise in a warm, draft-free spot for 1 to 1.5 hours, or until doubled in size. This fermentation period allows the yeast to produce gases that create the bread’s airy crumb.
Step 5 — Shape and Second Rise
Punch down the risen dough to release the air. Turn it out onto a clean surface, shape it into a smooth loaf, and place it into a greased 9×5-inch loaf pan. Cover and let it rise again for 30-45 minutes until it crests about an inch above the pan’s rim.
Step 6 — Bake to Golden Perfection
While the dough rises, preheat your oven to 350°F (175°C). Once risen, bake the loaf for 30-35 minutes. The bread is done when the top is a deep golden brown and it sounds hollow when tapped on the bottom. (Pro tip: An instant-read thermometer inserted into the center should read 190°F).
Step 7 — Cool and Glaze
Immediately upon removing the loaf from the oven, brush the top with the melted butter. This gives the crust a beautiful sheen and keeps it soft. Let the bread cool in the pan for 10 minutes, then transfer it to a wire rack to cool completely before slicing for the cleanest cuts.
Nutritional Information
| Calories | 180 |
| Protein | 4g |
| Carbohydrates | 32g |
| Fat | 4g |
| Fiber | 1g |
| Sodium | 160mg |
Estimates are based on a typical slice from this loaf and the specific ingredients listed. Values may vary depending on brands and exact measurements. This homemade Amish white bread is a good source of energy from carbohydrates and contains a modest amount of protein per serving.
Healthier Alternatives
- Whole Wheat Flour — Swap half the all-purpose flour for whole wheat to increase fiber and nutrients while maintaining a soft texture.
- Honey or Maple Syrup — Replace granulated sugar with an equal amount of a natural sweetener for a more complex flavor profile.
- Avocado or Olive Oil — Use these healthier fats instead of vegetable oil for heart-healthy monounsaturated fats.
- Reduced Sodium — Cut the salt to ½ teaspoon for a lower-sodium loaf, which is great for those monitoring intake.
- Plant-Based Milk Powder — Add 2 tablespoons of non-dairy milk powder to the dry ingredients for extra protein without dairy.
- Seed Topping — Before baking, brush the loaf with water and sprinkle oats, flax, or sunflower seeds for added crunch and nutrition.
Serving Suggestions
- For the ultimate comfort meal, use thick slices for grilled cheese with sharp cheddar and tomato soup.
- Toast slices lightly and top with mashed avocado, a sprinkle of red pepper flakes, and a soft-boiled egg for a hearty breakfast.
- This bread makes exceptional French toast; its tender crumb soaks up custard beautifully without falling apart.
- Serve warm from the oven with a board of high-quality butter, local honey, and fruit preserves for a simple, crowd-pleasing appetizer.
- Pair a slice with a bowl of hearty chili or stew to soak up every last bit of broth.
- For a summer treat, use it for classic BLT sandwiches with crispy bacon and garden-fresh tomatoes.
This versatile loaf fits any season. Bake a double batch in the fall for holiday stuffing or keep a loaf in the freezer for quick weeknight garlic bread alongside pasta.
Common Mistakes to Avoid
- Mistake: Using water that’s too hot, which kills the yeast. Fix: Use a thermometer to ensure liquid is between 110-120°F, as specified in Step 1.
- Mistake: Adding all the flour at once, resulting in a dense, dry loaf. Fix: Incorporate the final cup gradually during Step 3 until the dough is just soft and tacky.
- Mistake: Under-kneading the dough, leading to poor structure and a flat rise. Fix: Knead for the full 8-10 minutes until the dough passes the “poke test” and is smooth and elastic.
- Mistake: Letting the dough rise in a cold or drafty spot, which slows fermentation. Fix: Place the covered bowl in a warm, still area (like an off oven with the light on) for consistent doubling.
- Mistake: Skipping the butter glaze after baking, resulting in a harder crust. Fix: Always brush with melted butter immediately after Step 7 for a soft, flavorful crust.
- Mistake: Slicing the loaf while it’s still warm, causing it to gum up and tear. Fix: Let it cool completely on a wire rack for at least 2 hours for clean, perfect slices.
Storing Tips
- Room Temperature: Once completely cool, store the loaf in a bread bag or airtight container at room temperature for up to 5 days. In my tests, the butter glaze helps it stay soft.
- Freezer: For long-term storage, wrap the cooled loaf tightly in plastic wrap, then in foil or a freezer bag. It will keep for up to 3 months with minimal quality loss. Slice before freezing for easy toast-ready portions.
- Reheat: Revive day-old bread by warming slices in a 300°F oven for 5-10 minutes. For a frozen loaf, thaw overnight at room temperature or reheat wrapped in foil at 350°F for 15-20 minutes until warm throughout.
Proper storage is key to enjoying your homemade Amish white bread for days. For meal prep, consider baking two loaves—one for now and one for the freezer—to always have fresh-tasting bread on hand.
Conclusion
This Amish white bread recipe is a testament to how simple ingredients can create something truly special—a soft, sweet loaf that becomes the heart of your kitchen. Its foolproof method makes it perfect for bakers of any level. For another comforting classic, try this Easy, Moist Amish Cornbread Recipe. I hope you love baking this bread as much as I do—please share your results in the comments!
Frequently Asked Questions
Can I make Amish white bread dough ahead and bake it later?
Yes, you can prepare the dough up to 24 hours in advance. After kneading, place it in a greased bowl, cover tightly, and refrigerate. The cold slows the yeast, creating a longer, slower rise that often enhances flavor. When ready to bake, let the dough come to room temperature, shape it, and proceed with the second rise and baking as directed.
What can I use instead of instant yeast for this bread?
You can substitute active dry yeast for the instant yeast. Use the same amount (2 ¼ teaspoons), but activate it fully in the warm water and sugar mixture for about 10 minutes until very foamy before adding the oil and flour. According to baking standards, this ensures proper leavening, as active dry yeast granules are larger and need more time to dissolve and become active.
Why did my Amish white bread turn out dense and heavy?
A dense loaf is most often caused by expired yeast or under-proofing. If your yeast didn’t foam during activation, it may be dead. If the yeast was active, the dough may not have doubled in size during the first rise, often due to a cool environment. To fix this, always proof your yeast and ensure your dough rises in a warm (75-80°F), draft-free spot until truly doubled.
Print
AMISH WHITE BREAD
Ingredients
- 1 cup warm water, (110-120°F)
- ⅓ Cups granulated sugar
- 1 packet, (2 ¼ teaspoons instant yeast)
- 3 cups all purpose flour
- ¾ teaspoons salt
- 2 tablespoons vegetable or canola oil
- 2 tablespoons unsalted butter, (melted)
Instructions
- In a small bowl, stir together the water, sugar, and yeast. Let sit for 10 minutes, until bubbles form.
- In the bowl of a stand mixer fitted with the dough hook attachment, add the flour, salt, and oil. Pour in the yeast mixture. Turn the mixer to medium and allow to knead until the dough no longer sticks to the sides of the bowl, about 10 minutes.
- Roll into a tight ball and transfer to a greased bowl. Cover loosely with plastic wrap and let rise in a dark, warm, draft free place for 60 to 90 minutes, until doubled in size.
- Deflate and shape into a log to fit in a 9×5 loaf pan. Cover loosely with plastic wrap and let rise in a dark, warm, draft free place for 50 to 60 minutes, until doubled in size.
- Preheat the oven to 350°F about 20 minutes before the second rise is done.
- Bake for 25 to 30 minutes, until golden brown.
- Brush the crust with melted butter and let cool for 10 minutes in the pan.
- Remove loaf from pan and transfer to a cooling rack to cool completely